Transferring Your Photos
| To put My Pictures to work for you, the first step is moving your photos from your digital camera into your Media Center PC. As with connecting your video camera to the Media Center (see the section "Connecting to Your Camcorder," in Chapter 10, "Capturing and Creating Videos with Media Center"), you'll need to start with an inventory of the types of outputs your camera supports, and then compare that list to the types of inputs your PC supports. Connecting to Your Digital CameraThe process of transferring photos from a digital camera to a PC used to be a tedious one. Serial cables were usually involved, along with TWAIN (believe it or not, it stands for "Toolkit Without an Interesting Name ") drivers and other abstruse bits of software. However, camera and PC designers have come together in recent years over interfaces such as USB (Universal Serial Bus), which, along with Windows XP's Plug and Play features, can virtually eliminate the headaches that used to accompany the process of establishing a connection between your camera and your computer. tip
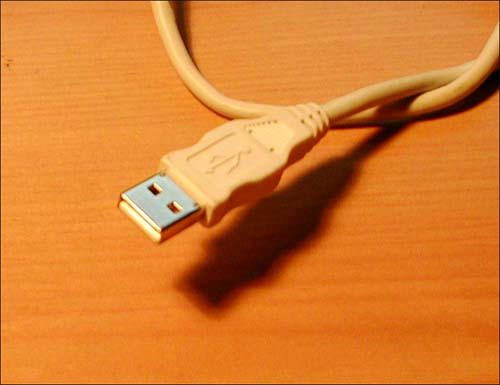
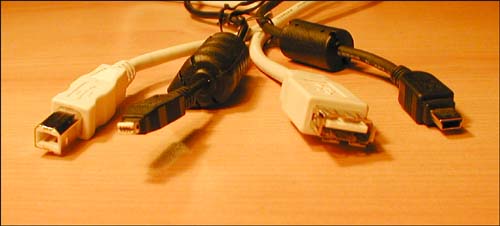
Although the oblong USB connector on your PC is pretty easy to spot (see Figure 17.1), its counterpart on the camera is apt to look quite different. Figure 17.1. The oblong USB plug that connects to the PC is quite distinctive , making it easy to identify. Some USB plugs for cameras and other input devices are small and rectangular, some are vaguely bell-shaped, and some have shapes that simply defy description. A collection of USB connectors supported by various digital devices is shown in Figure 17.2. Figure 17.2. The USB connector that attaches to your camera can come in various forms, including any of the four configurations shown here. In most cases, your digital camera will come equipped with an appropriate connection cord, so all that remains to be done is find the correct receptacles on the camera and the PC, and plug everything in. The first time you connect your camera to your PC, Windows will tell you it has detected new hardware, and in most cases, it will ask you to install the proper software drivers. However, some cameras make use of drivers that Windows XP already has installed. Follow the screen prompts, as well as your camera manufacturer's recommended procedure, to set up the camera connection properly the first time. tip
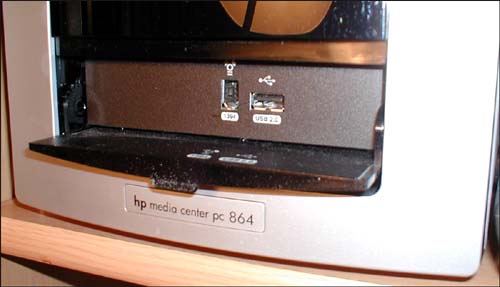
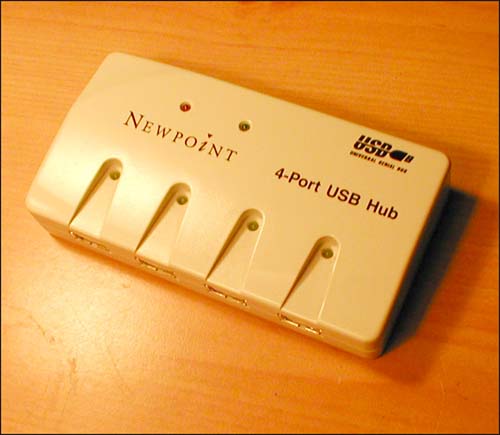
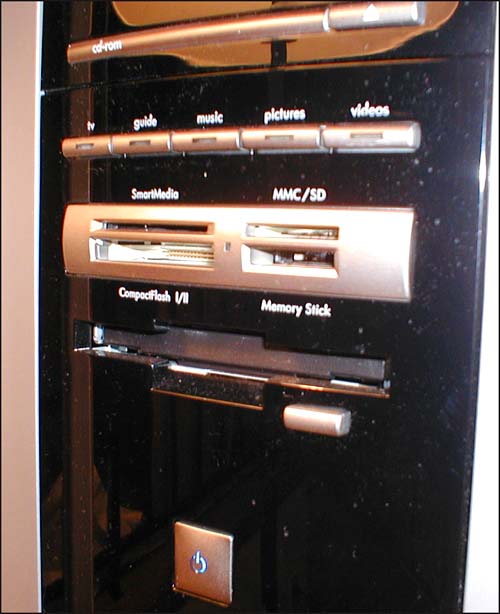
After Windows recognizes your camera, transferring photos becomes quite easy. In fact, the process is essentially the same whether you are plugging in a camera or just inserting a removable media card from your camera into a memory-card reader on the PC. Using Media CardsMedia cards come in an array of shapes and sizes, and all of them work in pretty much the same way: Insert the card into the camera and store images on it. When you're done, remove the card and insert it into a card reader, and then transfer the photos to your PC's hard disk. The only variable to worry about is whether your PC comes equipped with a memory-card reader at all, and if it does, whether that reader accepts the type of memory card your camera uses. Some Media Center PCs are configured with no built-in card readers whatsoever, whereas others are "loaded for bear" in that department. Systems that fall into the latter category include the HP Media Center PC 864, which boasts support for four of the most popular media card formats (see Figure 17.5). Figure 17.5. The HP Media Center PC 864 has built-in readers for SmartMedia, CompactFlash (Type I and Type II), Multimedia Card/Secure Digital Card, and Sony's Memory Stick. Media Card AdaptersIf your Media Center PC does not include any slots for reading memory cards, never fear. Various external adapters are available (see Figure 17.6), most of which plug conveniently into a USB port on your PC and allow instant access to a wide selection of memory-card formats. Figure 17.6. External card readers provide an inexpensive way to expand your PC's repertoire when it comes to accepting removable memory devices. |

EAN: 2147483647
Pages: 159