Saving and Sharing Your Actions
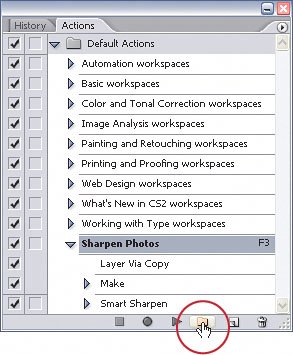
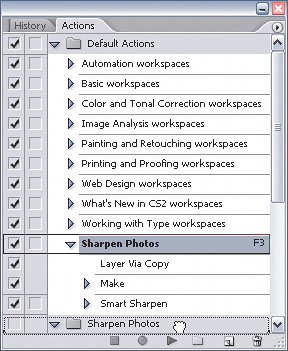
| It wasn't long after I started creating actions that I realized I wanted to be able to do a couple of things. First, I had a computer at home and a computer at work and I wanted to be able to use my actions on both of them, without re-creating them from scratch. Next, I had friends and co-workers that wanted to use the same actions, so I quickly found the advantages of being able to save and load actions. Step OneFor this example, let's save the Sharpen Photos action that we created back in the previous two tutorials. Here's the problem when saving actions, though. Actions need to be saved in a set. You can't save actions individually. Well, you can but they still must be in a seteven if it's only one action. To create a set for our Sharpen Photos action, click the Create New Set icon (it looks like a little folder) at the bottom of the Actions palette. In the New Set dialog, name the set Sharpen Photos, and click OK. You'll see a new folder (set) appear in the Actions palette. Step TwoDrag the Sharpen Photos action into the set by clicking on it and dragging it on top of the newly created set (with the folder icon). This enables us to save the action.
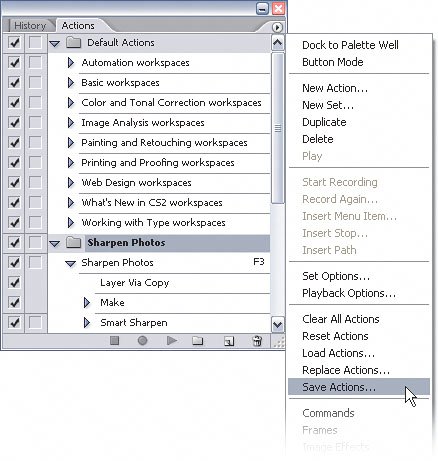
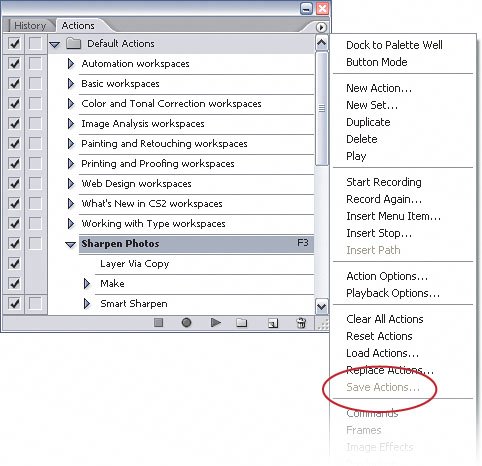
Step ThreeClick once on the Sharpen Photos set. Then click the small, right-facing triangle at the top right of the Actions palette. From the palette's flyout menu, choose Save Actions, and the Save dialog will appear. Step FourIn the Save dialog, choose a location for the action. It's usually best to place them into the Photoshop Actions folder (in Adobe Photoshop CS2's Presets folder) with the other actions, but you can choose somewhere else if you'd like. Then click the Save button, and the action will be saved. 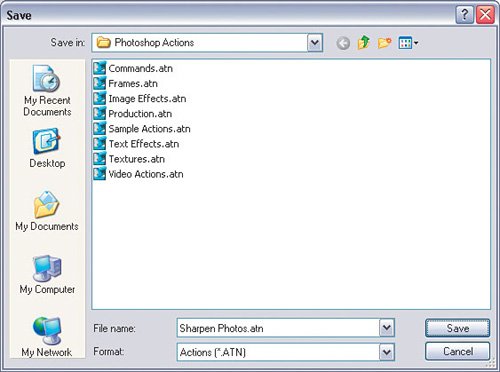
Step FiveTo share this action with other people, just copy and provide the Sharpen Photos.atn file to whomever you're sharing the action with. They'll be able to load it right into Photoshop and use it the same way you did (see the next tutorial to find out how). 
|


EAN: 2147483647
Pages: 113
- Article 353 High Density Polyethylene Conduit Type HDPE Conduit
- Article 362 Electrical Nonmetallic Tubing Type ENT
- Article 374 Cellular Metal Floor Raceways
- Article 427: Fixed Electric Heating Equipment for Pipelines and Vessels
- Article 500 Hazardous (Classified) Locations, Classes I, II, and III, Divisions 1 and 2