| Notes toolbars are context-sensitive by default; that is, they change as the tasks you perform in Notes change.  | The first seven icons to the right of the first toolbar grip are always available. They will not change as you move from task to task in Notes. |
To help you understand the function of each icon, Lotus Notes has a feature that shows the icons' descriptions. To see this brief description, hold your mouse over an icon. If the description does not appear, you might need to turn this feature on. Here's how to turn on the icon descriptions: 1. | Open the File menu and click Preferences, and then click Toolbar Preferences. The Toolbar Preferences dialog box appears, as shown in Figure 19.4. Figure 19.4. In the Toolbar Preferences box, you can change the way icons appear on your toolbar by changing Button Displays to Icon Only, Text Only, or Icon and Text. You also can change the size of icons in the Button Size field. 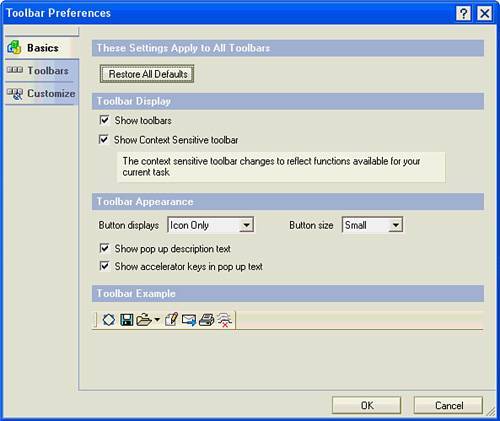
| 2. | Click the Basics button and, in the Toolbar Appearance section, select Show pop up description text to display descriptions.
| 3. | Click OK.
|
To see or change the available toolbars, click the Toolbars button in the Toolbar Preferences box. Select the toolbars you want displayed by placing a checkmark next to the toolbar name. To customize or modify a toolbar, click the Customize button in the Toolbar Preferences dialog box and follow these steps: 1. | Select the toolbar you want to modify in the Select the Toolbar to Modify drop-down field (see Figure 19.5). Figure 19.5. You can modify toolbars and add new buttons in the Customize tab of the Toolbar Preferences dialog box. 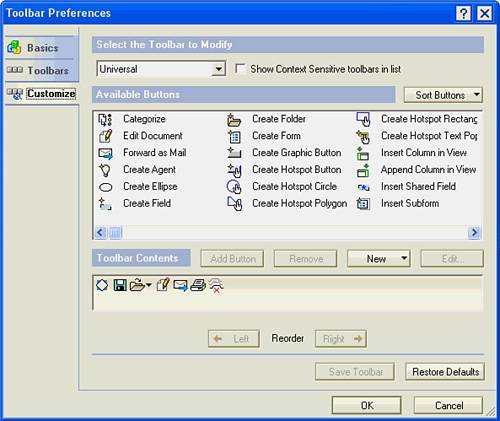
| 2. | In the Available Buttons list, click on the icon you want to add or remove and click either Add Button or Remove button. Do this for each icon you want to change on the toolbar.
| 3. | (Optional) The icons (buttons) displayed in the box are sorted by function. If you want to see them in order of description, click the Sort Buttons button and choose by description.
| 4. | As you add or remove icons, they appear in the Toolbar Contents section along with all the other icons contained in that toolbar. To change the order of the icons in the toolbar, highlight the icon you want to move and click the Left or Right buttons in the Reorder section.
| 5. | When you're finished, click Save Toolbar or Restore Defaults, and then click OK to close the dialog box.
|
Instead of anchoring a toolbar to your work area you can float a toolbar (see Figure 19.6). A floating toolbar appears in its own window rather than being anchored on the edge of the screen (as in Right, Left, Top, or Bottom). To float a toolbar, place your mouse on the toolbar grip and drag the toolbar to the area of the screen you want. To anchor a toolbar, place your mouse on the toolbar grip and drag the toolbar to the edge of the screen where you want to anchor it. Figure 19.6. Float toolbars in your work area by dragging them to a desired position. To return a toolbar to its original position, click and drag it to that position and release the mouse button. 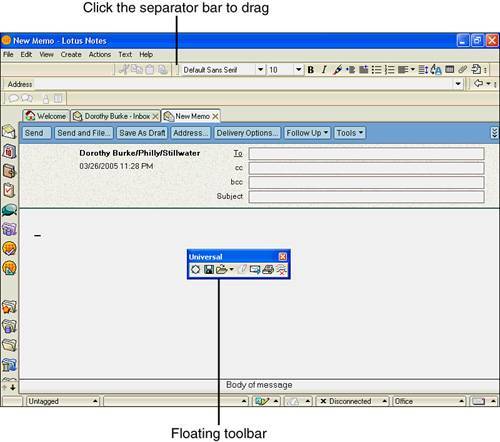
|