Section 10. Capture to the Timeline or Media Panel
10. Capture to the Timeline or Media Panel
4 About Video Capture 5 Capture Digital Video Using FireWire 6 Capture Digital Video Using USB 7 Control Your DV Camcorder During Capture 8 Capture Analog Video
9 Capture Video or Audio Only 11 View Captured Clips 12 About Troubleshooting Capture Problems By default, Premiere Elements captures your video directly to your Timeline, a very convenient feature if you plan to simply capture, adjust your clips, and output. However, many editors prefer to capture to the Media panel only, trimming and ordering their clips before assembling them on the Timeline. Whatever your preference, you can easily change this default setting.
10. Capture to the Timeline or Media Panel 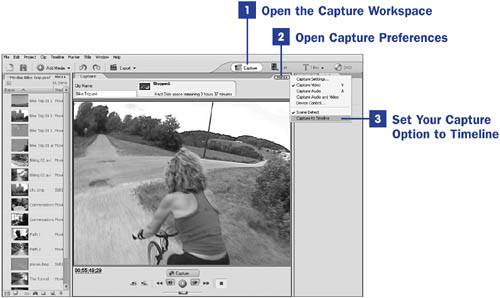 |
 BEFORE YOU BEGIN
 SEE ALSO
EAN: 2147483647
Pages: 199