Creating a Contact Sheet for Your CD Jewel Case
|
| Okay, your CD of digital negatives is burned; but before you go any further, you can save yourself a lot of time and frustration down the road if you create a CD-jewel-case-sized contact sheet now. That way, when you pick up the CD, you'll see exactly what's on the disc before you even insert it into your computer. Luckily, the process of creating this contact sheet is automated, and after you make a few decisions on how you want your contact sheet to look, Photoshop takes it from there. Step OneYou'll create your CD contact sheet using Photoshop's Contact Sheet II feature, so go ahead and launch Photoshop, and then go under Photoshop's File menu, under Automate, and choose Contact Sheet II. You can also access the Contact Sheet II command from the Bridge by going under the Tools menu, under Photoshop, and choosing Contact Sheet II. However, choosing it there just launches Photoshop anyway, as Contact Sheet II is actually a part of Photoshop, not the Bridge. The Adobe Bridge is a separate application. (More on that later.) The Contact Sheet II dialog will appear onscreen. 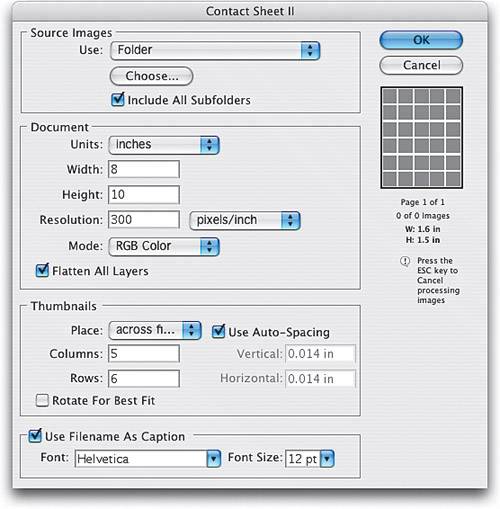 Step TwoGo under the Source Images section, select Folder in the Use pop-up menu, then click on the Choose button (or Browse button on a PC) and a navigation dialog will appear. Locate that untitled folder of photos (you know, the folder you just burned to CD in the previous tutorial) to choose those images. 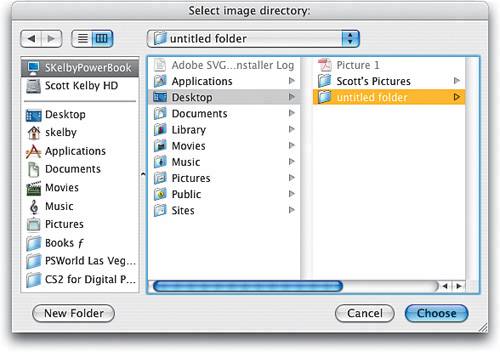 Step ThreeThe rest of the Contact Sheet II dialog is where you pick how you want your contact sheet to look. Under the Document section, enter the Width and Height of your jewel box cover. (The standard size is 4.75" x 4.75", but I recommend using 4.5" x 4.5"; otherwise, the contact sheet places the thumbnails too close to the edge. By making it 1/4" smaller, as you'll see later, you can add 1/4" of white space around it, making it look much better.) For the Resolution field, I usually choose a low resolution of 150 ppi because the thumbnails wind up being so small they don't need to be a high resolution (and the command runs faster with low-res images). I leave the Mode as RGB Color (the default), and I choose to Flatten All Layers; that way I don't end up with a large, multilayered Photoshop document. I just want a document that I can print once and then delete. 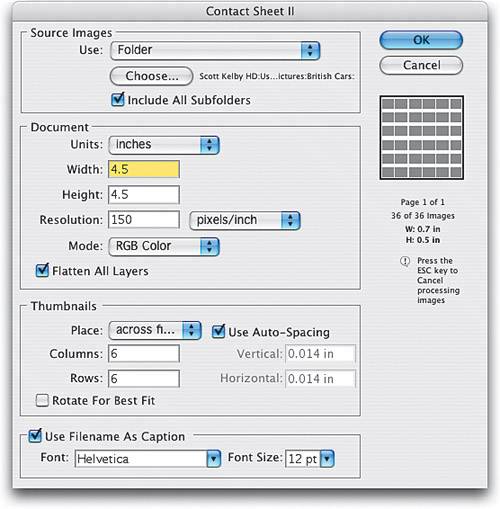 The Thumbnails section is perhaps the most important part of this dialog because this is where you choose the layout. Luckily, Adobe put a preview box on the far-right side of the dialog, where little gray boxes represent how your thumbnails will look. Change the number of Rows and Columns (try setting them both at 6), and this live preview will give you an idea of how your layout will look. Then, at the bottom of the dialog, you can decide if you want to have Photoshop print the file's name below each thumbnail. I strongly recommend leaving this feature turned on. Here's why: One day you may have to go back to this CD looking for a photo. The thumbnail will let you see if the photo you're looking for is on this CD (so you've narrowed your search a bit), but if there's no name below the image, you'll have to launch Photoshop CS2 and use the Bridge to search through every photo to locate the exact one you saw on the cover. However, if you spot the photo on the cover and see its name, then you just have to search your hard disk (or in the Bridge) for that file's name. Believe me, it's one of those things that will keep you from ripping your hair out by the roots, one by one. There's also a Font pop-up menu for choosing from a handful of fonts for your thumbnail captions, and then you choose a size from the Font Size pop-up menu (try 6 points for best results). The font choices are somewhat lame, but believe me, they're better than what was offered in the original Contact Sheet, so count your blessings.  Tip When you're choosing a font size for your contact sheet's thumbnail captions, make sure you decrease the default Font Size setting of 12 points to something significantly lower, like 6 points. You'll need to do this because of the long file names assigned to the images from your digital camera (otherwise, you'll only see the first three letters of the file name, making the contact sheet worthless, like the one shown here). So how small should you make your type? That depends. The more thumbnails you're fitting on your contact sheet, the smaller you'll need to make the font size. 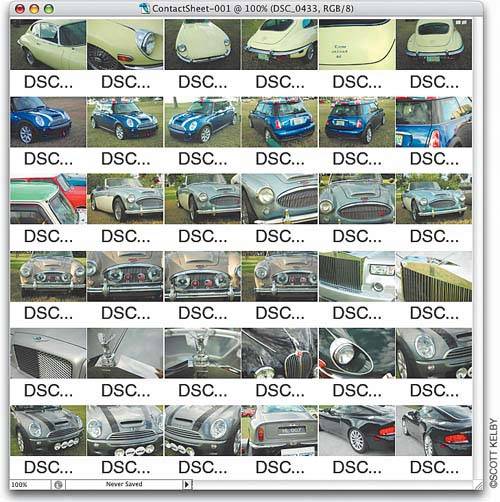 Step FourNow it's time to let 'er rip! With all your settings in place, just click OK. Within a minute or two, you'll have a contact sheet. But notice how tight the thumbnails are to the top and side edges? That's what I was talking about earlier when I said it's better to make your contact sheet's size slightly smaller than you need, so later (actually, in the next step), you can add some white space around it, which makes it less crowded, easier to use, and it just plain looks better. 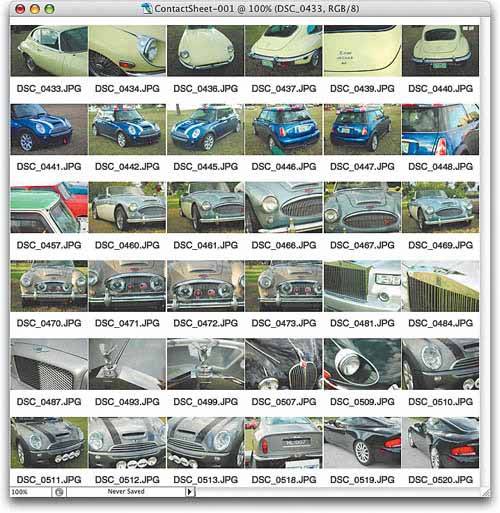 Step FiveHere's where we add that 1/4" of space back in, allowing some "breathing room" around the thumbnails in the contact sheet. Go under the Image menu and choose Canvas Size. When the dialog appears, ensure the Relative checkbox is on, enter 0.25 inches for the Width and Height fields, set the Canvas Extension Color pop-up menu to White, then click OK.  Step SixHere's the contact sheet now, after adding 1/4" of white space around the top, bottom, and sides. Looks much better, doesn't it? (Contrast this with the previous contact sheets and you'll see the difference.) 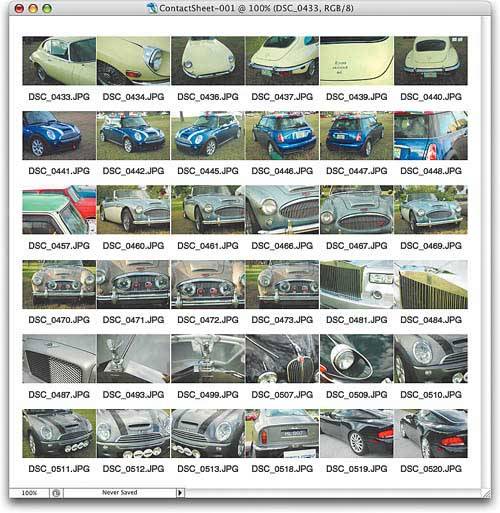 Step SevenThis is more like a tip than a step, but a number of photographers add a second contact sheet to make it even easier to track down the exact image they're looking for. It's based on the premise that in every roll (digital or otherwise), there's usually one or two key shotstwo really good "keepers" that will normally be the ones you'll go searching for on this disc. So what they do is make an additional contact sheet with just the two or three key shots on that CD, which they'll use either as the cover or the inside cover of their CD jewel case. They include a description of the shots, which makes finding the right image even easier. Note: If you're only using two or three images, you don't need to use Contact Sheet IIyou can just create this second cover yourself by dragging the images into a blank Photoshop document using the Move tool (V) and adding file names, descriptions, etc., with the Type tool (T). 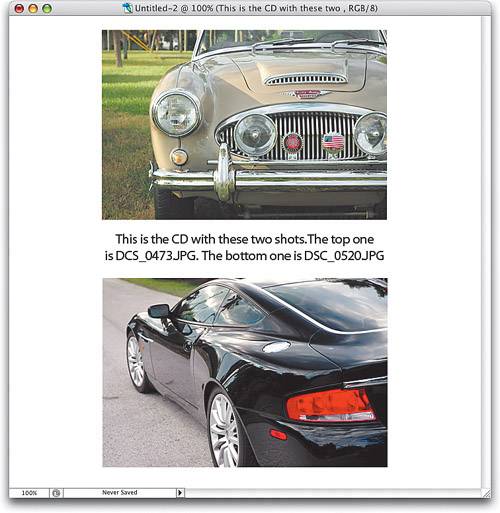 Step EightHere's the final result, after the contact sheet has been printed and fitted into your CD jewel case. 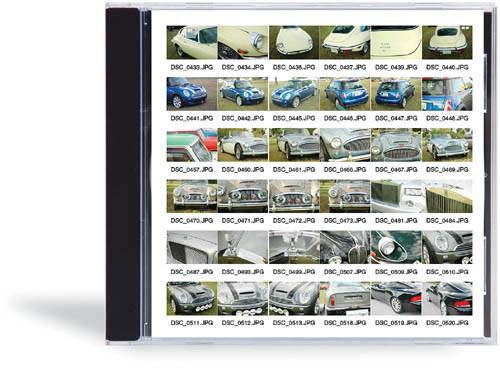 |
|
EAN: N/A
Pages: 187