Selecting Square, Rectangular, or Round Areas
| Selections are an incredibly important part of working in Elements 4.0. That's because without them, everything you do, every filter you run, etc., would affect the entire photo. By being able to "select" a portion of your image, you can apply these effects only to the areas you want, giving you much greater control. Believe it or not, the most basic selections (squares, rectangles, circles, and ovals) are the ones you'll use the most, so we'll start with them. Step One
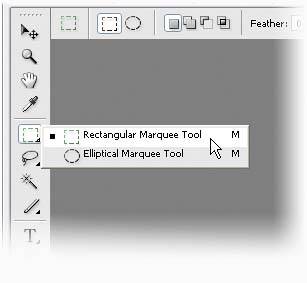
To make a rectangular selection, choose (big surprise) the Rectangular Marquee tool by pressing the M key. Adobe's word for selection is "marquee." (Why? Because calling it a marquee makes it more complicated than calling it what it really isa selection tooland giving tools complicated names is what Adobe does for fun.) Step Two©SCOTT KELBY
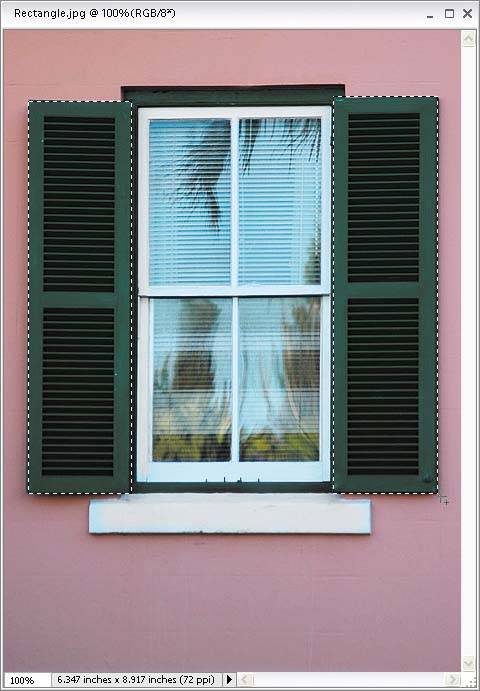
We're going to start by selecting a rectangle shape, so click your cursor in the upper left-hand corner of the left shutter and drag down and to the right until your selection covers the entire shape, then release the mouse button. That's it! You've got a selection, and anything you do now will affect only the area within that selected rectangle (in other words, it will only affect the green shutter on the left). Step Three
To add another area to your current selection, just press-and-hold the Shift key, and then draw another rectangular selection. In our example here, you'll want to select the shutter on the right side as well, so hold the Shift key, drag out a rectangle around it, and release the mouse button. Now both shutters are selected. Step Four
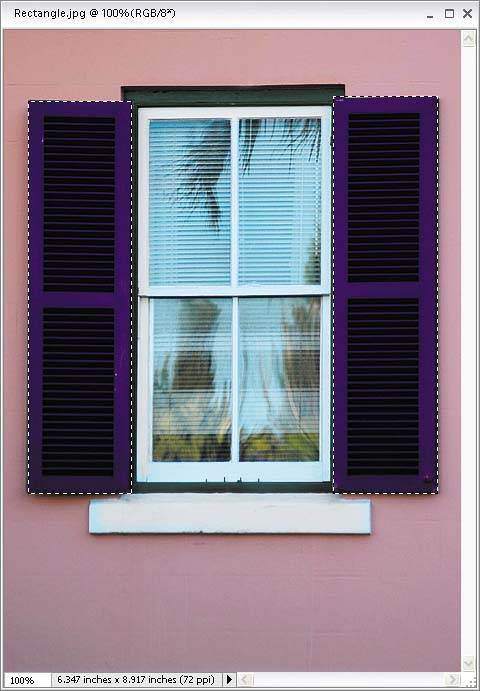
Now let's make an adjustment and you'll see that your adjustment will only affect your selected areas. Go under the Enhance menu, under Adjust Color, and choose Adjust Hue/Saturation. When the dialog appears, drag the Hue slider to the left (or right), and you'll see the color of the shutters change as you drag. More importantly, you'll see that nothing else changes colorjust the shutters. This is why selections are so importantit's how you tell Elements you only want to adjust a specific area. To deselect (making your selection go away), just press Control-D. Step Five©SCOTT KELBY  Okay, you've got rectangles, but what if you want to make a perfectly square selection? It's easythe tool works the same waybut before you drag out your selection, you'll want to hold the Shift key down. Let's try it: Open another image, get the Rectangular Marquee tool, hold the Shift key, and then draw a perfectly square selection (around the black area inside of this fake Polaroid frame, in this case). Step Six©SCOTT KELBY
While your selection is still in place, open a photo that you'd like to appear inside your selected area and press Control-A (this is the shortcut for Select All, which puts a selection around your entire photo at once). Then press Control-C to copy that photo into Elements' memory. Step Seven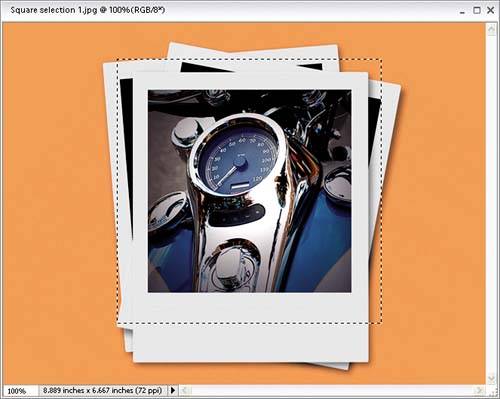 Switch back to the Polaroid image, and you'll notice that your selection is still in place. Go under the Edit menu and choose Paste Into Selection. The image held in memory will appear pasted inside your square selection. If the photo is larger than the square you pasted it into, you can reposition the photo by just clicking-and-dragging it around inside your selected opening with the Move tool (V). Step Eight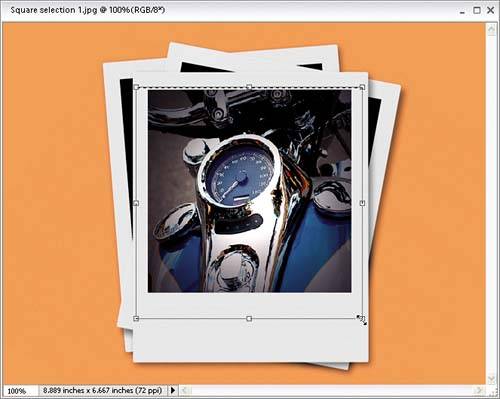 You can also use Free Transform (press Control-T) to scale the pasted photo in size. Just grab a corner point, press-and-hold the Shift key, and drag inward or outward. When the size looks right, press the Enter key and you're done. (Well, sort ofyou'll need to press Control-D to deselect, but only do this once you're satisfied with your image, because once you deselect, Elements flattens your new image into your Background layer, meaning there's no easy way to adjust this image.) Now, on to oval and circular selections… Step Nine©SCOTT KELBY  Open an image with a circle shape you want to select, and then press M to switch to the Elliptical Marquee tool (pressing M toggles you between the Rectangular and Elliptical Marquee tools by default). Now, just click-and-drag a selection around your circle. Press-and-hold the Shift key as you drag to make your selection perfectly round. If your round selection doesn't fit exactly, you can reposition it by moving your cursor inside the borders of your round selection and clicking-and-dragging to move it into position. If you want to start over, just press Control-D to deselect, and then drag out a new selection. Hint: With circles it helps if you start dragging before you reach the circle, so try starting about ¼" to the top left of the circle. Step Ten
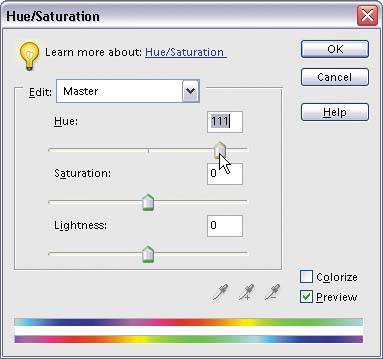
We'll change the circle's color (like we did in the previous rectangle project), so go under the Enhance menu, under Adjust Color, and choose Adjust Hue/Saturation. Move the Hue slider to the right until it reads +111, which should give you a dark pink sign. Now press Control-D to deselect. Step Eleven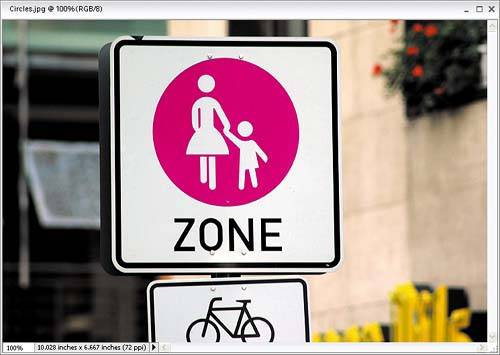 This isn't really a step; it's more of a recap: To make rectangles or ovals, you just grab the tool and start dragging. However, if you need to make a perfect square or a circle (rather than an oval), you hold the Shift key before you start dragging. You're starting to wish you'd paid attention in geometry class now, aren't you? No? Okay, me either. |


EAN: 2147483647
Pages: 201