Seeing an Instant Slide Show
| If you want to see a quick slide show of a collection or currently selected photos in the Organizer, it's pretty much just a two-click process. Later in this book, I show you how to create rich, fully featured slide shows using an entirely different feature of Elements 4.0, but for now we'll just look at how to create a quickie slide show with minimum time and effort. Step One©SCOTT KELBY 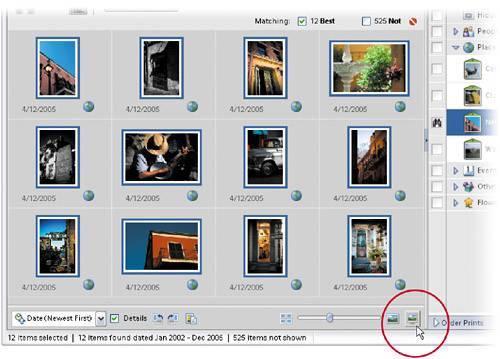 Open the Organizer and make sure the Photo Browser window is active by clicking the Photo Browser button in the top right of the Organizer. Now hold the Control key and click on each photo you want to appear in your slide show (if the photos are contiguous, you can click on the first photo, hold the Shift key, click on the last photo, and all the photos in between will be selected). Once the photos you want are selected, click on the Full Screen View icon (it looks like a little monitor) at the bottom right of the Browser window. Step Two
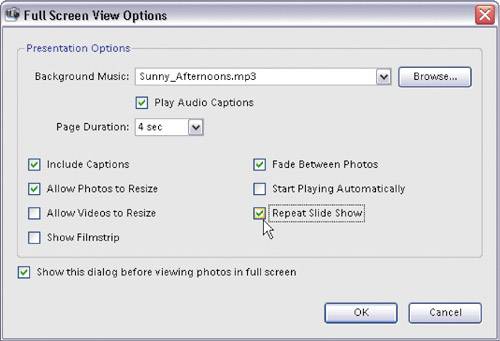
This brings up the Full Screen View Options dialog, which contains presentation options for your slide show. You can choose music that will play during your slide show from the Background Music pop-up menu. You can also choose how long each photo will appear onscreen. By default, it assumes you want any captions included, but you can turn that off by clicking the Include Captions checkbox, and you can also have your slide show loop when it reaches the end by clicking on the Repeat Slide Show checkbox. Now click OK to begin your slide show. Step Three
Once you click OK, you'll enter Full Screen View mode, where you'll see a floating slide show control palette on the top-left side of your screen. Your slide show won't actually start advancing until you click the Play button (or press the shortcut F5). To stop your slide show from advancing (to pause it), click the Pause button in the control palette (the Play button toggles to the Pause button while the slides are in motion), and then to resume the slide show, just click Pause one more time. Step Four
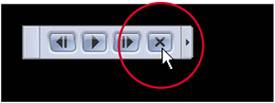
Besides the standard Previous, Play, Next, and Pause buttons that appear in the control palette, you'll also see other controls on the right. These extra controls are for comparing still images and are not for use during your slide show. To hide these other controls, click on the tiny left-facing arrow on the far-right side of the control palette and it will collapse down to just display the slide show controls. Step Five
To quit your slide show and return to the Photo Browser, press the Escape key on your keyboard or click the Stop (X) button on the control palette. |


EAN: 2147483647
Pages: 201