Choosing Your Own Icons for Tags and Collections
| By default, a tag or collection uses the first photo you add to that tag or collection as its icon. Unfortunately, these icons are so small that you probably can't tell what the icon represents. That's why you'll probably want to choose your own photo icons instead. Step One©SCOTT KELBY
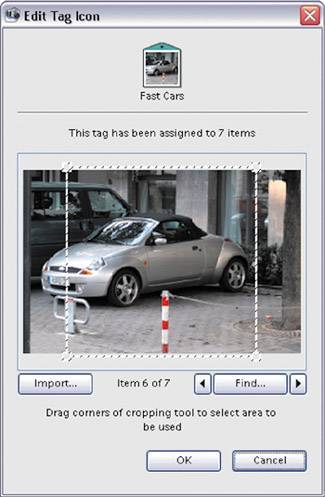
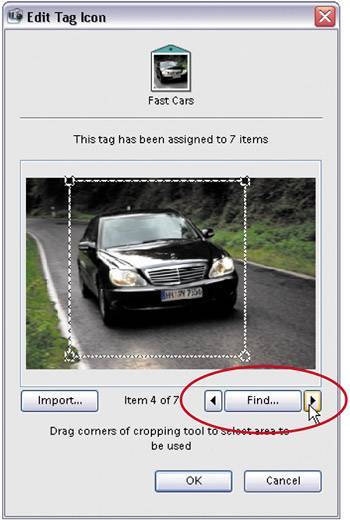
It's easier to choose icons once you've created a tag or collection, meaning you've tagged a few photos or added some photos to a collection. Once you've done that, click on your tag or collection, then click on the Pencil icon (it's in the bar right under the tab's name). This brings up the Edit Tag (or Collection) dialog. In this dialog, click on the Edit Icon button to launch the dialog you see here. Step Two©SCOTT KELBY
You'll see the first photo in your collection in the preview window (this is why it's best to edit the icon after you've added tags or collections to the photos). If you don't want to use this first photo, click the arrow buttons under the bottom-right corner of the preview window to scroll through your photos. Once you find the photo you want to use, click on the little cropping border (in the preview window) to isolate part of the photo. This gives you a better close-up photo that's easier to see as an icon. Then click OK in the open dialogs and that cropped image becomes your icon. |
EAN: 2147483647
Pages: 201