Colorizing Black-and-White Photos
| Once you've restored a black-and-white photo, you might want to consider colorizing (hand tinting) the photo to give it added depth. This particular technique doesn't take a lot of Elements skills; it just takes a bit of patience, because colorizing a photo can take some time. Step One©DAVE GALES 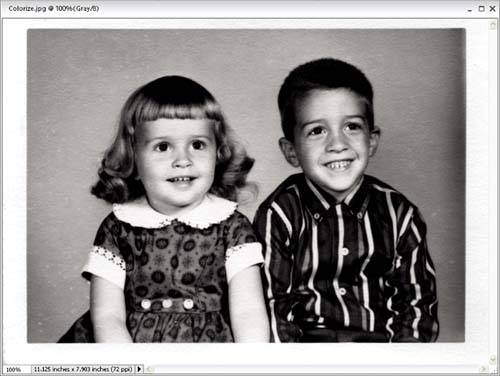 Open the black-and-white photo you want to colorize. Step Two
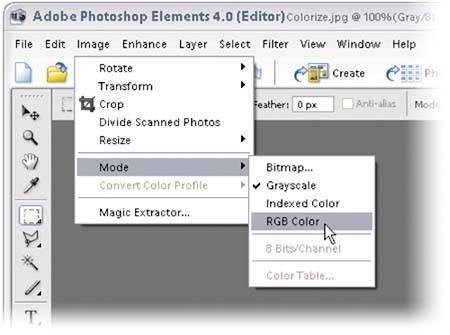
To colorize a photo, your Elements image has to be in a color mode, so if your photo is in Grayscale mode (it will say "Gray" up in your document's title bar), you'll have to convert it to RGB mode by going under the Image menu, under Mode, and choosing RGB Color. Step Three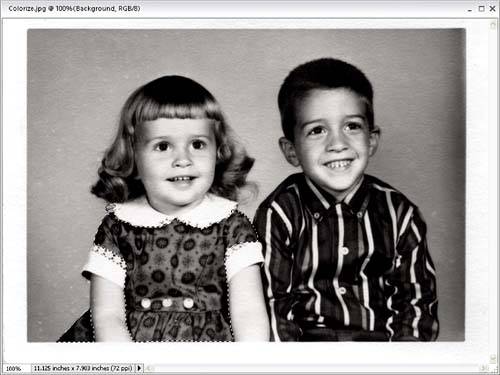
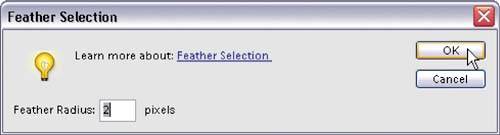
Press L to switch to the Lasso tool and draw a selection around the first area within your photo that you want to colorize. Press-and-hold the Alt key to subtract from your selection or hold the Shift key to add to it. Then, go under the Select menu and choose Feather. When the dialog appears, enter 2 pixels to soften the edge of your selection just a tiny bit, and then click OK. Step Four
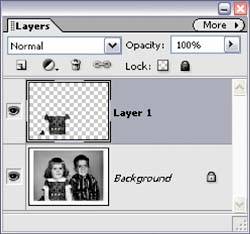
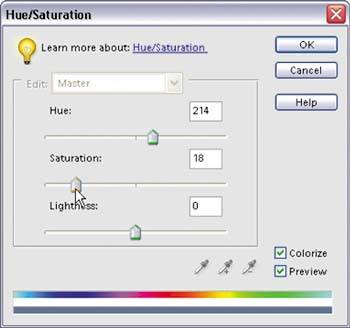
Now, you could do all of your colorization on the Background layer, but I recommend pressing Control-J to copy your selected area onto its own layer. That way, if a color you've applied winds up looking too intense, you can lower the layer's Opacity to "tone it down" a bit. Step Five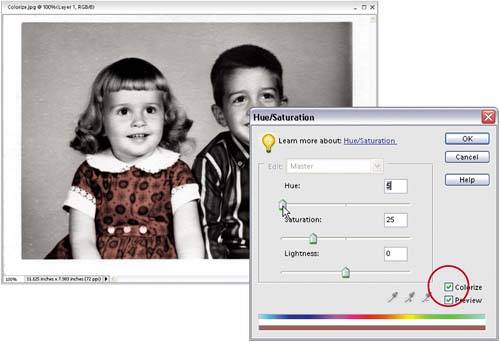 Go under the Enhance menu, under Adjust Color, and choose Adjust Hue/Saturation. When the Hue/Saturation dialog appears, click on the Colorize checkbox in the bottom right-hand corner, drag the Hue slider (at the top of the dialog) to the tint you'd like for this selected area, and then click OK. Step Six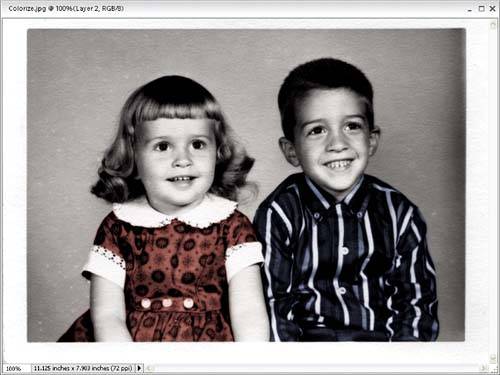
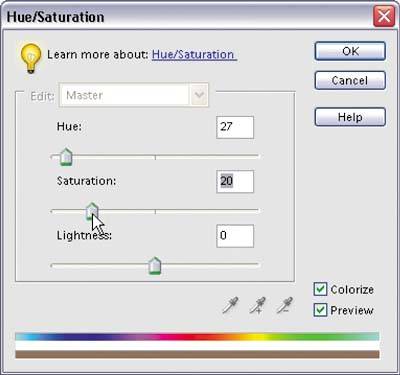
In the Layers palette, click on the Background layer to make it active and with the Lasso tool, select the next area to be colorized (in this case, his shirt). Apply a feather to your selection (as you did in Step 3), and press Control-J to copy your selection to its own layer. Now apply your Hue/Saturation adjustment again (like you did in Step 5). When you're applying the color, if it looks too intense, drag the Saturation slider to the left to reduce the color's intensity, giving it a pastel look that's typical of color tinting. When it looks good to you, click OK. Step Seven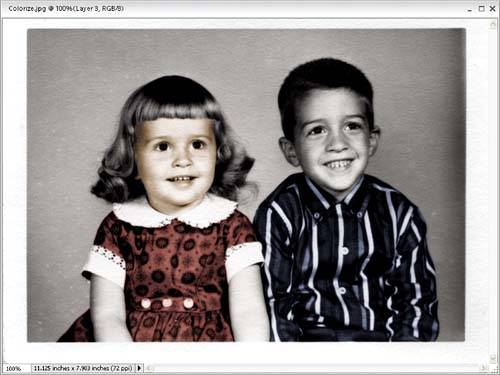
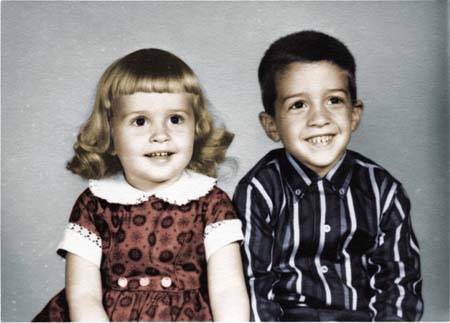
You'll basically repeat this process to colorize the rest of the photo. Each time you'll go to the Background layer, select an area to be colorized, add a slight feather, copy the selection to its own layer by pressing Control-J, apply the Hue/Saturation command, click the Colorize checkbox, and choose your desired color using the Hue and Saturation sliders. When you're finished, if any of the colors look too intense, just lower the Opacity in the Layers palette. Then choose Flatten Image from the Layers palette's More flyout menu to complete the effect. Hint: In this example we're choosing a skin tone. This also tints the whites of her eyes, so you might want to grab the Eraser tool and just erase over the whites to remove that brownish tint. Before
After
|

EAN: 2147483647
Pages: 201