Automated Pano Stitching with Photomerge
| If you've taken the time to get your pano set up right during the shoot (in other words, you used a tripod and overlapped the shots by about 15% to 20% each), then you can have Elements 4.0's Photomerge feature automatically stitch your panorama images together. If you handheld your pano shoot, you can still use Photomerge: It's just going to be much more manual with you doing most of the work rather than Elements doing it for you. Step One©SCOTT KELBY
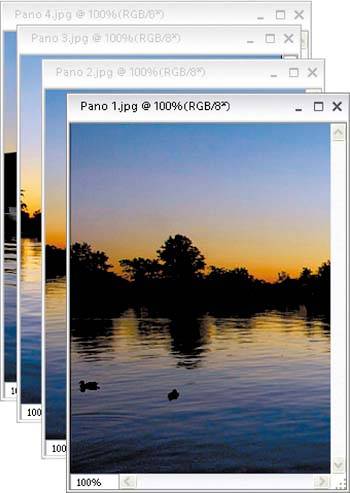
Open the photos that you want Photomerge to stitch together as one panoramic image (you can also open individual images or a folder of images directly from within the Photomerge dialog if you like). In the example shown here, I had four shots already open in Elements. Step Two
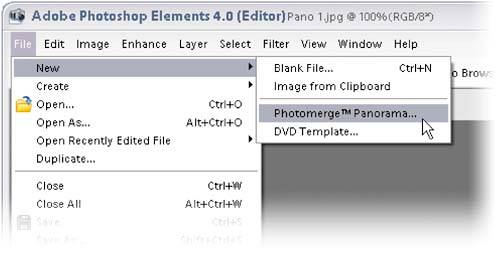
Go under the File menu, under New, and choose Photomerge Panorama. Step Three
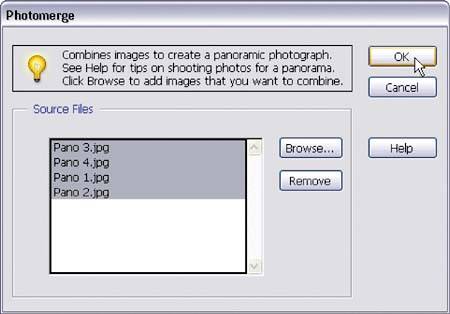
When you choose Photomerge, a dialog appears asking which files you want to combine into a panorama. Any files you have open will appear in the window, or you can click the Browse button and navigate to the photos you need to open. Control-click to select individual files in the Open dialog or if the files are contiguous, click on the first file, press-and-hold the Shift key, then click on the last file. Now click Open and then click OK in the Photomerge dialog. Step Four©SCOTT KELBY
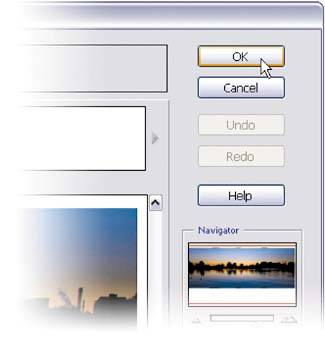
If your pano images were shot correctly (as I mentioned in the introduction of this technique), Photomerge will generally stitch them together seamlessly. If that's the case, click OK and your final panorama will appear as one image. Then you just use the Crop tool (C) to trim away any excess areas in your pano. This is what we call the "best-case scenario," when you've shot the panos on a tripod and overlapped them just like you should so Photomerge had no problems and did its thing right away. It was perfect the first time. But you know, and I know, life just isn't like that. Step Five
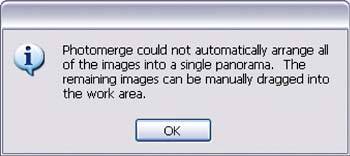
More likely what you'll get (especially if you handheld your camera or didn't allow enough overlap) is this warning dialog that lets you know that Photomerge "ain't gonna do it for you" (that's a technical phrase coined by Adobe's Alabama tech office). In other wordsit's up to you. Step Six Once you click OK in that warning dialog, Photomerge will at least try to merge as many segments together as possible. The segments it couldn't merge will appear in the "Lightbox" (that horizontal row across the top). Although Photomerge didn't do all the work for you, it still can helpjust make sure the Snap to Image checkbox on the right-hand side is turned on. Step Seven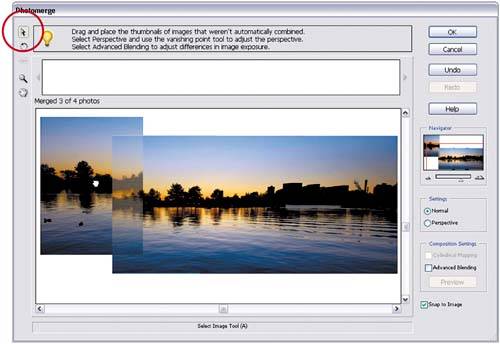
Get the Select Image tool (it looks like the Move tool) from the Toolbox on the left of the dialog and drag the image's thumbnail from the Lightbox down to your work area near the first image. Slightly overlap the image above the other merged images, release your mouse button, and if Photomerge detects a common overlapping area, it will snap them together, blending any visible edges. It actually works surprisingly well. If you need to rotate a segment to get it lined up, click on it with the Select Image tool first, then switch to the Rotate tool and click-and-drag within the segment to rotate. See, it's not that bad (especially using the Snap to Image option). |

EAN: 2147483647
Pages: 201