Making Selections Using a Brush
| A lot of people are more comfortable using brushes than using Marquee tools. If you're one of those people (you know who you are), then you're in luckyou can make your selections by painting over the areas you want selected. Even if this sounds weird, it's worth a tryyou might really like it (it's the same way with sushi). A major advantage of painting your selections is that you can choose a soft-edged brush (if you like) to automatically give you feathered edges. Here's how it works: Step One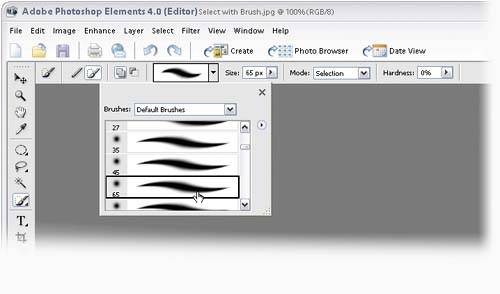 Choose the Selection Brush tool from the Toolbox (press the A key). Before you start, you'll want to choose your brush size by clicking on the Brush thumbnail in the Options Bar to open the Brush Picker. If you want a soft-edged selection (roughly equivalent to a feathered selection), choose a soft-edged brush in the Picker or change your brush's Hardness setting in the Options Bar: 0% gives a very soft edge, while 100% creates a very hard edge. Step Two©SCOTT KELBY 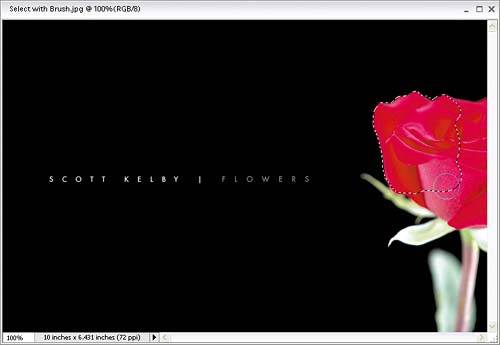 Now you can click-and-drag to "paint" the area you want selected. When you release the mouse, the selection becomes active. Note: You don't have to hold down the Shift key to add to your selection when using this brushjust start painting somewhere else and it's added. However, you can press-and-hold the Alt key while painting to deselect areas. |
EAN: 2147483647
Pages: 201