Rotate Objects Precisely
The Rotate tool rotates objects with the same kind of precision and control that the Scale tool uses. As with the Scale tool, you can use an associated dialog box to define rotation to a precise angle. And, as with the Scale tool, the Rotate tool can be used to define a rotation point that acts as a fulcrum as you interactively rotate an object.
To rotate a selected object (or set of objects) precisely with the Rotate dialog box, double-click the Rotate tool. The Rotate dialog box appears, as shown in Figure 7-10.
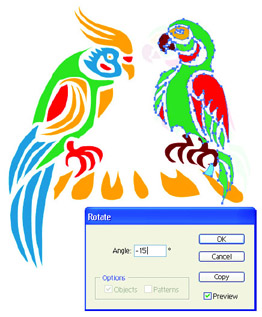
Figure 7-10: Defining rotation for a selected object ”the negative value in the Angle box indicates that the bird is being rotated counterclockwise
The value you enter in the Angle box of the dialog box defines the degree of rotation. The Copy button creates a second, rotated version of your selected object while leaving the original unchanged. The Preview check box allows you to view changes on the artboard as you make them in the dialog box, before your press ENTER or click OK. The Objects and Patterns check boxes allow you to elect to rotate objects and/or their fill patterns independently.
The Rotate tool also allows you to rotate around a selected anchor point in a selected object. To rotate an object around a selected anchor point, follow these steps:
-
Select the object (or objects).
-
Click the Rotate tool.
-
Click an anchor point on the selected object to establish the rotation point.
-
Click and drag a different anchor point to rotate the object around the selected point, as shown in Figure 7-11.
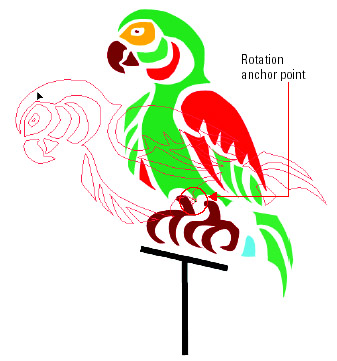
Figure 7-11: The bird is being rotated around a defined fulcrum point.
EAN: 2147483647
Pages: 175