| When you type certain information, such as the date and time, personal names , places, telephone numbers , or recent Office Outlook e-mail recipients, a purple dotted line appears under the item, which indicates a Smart Tag is available. A Smart Tag provides options for commonly performed tasks associated with the information. For example, you can add a name and address that you just typed in a Word document to your Contacts list in Office Outlook. When you point to the purple dotted line, the Smart Tags Option button appears below it. When you click the button, a menu appears with a list of available options. The available options differ depending on the Smart Tag content. Insert Information Using Smart Tags -
 | Point to the purple dotted line under an item. | -
 | Click the Smart Tags Actions button. | -
 | Click any of the available options: | 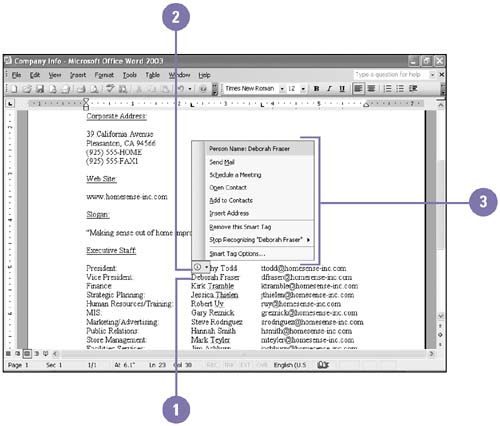 Did You Know? You can turn off Smart Tags . Click the Tools menu, click AutoCorrect Options, click the Smart Tags tab, clear the Label Data With Smart Tags check box, and then click OK. | Change Smart Tag Options -
| | Click the Tools menu, and then click AutoCorrect Options. | -
| | Click the Smart Tags tab. | -
| | Select the Label Text With Smart Tags check box. | -
 | Select the check boxes with the smart tags you want to use. | -
 | To check the active document for smart tags, click Check [Document, Workbook or Presentation], or click Recheck [Document, Workbook or Presentation]. | -
 | To download new Smart Tag types from the Web, click More Smart Tags. | -
 | When you're done, click OK. | 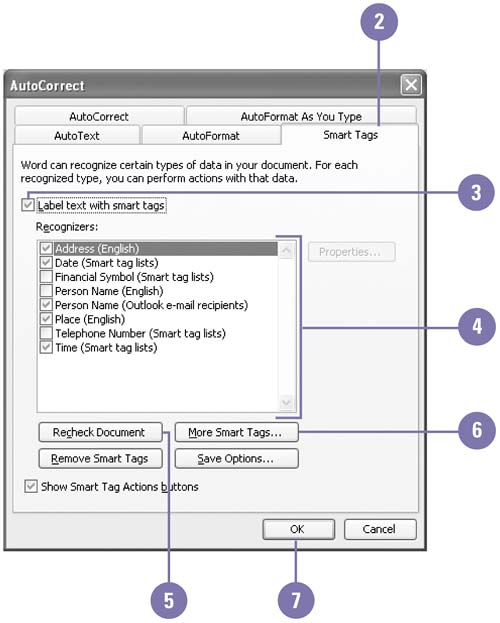 Did You Know? Smart Tag options differ depending on the Office program . The Smart Tags tab in the AutoCorrect Options dialog box includes additional options depending on the Office program. For example, in Excel and PowerPoint, you can select the Embed Smart Tags In This [Workbook or Presentation] check box to save smart tags when you use the Save command. In Word, you can click Save As to embed smart tags. |  |