Section 12.1. Master Pages
A master page provides shared HTML, controls, and code that can be used as a template for all of the pages of a site. Everything on your master page is shown on every page that uses that master page. For example, you might have a master page with a logo and a menu; these will show on every "child" of the master page. Each master page has a content area where you put the content that varies on each child page.
|

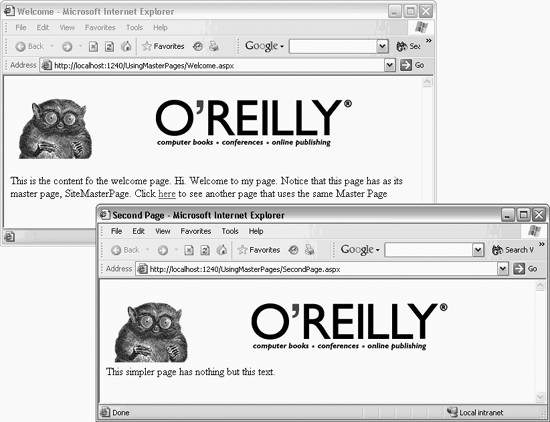
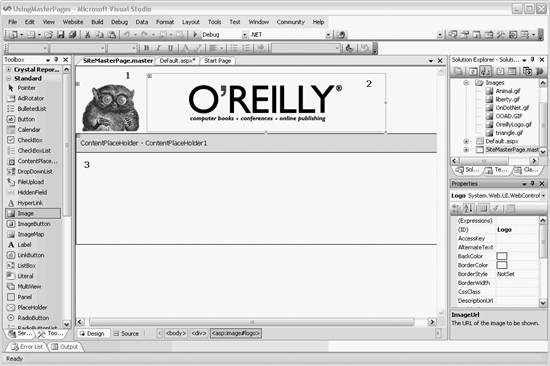
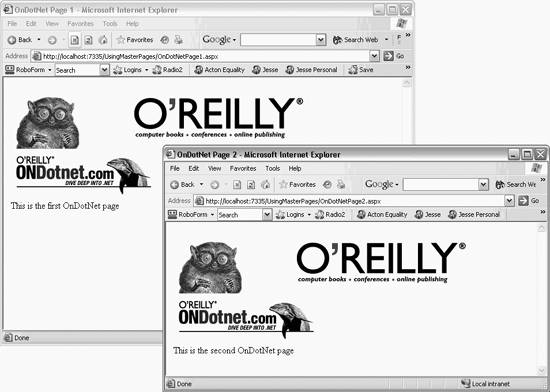
The O'Reilly web site (http://www.oreilly.com) is a good example of a site that could be implemented using a master page. With a master page the logo (the O'Reilly tarsier) and an image (the O'Reilly header) can be shared across multiple pages, as shown in Figure 12-1.
Figure 12-1. The O'Reilly site with master pages
|
To use master pages, you'll take the following steps:
-
Create a new web site.
-
Add a master page to the site.
-
Add content pages based on the master page.
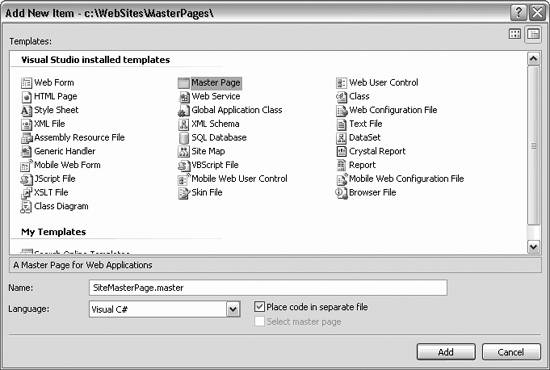
To begin, create a new web site and call it UsingMasterPages . Once the new site opens, right-click the project and choose Add New Item. In the dialog box that opens, choose Master Page and name your master page SiteMasterPage.master , as shown in Figure 12-2.
|
Figure 12-2. Adding the master page
Your new master page has been created with an <asp:contentplaceholder> control declaration already in place:
<asp:contentplaceholder id="ContentPlaceHolder1" runat="server"> </asp:contentplaceholder>
It is this placeholder that will be filled by the page content that uses this master page (the child pages). Within the master page, you may add anything you like surrounding the <asp:contentplaceholder> . For example, you might add the logos at the top of the page using a pair of image controls.
To set this up, download the images that come with the source code or save your own images. Create a folder by right-clicking the application and choosing Add Folder  Regular Folder. Name the folder Images . Put your images in that folder.
|
Then, right-click the Images folder and choose Add Existing Item. You can highlight all your images and add them to the project, as shown in Figure 12-3.
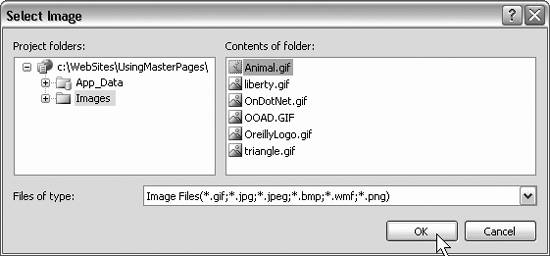
Add two image controls to the master page. You can drag these onto the page in either design or source mode. Set the ID for the first to Animal and set its ImageURL by clicking the ellipsis in the Properties window and navigating to the appropriate image, as shown in Figure 12-4.
Figure 12-3. Adding images
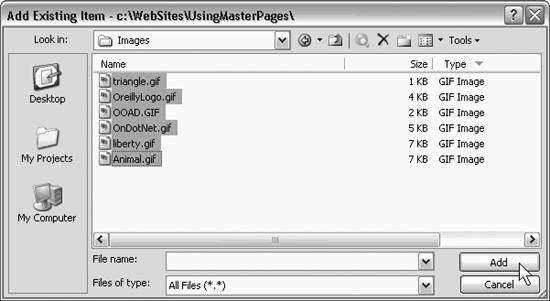
Figure 12-4. Adding the animal image
Drag a second image onto the form, name it Oreilly , and add the OreillyLogo.gif file. Your form now has three objects, as shown in Figure 12-5.
For convenience, I've numbered the three areas in Figure 12-5: the first image ( 1 ), the second image ( 2 ), and the ContentPlaceHolder object ( 3 ). You may add text to the master page's ContentPlaceHolder by typing directly on it, which will act as default text (typically replaced in the pages that use this master page).
The .master page file that resulted in Figure 12-5 is listed in Example 12-1. The ID property of the ContentPlaceHolder control has been changed from its default value to TopPageContent in preparation for use in the example.
Figure 12-5. Three areas on the master page
Example 12-1. SiteMasterPage.master
<%@ Master Language="C#" AutoEventWireup="true" CodeFile="SiteMasterPage.master.cs" Inherits="SiteMasterPage" %> <!DOCTYPE html PUBLIC "-//W3C//DTD XHTML 1.1//EN" "http://www.w3.org/TR/xhtml11/DTD/xhtml11.dtd"> <html xmlns="http://www.w3.org/1999/xhtml" > <head runat="server"> <title>Untitled Page</title> </head> <body> <form id="form1" runat="server"> <div> <asp:Image ID="Animal" runat="server" ImageUrl="Images/animal.gif" /> <asp:Image ID="Oreilly" runat="server" ImageUrl="Images/OreillyLogo.gif" /> <asp:contentplaceholder id="TopPageContent" runat="server"> This is some default text. </asp:contentplaceholder> </div> </form> </body> </html>
12.1.1. Adding Content Pages
The pages you'll add that will use this master page will put all of their content into the ContentPlaceHolder you've added to the master page.
|
Create two new .aspx pages, Welcome.aspx and PageTwo.aspx . Make these "normal" Web Form ( .aspx ) pages and check "Select master page," as shown in Figure 12-6.
Figure 12-6. Creating a form that uses the master page
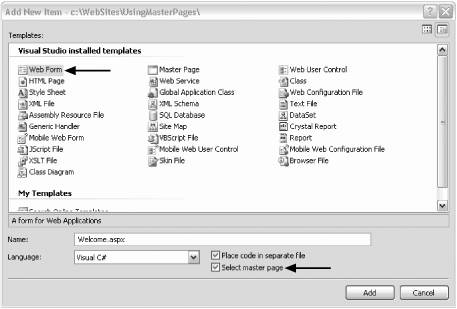
When you click the Add button, the Select a Master Page dialog will open . Choose SiteMasterPage.master and click OK.
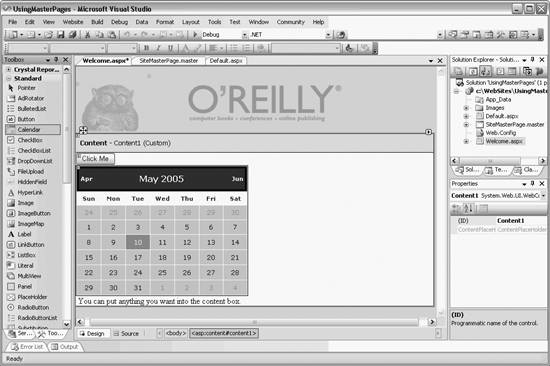
Your new Welcome.aspx page will be shown (in Design Mode) within the master page. The Content box will allow you to add any content you like, including controls, text, and so forth, but the contents of the master page will be disabled, as shown in Figure 12-7.
Figure 12-7. Editing content in the Content control
|
This allows you to see how your new page will look when it is combined with the master page at runtime. When you create SecondPage.aspx , you'll use the same master page, thus ensuring that the look and feel of the two pages is identical. Take a quick look at the asp that is generated:
<%@ Page Language="C#" MasterPageFile="~/SiteMasterPage.master" AutoEventWireup="true" CodeFile="SecondPage.aspx.cs" Inherits="SecondPage" Title="Second Page" %> <asp:Content ID="Content1" ContentPlaceHolderID="ContentPlaceHolder1" Runat="Server"> </asp:Content> The @Page directive contains a reference to this page's MasterPage file and that a content ASP.NET web control was added for you.
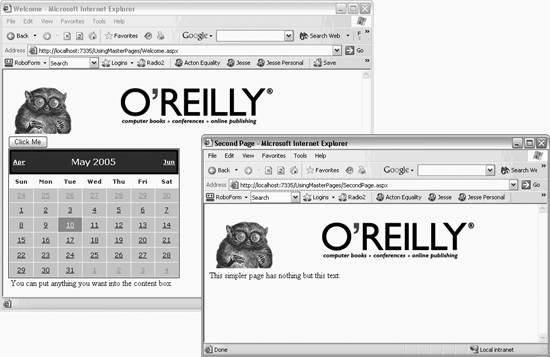
You can put in some simple text and bring up the two pages, as shown in Figure 12-8.
Figure 12-8. Welcome and second page
12.1.2. Using Nested Master Pages
It is not unusual for you to want to have certain stable elements throughout the entire application, but other elements are shared only within one part of your application. For example, you might have a company-wide header but have division-wide elements as well. ASP.NET 2.0 lets you create nested pages. Any given web page can be combined with a nested page or with the original master, whichever makes more sense for that individual page.
To illustrate this, we'll create a nested master page called ASPNet.master . Create a new master page, and then edit the page, as shown in the highlighted lines of code in Example 12-2.
When creating a nested page, VS2005 will automatically insert the normal boilerplate for a page, including the following:
<!DOCTYPE html PUBLIC "-//W3C//DTD XHTML 1.1//EN" "http://www.w3.org/TR/xhtml11/DTD/xhtml11.dtd"> <html xmlns="http://www.w3.org/1999/xhtml" > <head runat="server"> <title>Untitled Page</title> </head> <body> <form id="form1" runat="server"> <div> </div> </form> </body> </html>
This default HTML must be deleted and replaced, as shown in Example 12-2.
Example 12-2. ASPNET.master nested page
<%@ Master Language="C#" MasterPageFile="~/SiteMasterPage.master" AutoEventWireup="true" CodeFile="ASP.NET.master.cs" Inherits="ASP.NET" %> <asp:Content runat="server" ID=" OnDotNetMasterContent " ContentPlaceHolderID="TopPageContent" > <table> <tr> <td> <asp:Image ID="Image1" runat="server" ImageUrl="~/Images/OnDotNet.gif" /> </td> </tr> <tr> <td> <div> <asp:contentplaceholder id="OnDotNetContent" runat="server"> This is default content for OnDotNet </asp:contentplaceholder> </div> </td> </tr> </table> </asp:Content>
This nested page will have as its master page the SiteMasterPage you created earlier, but it will add, within its Content control, an image and its own Content placeholder (with its own default text). Unfortunately, you cannot use the designer to examine nested pages, as shown in Figure 12-9, but you can see the effect once you create a web page that uses this nested master page.
Figure 12-9. You cannot use Design view to create nested master pages

Like the topmost master page, the new nested page has a Master directive but this nested page adds one attribute: MasterPageFile (shown highlighted in Example 12-2). This indicates that the current master page ( ASP.Net.master ) is a nested page to SiteMasterPage.master .
To use the nested page, create two additional web pages ( OnDotNetPage1.aspx and OnDotNetPage2.aspx ). Set ASP.Net.Master as the master page for both by adding a MasterPageFile attribute to the Page directive. The results are shown in Figure 12-10.
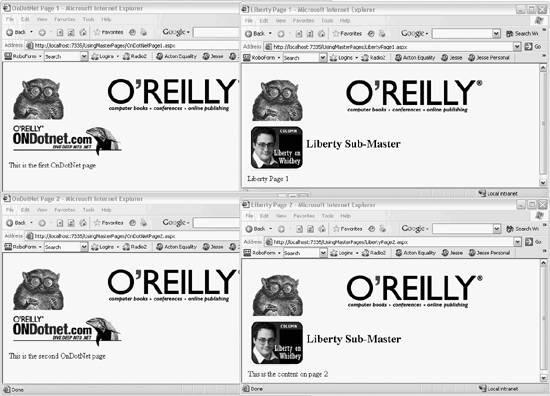
Figure 12-10. Nested master pages
Each of these pages is divided into three areas. The topmost area has the O'Reilly logos from SiteMasterPage.master . The middle area has the OnDotNet.com logo from the nested page OnDotNet.master . Finally, each of the .aspx pages has content.
You can have multiple nested pages that all share a common master page. For example, you might create a second nested page named LibertyMaster.master , as shown in Example 12-3. Delete the extraneous code from the boilerplate inserted by VS2005.
Example 12-3. LibertyMaster.master
<%@ Master Language="C#" MasterPageFile="~/SiteMasterPage.master" AutoEventWireup="true" CodeFile="LibertyMaster.cs" Inherits="Liberty" %> <asp:Content ID="LibertyMasterContent" runat="server" ContentPlaceHolderID="ContentPlaceHolder1" > <table> <tr> <td> <asp:Image ID="libertyImage" runat="server" ImageUrl="~/Images/liberty.gif" /> </td> <td> <h2>Liberty Sub-Master</h2> </td> </tr> <tr> <td colspan="2"> <div> <asp:contentplaceholder id="LibertyContent" runat="server"> This is default content for Liberty </asp:contentplaceholder> </div> </td> </tr> </table> </asp:Content>
This new nested page uses a different image and adds text to a second column. You could make significant differences in each of your nested pages (e.g., one might add a layer of menus , another might add a site map).
To see your new nested page at work, create two new pages: LibertyPage1.aspx and LibertyPage2.aspx . These new pages will share the top master page with the OnDotNet pages, but these new pages will have their own middle section created by the Liberty.master sub-page, as shown in Figure 12-11.
12.1.3. Dynamically Editing the Master
You may decide that in response to certain events, you'd like to reach up into the master page (from a child page) and change its presentation. To do this, you will create a public property in your master page that sub-pages can reach up and change.
Figure 12-11. Four nested pages
To see this in action, add the following property to SiteMasterPage.master.cs :
public Image AnimalImage { get { return this.Animal; } set { this.Animal = value; } } The value this.Animal is defined in SiteMasterPage.master :
<asp:Image ID="Animal" runat="server" ImageUrl="~/Images/Animal.gif" />
To access this property, add two new pages to the web site, Welcome1.aspx and Welcome2.aspx . Check the Select Master Page checkbox in the Add New Item dialog. Both will use SiteMasterPage.master as their master page.
Add the following directive at the top of Welcome2.aspx :
<%@ MasterType TypeName="SiteMasterPage" %>
You can now write code in Welcome2.aspx.cs that reaches up to the SiteMasterPage and sets its property as highlighted in the following code snippet:
protected void Page_Load(object sender, EventArgs e) { this.Master.AnimalImage.ImageUrl = "~//images//procCS.gif"; }
|
Put some content into each. For example, here is the content for Welcome1.aspx, which you will find startlingly original:
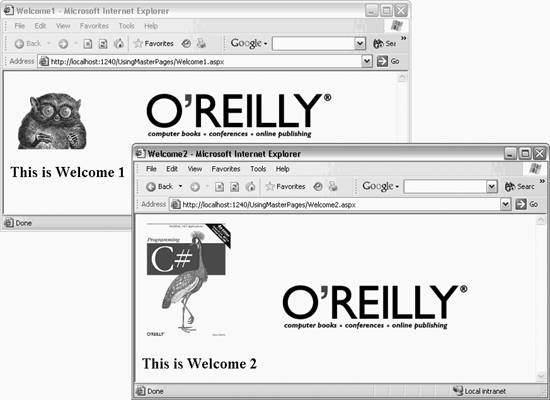
<asp:Content ID="Content1" ContentPlaceHolderID="TopPageContent" Runat="Server"> <h2>This is Welcome 1</h2> </asp:Content> When you run the two pages, you can see that Welcome2.aspx has had its master page modified at runtime, as shown in Figure 12-12.
Figure 12-12. Modifying the master page
The alternative to using properties is to use late binding. If you replace the Page_Load method in Welcome2.aspx with the following, the results will be identical (if a bit slower):
protected void Page_Load(object sender, EventArgs e) { Control ctrl = Master.FindControl("Animal"); Image img = ctrl as Image; if (img != null) { img.ImageUrl = "~//images//procCS.gif"; } } In this case, rather than using a property, you are finding the Image control at runtime and then setting its property. Both approaches work, but the use of properties is preferred because late binding is less efficient and harder to maintain.
EAN: 2147483647
Pages: 173