| As any experienced Web designer knows , site development often consists of placing the same elements on multiple pages to create a cohesive whole. Assets and templates help in these situations ”as do snippets if you're code-inclined ”but they aren't always the right tools for the job. Assets are very specific and apply to only one type of element or file. Templates are used to create entire pages. But what about reusing specific portions of a page? Library items complete the triumvirate of design tools for accessing reusable elements. Despite being one of the Assets panel categories, Library items are used to re-create elements (or a group of elements) defined by the designer. These can include anything from portions of text to an entire table structure. Library items can be used to add a copyright notice to the bottom of each page; this notice can then be updated each year by changing only the Library item instead of every page on the site. Library items can also be used to create a sidebar table structure that can then be inserted as needed on pages throughout the site. When you create your first Library item, Dreamweaver generates a Library folder in your local site. This folder contains all the Library items for the site, each of which is identifiable to a Windows user by its .lbi extension. Although you can edit library files directly in this folder, the best place to work with Library items is in the Library category of the Assets panel (see Figure 7.4). In this panel, you can create and edit Library items, insert them into pages, and even copy them to another site's library. Figure 7.4. The Library category of the Assets panel displays a preview of the Library item and tools to create and edit items. 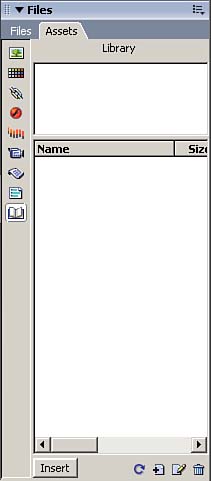
Library Items and Server-Side Includes If Dreamweaver Library items sound a lot like Server-Side Includes (SSIs), you're right ”they essentially work the same way. SSI s are small files that the server inserts when it delivers a page to a requesting browser. These small files contain the same information that a Dreamweaver Library item can ”although SSIs are more flexible in that they allow you to include any portion of a document, including head elements (which Library items do not allow). Any document that will receive the SSI must contain the include statement. This statement will look something like this (servers vary, as do the syntax for SSIs): <!--#include virtual="/includes/footer.ssi" -->
Dreamweaver does allow you to create SSIs via the specific application you might be using: PHP, ASP, and so forth. To use SSIs, you need to check with your server administrator to ascertain proper syntax and usage. NOTE A comprehensive Webmonkey article on extending Dreamweaver also contains good information on using SSIs, including converting Library items to SSIs, http://hotwired.lycos.com/webmonkey/99/11/index2a.html.
Library Items Versus Dreamweaver Templates The biggest advantage Library items have is how easy they are to edit. Just as with templates, when the Library item is edited, every instance of the item on your site's pages is updated automatically. Also just like templates, Library items are coded into the document with comment tags. These tags surround the code for the Library item and contain a link back to the library source code. The comment text for a Library item is distinguishable from that of template comments. The comments will appear as <!--#BeginLibraryItem "/Library/Sidebar.lbi"-->
and <!--#EndLibraryItem -->
The path included in the #BeginLibraryItem comment will reflect the name of the Library item. Library items can comprise any element or combination of elements on a page, with the exception of head content (such as script , style , and meta tags). To create a Library item, do the following: - Select the elements you want to create as a Library item. In my sample site, I've selected the Login/Search header table.
- Drag the selection to the Library category of the Assets panel. Alternatively, click the New Library Item button at the bottom of the panel, or select Modify, Library, Add Object to Library from the menu (see Figure 7.5).
Figure 7.5. The New Library Item button can be used to create a Library item. You can also insert a Library item, refresh the site list, edit a Library item, or delete one by using the Assets panel Library options. 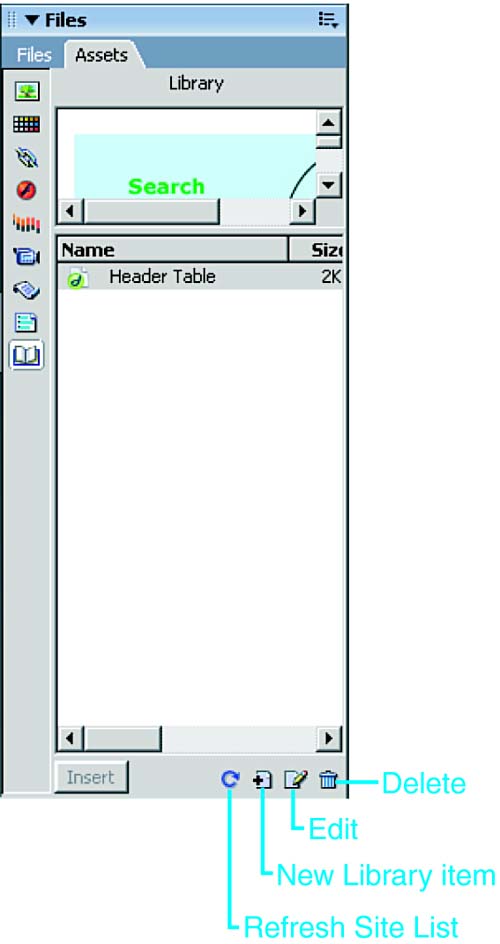
- Enter the Library item's name. The more descriptive, the better because this becomes the filename for the Library item.
When you create the Library item, the original selection becomes the first instance of your new object, linked to the new item you created from it. The Property inspector changes context to provide tools for editing the Library item, detaching the selected instance of the item from its source, or re-creating the item from the selected instance (see Figure 7.6). Figure 7.6. The Library Item Property inspector enables you to modify the Library item and the selected instance of it on the page. 
|