| This chapter looks at how you can get your FreeHand designs to the Web, as well as coordinate the use of your FreeHand documents with other MX Suite programs such as Dreamweaver, Fireworks, and Flash. FreeHand MX is a powerful design program for working with traditional print publishing. It is also a powerful tool that lets you incorporate many features for creating Web graphics and Web pages. FreeHand MX lets you work with colors that work best when viewed online, as well as export graphics that are used in Web designs. In addition, FreeHand allows you to directly convert your graphics into HTML. Although this is a handy feature to have in a design program, it is not a replacement for Fireworks MX or Dreamweaver MX. It's simply another tool to use if you've invested a lot of time designing a newsletter or brochure for print publishing and need to convert it to an HTML Web page without reinventing the wheel. I wouldn't recommend using FreeHand as your primary site-building program. Web-Safe Colors The old rule of thumb for Web design was to only work in the 216 colors that could be consistently displayed on both Windows and Macintosh monitors . That rule of thumb was always a limiting factor in Web design and, fortunately, is now mostly a rule of bygone days.  For more on the Web-Safe palette, see Chapter 3, "Introducing the MX Interface," page 23 . For more on the Web-Safe palette, see Chapter 3, "Introducing the MX Interface," page 23 .
To work with Web-Safe colors in FreeHand MX, you have two options: -
Click the Fill or Stroke color box in the Tools panel. The default palette shows Web-Safe colors (Figure 31.1). The first number of the color represents the hexadecimal code and the second number represents the RGB value. Figure 31.1. The Web-Safe Color Library is the default color palette displayed in the Fill and Stroke color box. 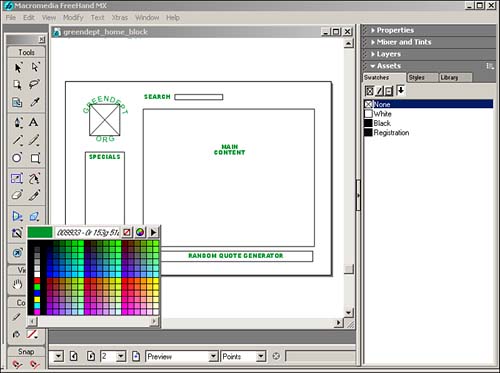
-
Import Web-Safe colors with the Swatches panel (Figure 31.2). Scroll through your color choices and select the colors you want to use in your design. Click OK when you're finished and the colors will appear in the Colors List. Figure 31.2. The Web-Safe Color Library accessed from the Swatches panel. 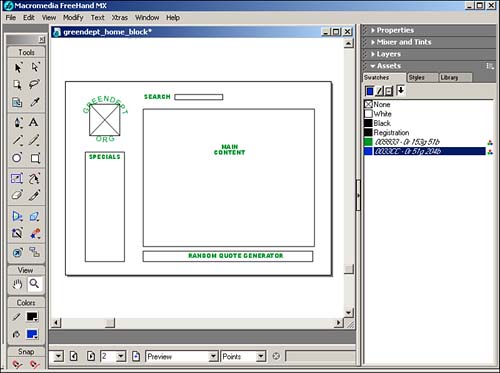
Web Graphics FreeHand MX lets you export your designs to three Web file formats: GIF, JPEG, and PNG. But before you look at those formats, it helps to know a bit about a few key color- related terms, indexed color, and color depth. The GIF file format uses a special type of color palette that limits the maximum number of colors to 256. It also has a unique feature in that each color is tracked, or indexed. For example, instead of indicating that the pixel color in column 3, row 1 is #000000 (black), the GIF format assigns an arbitrary value to each color and assigns that. In this case, #000000 might be color 7 in this file. The pixel in column 3, row 1 would be referred to as 7. As a result of this indexing, the file description is shortened and you end up with a smaller file size . A plus of this indexing system is the capability to have an indexed transparency. Number 7 could be designated as transparent. As a result of using an indexed transparency, you can effectively turn off the background color. Color depth refers to the maximum number of colors in an image. A GIF file may contain anywhere from 2, 4, 8, 16, 32, 64, 128, or 256 colors. A JPEG, on the other hand, can have up to 16.8 million colors. As an image's color depth increases , so does image quality and image size. Exporting to GIF One of the most popular Web graphic formats is GIF. GIF files are commonly used if you have transparent backgrounds as part of your image. To create a GIF, select the object(s) you want to use to export. Choose File, Export to open the Export Document Dialog box. Select GIF from the Save As Type (Windows) or Format (Macintosh) menu. Click the Setup button to open the Bitmap Export Defaults dialog box (Figure 31.3). Figure 31.3. Control export options with the Bitmap Export Defaults dialog box. 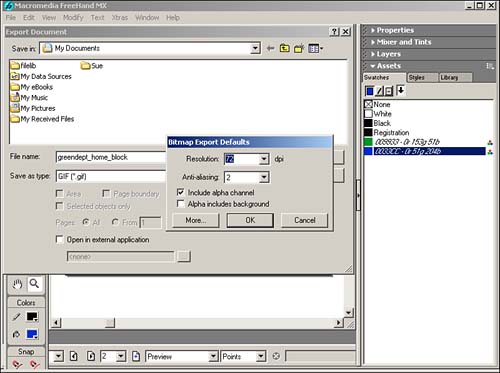
You can set the Resolution. In the online world, this is 72 dpi. You can use the Anti-Aliasing menu to control the amount of softening that will be applied to the image. You can also create an alpha channel that can be used as an image mask as well as include the background area in the alpha channel. Click the More button to view more options for GIF images (Figure 31.4). Figure 31.4. The GIF Options dialog box allows you to control settings for your GIF exports. 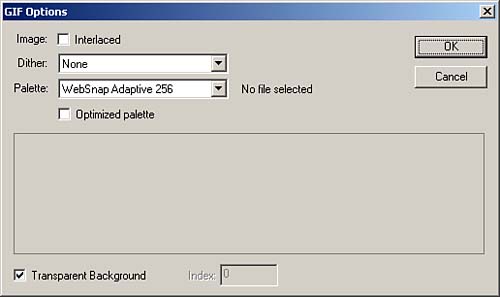
With the GIF Options dialog box open, you have a few options to play with. Select Interlaced if you want your image to load faster on the Web page. An interlaced image will load in rough form first and then will gradually become clearer. With more broadband and high-speed connections being used every day, interlaced images are not as time-saving as they once were in the days of slooowww dial-up modems. Use the Dither menu to select the amount of dithering that will be applied to the colors. One means of extending the usefulness of the limited Web-Safe palette is with dithering. Dithering refers to the interpolation of unavailable colors by mixing pixels of (usually two) available colors in certain patterns and ratios. When the dither pattern is very tight, with available colors in nearly equal quantities , the resulting appearance can be very good, sometimes nearly indistinguishable from a nondithered image. Dithering gets goofy, however, when the pattern is diffuse. Turn off dithering when you're working with photos, text, or detailed artwork. Selecting None from the Dither menu applies no dithering. Selecting High applies the most dithering. The Palette menu lets you select which colors you want to include in the color palette when you export the image. The fewer colors you use, the smaller the file size of the exported image. The palette choices are described as follows : -
Exact Palette creates a color palette with only the colors used in your artwork. -
WebSnap Adaptive 256, 128, or 16 create a color palette that is converted to the closest Web-Safe color equivalent. -
Web-Safe 216 includes the standard 216 Web-Safe colors. -
64 colors, 32 colors, or 16 colors allow you to preset Web-Safe color palettes. -
Macintosh systems use the 256 colors of the Macintosh OS palette. -
Windows systems use the 256 colors of the Windows OS palette. -
3-3-2 uses the palette of the FreeHand MX GIF Import Export Xtra. -
Grays use a palette of 256 grayscale colors. Select Optimized Palette to have FreeHand remove any unused colors from the palette. This reduces the file size of the exported image. Select Transparent if you need your GIF to have a transparent background. Exporting to JPEG JPEG is another popular format for Web graphics. Its strength lies in the format's ability to better render details of photographs and color nuances and blends in a compressed file size. To create a JPEG, select the object(s) you want to use to export. Choose File, Export to open the Export Document dialog box (Figure 31.5). Select JPEG from the Save As Type (Windows) or Format (Macintosh) menu. Click the Setup button to open the Bitmap Export Defaults dialog box. Figure 31.5. The JPEG Options dialog box allows you to control settings for your JPEG exports. 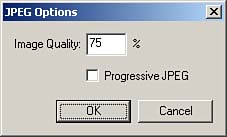
As with GIF, you can set the Resolution as well as the Anti-Aliasing menu to control the amount of softening that will be applied to the image. You can also create an alpha channel that can be used as an image mask as well as include the background area in the alpha channel. Click the More button to view more options for JPEG images. Enter a percentage for Image Quality. Low quality settings reduce the quality of the image but decrease the file size. High quality settings give you a better image, but also increase the file size. Select Progressive JPEG to create an effect similar to that of the Interlaced GIF. Exporting to PNG One of the relatively newer formats is PNG (Portable Network Graphics). The PNG format was basically designed to replace the GIF format. For the Web, PNG has three main advantages over GIF: alpha channels (variable transparency), gamma correction (cross-platform control of image brightness), and two-dimensional interlacing (a method of progressive display). PNG also compresses slightly better than GIF in most cases. PNG, however, is still not as widely supported as it should be in Netscape Navigator and Internet Explorer. Most professional designers still work with GIF and JPEG for online graphics. For image editing, PNG is a handy format for the storage of intermediate stages of editing. Unlike JPEG, saving, re-saving, and restoring an image does not degrade its quality. To create a PNG, select the object(s) you want to use to export. Choose File, Export to open the Export Document dialog box (Figure 31.6). Select PNG from the Save As Type (Windows) or Format (Macintosh) menu. Click the Setup button to open the Bitmap Export Defaults dialog box. Figure 31.6. The PNG Options dialog box enables you to control settings for your PNG exports. 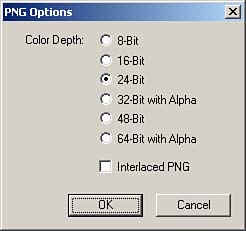
Click the More button in Windows or Setup in the Macintosh dialog box to open the PNG Options dialog box. Make your selection for the color bit depth. The higher the bit depth, the better the quality. Select Interlaced PNG to create an effect similar to that of the Interlaced GIF. HTML Pages Like most popular software programs today, FreeHand MX has a feature that enables you to convert your FreeHand page to an HTML page. This is a handy conversion to have, but is typically not used when creating professional Web sites. Dreamweaver MX and Fireworks MX are specifically geared toward working in the online environment and give you more finesse and control in your work. Like any other feature, this feature is to be looked upon as a tool for your design toolbox. Some may find it useful; others will find it a solution to a problem that doesn't exist. To convert your document to HTML, open the HTML Output dialog box (Figure 31.7) by selecting File, Publish as HTML. Figure 31.7. The HTML Output dialog box enables you create Web pages from your FreeHand documents. 
Select a setting from the HTML Setting menu. You can also click the Setup button to create a new setting. If you want to be alerted to potential HTML output problems, check Show Output Warnings. Check View in Browser or HTML Editor if you want to immediately open the file in Internet Explorer or Netscape Navigator. You can select a browser version or HTML Editor of your liking in the pop-up menu. When you're ready to go, click the Save as HTML button. The HTML file(s) are created in a folder that is considered the document root in the HTML Setup dialog box. Your images are placed in a separate directory within the root directory. To create a custom HTML setup, click the Setup button (Figure 31.8). Figure 31.8. The HTML Setup dialog box allows you to adjust specific elements of the HTML conversion process. 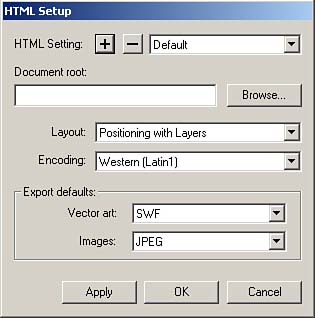
To create a custom HTML setup, click the Setup button. Click the + button to create a new setup. Name your setup and click OK. Select the folder where you want to save your HTML files by using the Browse button or entering a directory path in the Document root field. The Layout menu gives you some pretty nifty options that you won't find in other canned "save me to HTML" programs: -
Positioning with Layers uses Cascading Style Sheets (CSS) to make an accurate rendition of your FreeHand layout. -
Positioning with Tables uses tables and nested tables to convert your document(s) to HTML. Tables are frequently used in Web design, but nested tables can still get a bit quirky with Netscape. Use the Encoding menu to select the language for the page. Unless this book is translated into other languages, keep this set to Western (Latin 1). If you are reading this in another language, select the language of your choice. You can also choose the file format for your exported images: GIF, JPEG, PNG, and SWF (Flash). Click OK to save the setup. You can also click the HTML Export Wizard (Windows) or the HMTL Output Assistant (Macintosh) to guide you through the setup process (Figure 31.9). Figure 31.9. The HTML Export Wizard (Windows) or the HTML Output Assistant (Macintosh) guides you step by step through the process of creating a custom setup for your HTML files. 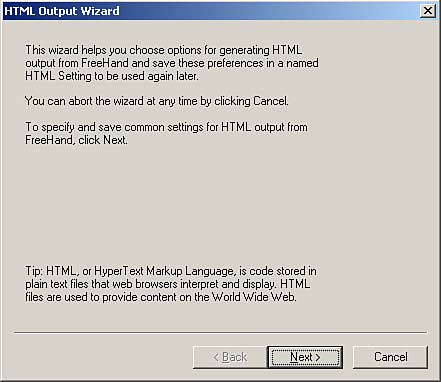
|