Printing an Image


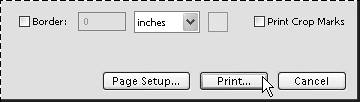
Once all of the desired options (like scaling, borders, labels) have been set in the Print Preview dialog box, printing your image is simply a mouse click away.

To print an image

1.

From the File menu, choose Print to open the Print Preview dialog box.

2.

Confirm the image's position, scaling, page size, and other applicable options, as described in the two previous topics.

3.

Click the Print button to open the Print dialog box (Figure 11.53).

Figure 11.53. After you've applied print settings to your image, click the Print button in the Print Preview dialog box.


4.

In the Print dialog box, set the desired options.

Print dialog boxes vary from one printer to another, so you should refer to your printer's documentation if you have any questions regarding options.

5.

Click OK to close the Print dialog box and send your image file to the printer.

Your image will print just as it was displayed in the page preview area of the Print Preview dialog box.

Choosing Paper

You can choose from a wide range of papers for your inkjet printer. For most photos, you'll want to print on either photo paper or glossy photo paper (glossy photo paper is thicker, and a little more durable). Quality matte paper is often preferred for high-resolution photographs, and you can even find archival-quality paper that won't fade for 100 years. If you just want to print a quick proof, your regular inkjet printer paper will do in a pinch.

Before you start buying paper, it's a good idea to review the documentation that came with your printer (or check out your printer manufacturer's Web site) to see a list of recommended paper choices.


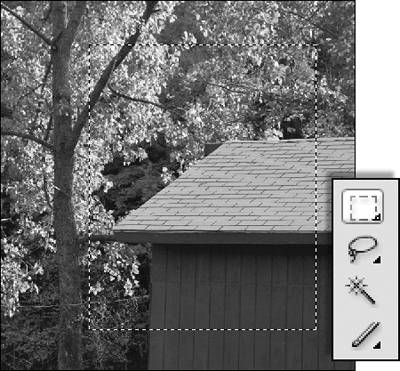
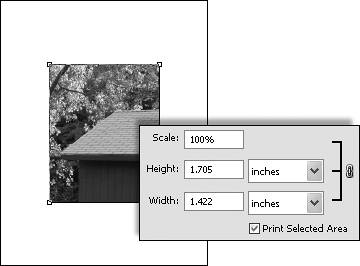
To print a selected area of your image

1.

Select the Rectangular Marquee tool from the toolbox; then in the image window on your desktop, select the area of your image that you want to print (Figure 11.54).

Figure 11.54. Drag a selection around a specific area of an image you want to print.


2.

From the File menu, choose Print to open the Print Preview dialog box.

3.

In the Print Preview dialog box, select the Print Selected Area check box.

The area you selected in the image window is displayed in the page preview (Figure 11.55).

Figure 11.55. Select the Print Selected Area check box to print just the portion of the image you selected.


4.

Click the Print button; then follow steps 4 and 5 in the previous procedure.


Photoshop Elements 4 for Windows. Visual QuickStart Guide
Photoshop Elements 4 for Windows (Visual Quickstart Guide)
ISBN: 0321423356
EAN: 2147483647
Year: 2003
Pages: 178

flylib.com © 2008-2017.
If you may any questions please contact us: flylib@qtcs.net