Timeline Techniques: Adding Clips to a Movie
| A clip in the Clips pane is like a baseball player on the bench. To put the clip on the playing field, you must add it to the timeline. 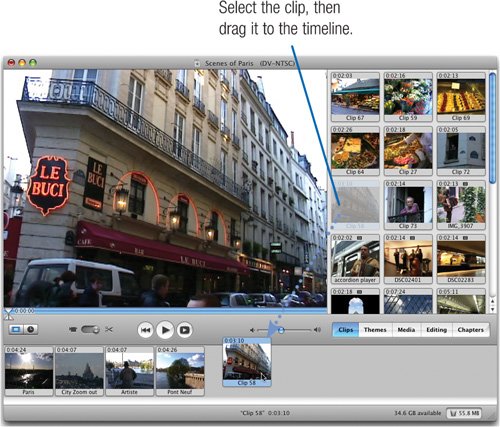 Tip Want to insert a clip between two clips that are already on the timeline? Just drag the clip between them, and the two existing clips separate to make room for the addition. (If a transition is between the two clips, you need to delete it first; see page 253.) Other Ways to Add a Movie Usually, you work with one clip at a time, dragging it to the timeline after you've cropped it as described on the previous pages. But there's more than one way to work with clips. Drag several at once. You can add multiple clips to the timeline at once. Select each clip by Shift-clicking on it, then drag the clips to the timeline as a group. You can also select multiple clips by dragging a selection rectangle around them; click the narrow gray border between clips to begin drawing the selection. Drag from another project. If you have more than one iMovie HD project open, you can drag clips from one project to another. Paste from the Clipboard. You can also add a clip to the timeline using the Paste command. Select a clip in the Clips paneor a clip that's already in the timeline and cut or copy, then paste. You can even paste clips from a different iMovie HD project, although if the clips use a different video format, iMovie HD will have to transcode them when you paste. (See the sidebar on page 225.) Directly from your camera. If you'll be using almost all of the footage you shot in the order in which you shot ityou might want to have iMovie HD add your clips directly to the timeline when you import your video. In the Import portion of the Preferences dialog box, click the Movie Timeline button. Timeline Versus Clip: Which Viewer to Use? You can view your project's march of time in either of two ways: using the timeline viewer or the clip viewer. Each viewer has its strengths, and you're likely to switch between them frequently as you work on a movie. To switch between views, click the clip viewer button or the timeline viewer button, or press  The clip viewer shows large thumbnail versions of each clip. In this viewer, you can change the order of clips by dragging them left and right. You can also rename clips here. However, this viewer does not show audio tracks or provide audio controls. The clip viewer is ideal when you're first assembling a movie or you want to experiment with different clip sequences. When it's time for audio fine-tuning and other precise work, switch to the timeline viewer.  Use the timeline viewer to work with sound and trim clips directly as described on the following pages. Unlike earlier iMovie versions, iMovie HD also lets you change the order of clips in the timeline viewer. |