Basics for Creating a Form on Your Own
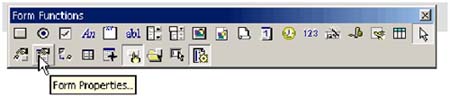
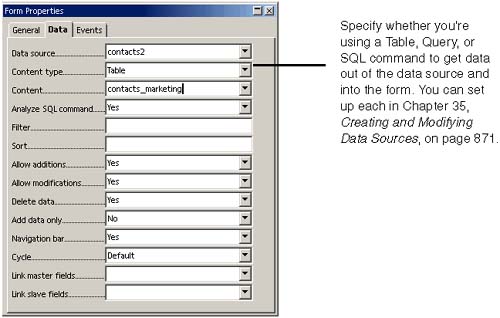
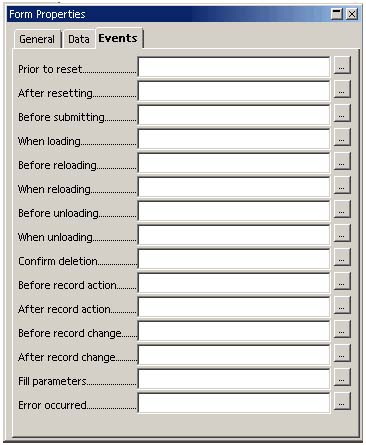
| The AutoPilot does a few things for you that you'll need to know how to do yourself. If you want your form to allow data entry, you'll need to create your own form. Once you start creating your own forms, you're potentially into programming land, security land, data evaluation land, etc. So we don't provide all the answers, but we do point out the basics that you'll need to do. Specify Where the Form's Data Comes FromBring up the Form tearoff menu and click the Form Properties icon. If the icon isn't active, click any of the other control icons, like Check Box, and draw a check box in the document. Then the program will recognize that you're probably building a form and need the Form Properties control. In the Data tab, specify the data source, if that's how you're using the form, and the table or query within the data source. See Figure 36-15. Figure 36-15. Specifying the form's data source Change any other settings necessary; see the online help for more information. Set Up Form-Level ProcessingYou can specify macros to run when form events occur. With the form properties window still open , click the Events tab, shown in Figure 36-16. Add an existing macro or one of your own to any of the events. For more information on macros, see the appendix. Figure 36-16. Form-level events you can assign macros to Add Controls and FormattingNow you get to the fun part, adding the fields and buttons , plus any graphics, headings, page formatting, or other elements unrelated to the functionality. To do this, find the instructions you need in the sections in the rest of this chapter. We haven't covered all the fields, since many of them are simple to add, or are similar to the ones we do cover. |
EAN: 2147483647
Pages: 407
- Chapter VII Objective and Perceived Complexity and Their Impacts on Internet Communication
- Chapter X Converting Browsers to Buyers: Key Considerations in Designing Business-to-Consumer Web Sites
- Chapter XIV Product Catalog and Shopping Cart Effective Design
- Chapter XVI Turning Web Surfers into Loyal Customers: Cognitive Lock-In Through Interface Design and Web Site Usability
- Chapter XVII Internet Markets and E-Loyalty