Quick Cell Formatting
Quick Cell FormattingThis section provides information for basic cell formatting techniques in Calc you perform manually by selecting cells and applying different attributes to them. Cell formats apply to cells and to the data contained within them. If you work with spreadsheets a lot, and you reuse a lot of common elements and formatting such as headings, totals, borders, colors, and so on, we highly recommend using styles. See Power Formatting With Styles and Templates on page 554. For simple, quick-and-dirty cell formatting such as changing font and font size, applying bold, italic, and underline, applying vertical and horizontal text alignment, applying background colors and borders to cells, and making cells display currency or percentage formats, use the object bar. For more advanced character formatting options, see Applying Formatting and Security Using the Cell Attributes Window on page 542. Protected cells cannot be formatted. Format menu options are not available for cells that are protected. For more information, see Protecting Cells From Modification on page 602. Conditional FormattingBecause conditional formatting is closely related to cell contents that change as a result of formulas, it is covered in the next chapter. See Conditional Formatting on page 578. Quick Number FormatsYou can apply basic currency and percentage formats to cells by selecting the cells and clicking either the Currency or Percent icons on the object bar. You can also remove currency or percent formatting by selecting the cells you want and clicking the Standard icon in the object bar. Quick Decimal ControlYou can add decimals places to and remove them from selected cells by clicking the Add Decimal Place or Delete Decimal Place icons on the object bar. Removing decimal places means that calculated or manually entered amounts that have decimals are rounded to the nearest decimal place. For example, if a cell is set to show a currency amount with no decimal places, and you enter the number 15.75 , Calc displays $16 . Changing the Default Number of Decimal PlacesBy default, Calc includes two decimal places in number formats. You can change the default number of decimal places. Removing decimal places means that calculated or manually entered amounts that have decimals are rounded to the nearest decimal place. For example, if a cell is set to show a currency amount with no decimal places, and you enter the number 15.75 , Calc displays $16 .
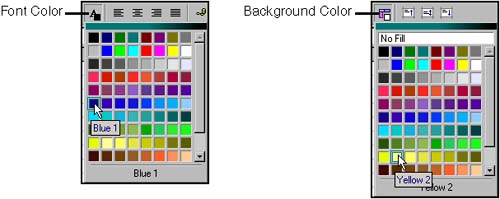
Quick Font and Cell Background ColorYou can change font and background colors from the object bar for selected cells.
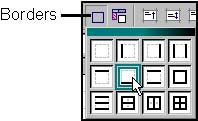
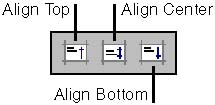
Quick Cell BordersSelect the cells you want to apply a border to, click the Borders icon on the object bar, and select the type of border you want to apply. For different types of lines, use the Borders tab in the Cell Attributes window. See Applying Formatting and Security Using the Cell Attributes Window on page 542. Quick Vertical AlignmentIf row heights are larger than the height of the data inside the row cells, you can change the vertical alignment of the cell data, as shown in Figure 19-11. Select the cells you want to vertically align and click one of the Align icons on the object bar. Figure 19-11. Different vertical alignments Hiding Zero ValuesYou can show only relevant spreadsheet data by hiding cell values that are zero.
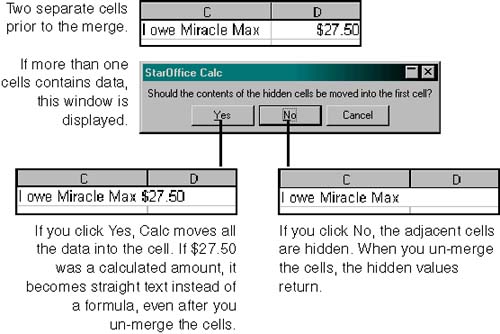
Merging CellsYou can select multiple cells and make them, in appearance, as one cell. This is particularly useful, for example, when you want to apply background formatting to text that spans multiple cells. When the multiple cells are merged, you only have to set the background color for one cell. If you don't merge the cells, you'd have to set the background color for each cell the text spans .
To un-merge cells, select the merged cell and choose Format > Merge Cells > Remove. Instead of merging cells that contain text and numbers, which removes any formulas that generated the numbers (as shown in Figure 19-12), you can combine those cells in a different part of the spreadsheet through concatenation. Concatenation leaves the original data, including formulas, intact. See Combining Cells on page 581. |

EAN: 2147483647
Pages: 407