Installing IS
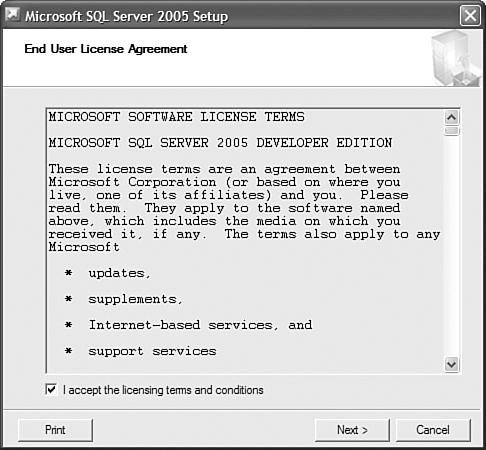
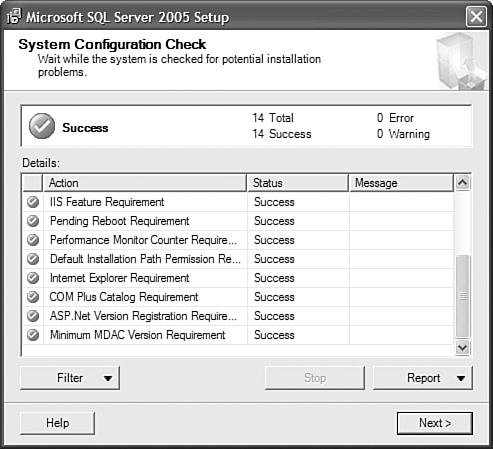
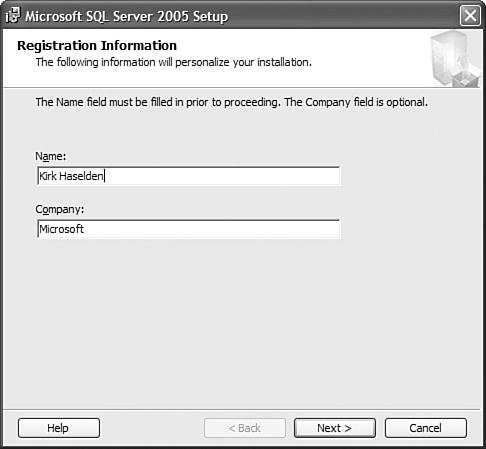
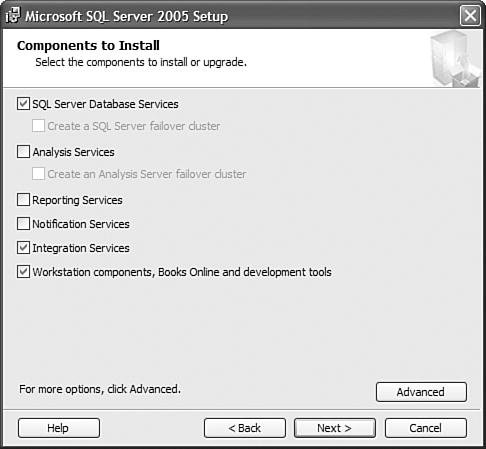
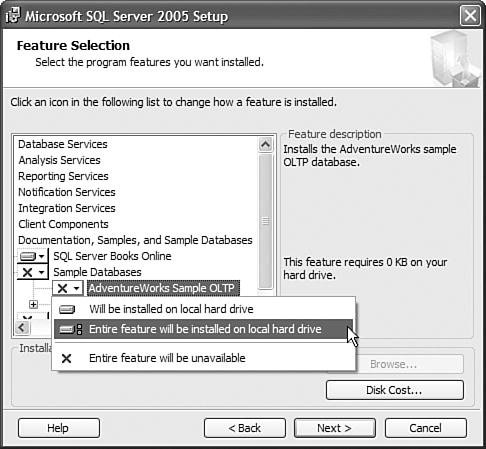
| This chapter is a quick introduction to setting up Integration Services (IS) and the samples on the accompanying CD-ROM. Helpful resources are provided that you can reference when you want to extend your studies beyond what's covered here. In addition, some common pitfalls are discussed that you should avoid for a smooth setup experience. This chapter is a quick-start setup guide. This chapter is not thorough enough to provide all the details and should not be considered a replacement for reading the setup documentation that comes on the setup disks. Most importantly, take the time to read the readme page in the root folder of the setup disk called ReadmeSQL2005.htm. Simply stated, many setup problems and questions can be avoided by reading this document. Caution Before attempting any setup, be certain that all beta and CTP installations have been completely removed from your machine. Your best bet is to wipe the machine clean and rebuild. If you are installing Microsoft SQL Server to a production server machine, rebuilding the machine is highly recommended. Setting Up Integration ServicesTo get started with setup, go to the root of the installation disk and run Setup.exe. Figure 2.1 shows the End User License Agreement (EULA) dialog box that opens. Make sure you read this and understand it completely. Figure 2.1. The first dialog box shows the End User License Agreement Click the Next button until you arrive at the dialog box shown in Figure 2.2. Figure 2.2. The System Configuration Check checks your system before installing This dialog box checks various settings and components on your system to ensure that they are available and correctly configured. If all the rows show a status of Success, you can move on to the next steps. If not, the Filter and Report buttons can help you isolate the problem and report it. Clicking the Next button takes you to the dialog box shown in Figure 2.3. Figure 2.3. Enter your registration information Enter your name and company name and click the Next button to see the dialog box shown in Figure 2.4. Figure 2.4. Choose the components you want to install For this example, only SQL Server, Integration Services, and Workstation Components are selected. You, however, can select any combination you want, but make sure you have SQL Server Database Services, Integration Services, and Workstation Components, Books Online and Development Tools installed for working through the samples in this book. To better understand what each check box means, click the Advanced button to see the dialog box shown in Figure 2.5. Figure 2.5. Use the Advanced button to double-check what's getting installed The Advanced button shows you the details behind each feature check box and whether it is installed by default. One thing you might notice is that the Sample Databases are not installed by default. Many of the samples in this book use the AdventureWorks database, so make sure you install it. Also, if you want to do any work with legacy Data Transformation Services (DTS) packages, ensure that the Legacy Components under the Client Components node are set to be installed. If you don't install Legacy Components, DTS packages will not run. This is covered in more detail Chapter 3, "Migrating from DTS." Tip Northwind and Pubs sample databases are not installed by default. If you want to have those sample databases, you can download them. The website address is http://www.microsoft.com/downloads/details.aspx?FamilyId=06616212-0356-46A0-8DA2-EEBC53A68034&displaylang=en. If you don't want to type in this monstrous URL, you can go to the downloads section of Microsoft.com and search for "pubs database." |
EAN: 2147483647
Pages: 200
- Chapter III Two Models of Online Patronage: Why Do Consumers Shop on the Internet?
- Chapter VI Web Site Quality and Usability in E-Commerce
- Chapter VIII Personalization Systems and Their Deployment as Web Site Interface Design Decisions
- Chapter XI User Satisfaction with Web Portals: An Empirical Study
- Chapter XIII Shopping Agent Web Sites: A Comparative Shopping Environment