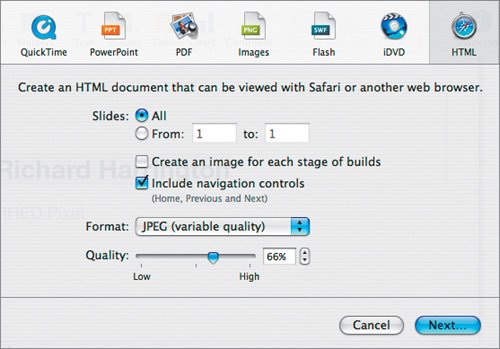
Exporting to HTML
| Placing a presentation on the Internet has several benefits. It allows you to share the presentation with others during the construction stage, which is useful if you're developing a group presentation or creating one for a client. After a presentation, the Internet is a great place for attendees to find your notes, and posting your presentation can drive potential customers to your Web site. Creating a Web page with Keynote is very easy. We are still working with 06Photo Portfolio.key in the Lesson 06 folder.
The Web page takes a few moments to generate. The page can now be viewed by opening the HTML file you created. Note One drawback of the export module for the Web page is that large slides may be cut off by many Web browsers. You can resize the image files in the folder Photo Portfolio using an image editing application. Tip If you want more options for your Web page, export still images to iPhoto and then create a Web gallery using iPhoto's more robust tools. You can open the iPhoto album in iWeb for even more options. |
EAN: 2147483647
Pages: 171
