| You are ready to add some photos to your layout. Photos may be saved in a variety of formats. JPEG is one common digital image format. Newer digital cameras often used by professional photographers and advanced hobbyists can also save images as raw files. Raw images represent the raw data captured by the digital camera and so offer a number of benefits to photographers, including greater editing possibilities using professional image editing applications. In either case, what you want for your work here in Pages are images saved as TIFF files. TIFF files will import cleanly and do not have much compression compared to JPEG files. While compressed images are good for the Internet, the loss of image quality is less desirable for print usage. However, here, you have some raw files. You'll need to convert them to TIFF files so you can use them in Pages. Preparing Raw Files for Import On first glance, it appears that Pages supports raw files from digital cameras. After all, they can be dragged or inserted into a document. However, Pages converts the images to low-resolution previews that cannot be sized without significant loss in image quality. When scaled, the images become very pixilated (or blocky).  If you have Aperture or Photoshop CS (or later), you can open the raw files and process them. Here, though, we're going to use the tools you have on your Mac to process the raw images, to convert them to the format that Pages needs. These tools aren't as elegant or flexible, but you can use them to get the job done. Tip If you work with raw files a lot, you should consider integrating Aperture or Adobe Photoshop into your workflow. Both programs give you the ability to organize and process raw files.
1. | Switch to the Finder and open the Lesson 09 folder. Open the folder called Raw files.
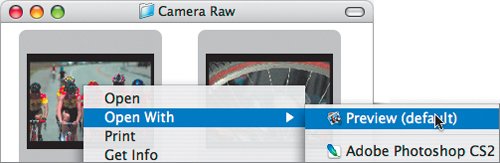
Inside are two camera raw files. These two pictures were shot with a Nikon camera and have the file extension .nef, to indicate the Nikon Electronic Format (a manufacturer-specific raw file format). Other cameras use different types of raw files, but most can be opened by the Preview application.
Tip Many cameras come with their own software for transferring and converting raw files from the digital camera. | | | 2. | Press Command-A to select all of the images in the folder. Then Control-click (or right-click a Mighty Mouse or two-button mouse) and choose Open With > Preview (default).
 The images open into Preview. Because they are very large files, they may take a while to open.
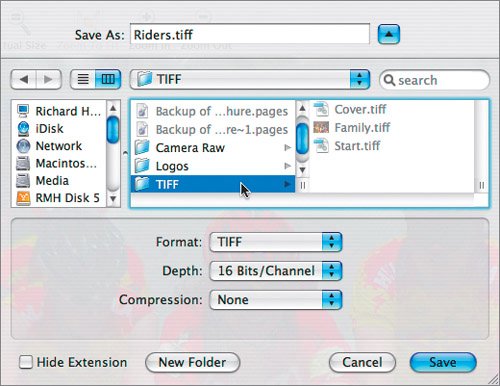
| 3. | Choose File > Save As. In the Save dialog box, click the column view button to switch views.
You can more easily navigate folders in this view.
 | 4. | Switch to the TIFF folder in the Lesson 09 folder and click Save to resave the Riders image as a TIFF file. Remember that TIFF files are better suited for high-quality printing than JPEG files.
 | | | 5. | Choose Go > Next to advance to the other open image. Repeat step 4 to save the file as a TIFF file.
| 6. | Choose Preview > Quit Preview to close the application and return to your three-panel brochure in Pages.
|
Importing Photos Now that the images are prepped, you can add them to your brochure. 1. | Switch to page 1 of your brochure and click in the title on the cover of the brochure. The placeholder text is selected. Shift-click the text "since 1977" to add it to the selection.
| 2. | Press Delete.
 Beneath the text is a ghosted image that you also need to remove. Selecting it is tricky.
| 3. | Click and hold next to the flowered pattern; drag to the right to select the pattern and then press Delete.
 | | | 4. | There is another flower pattern faintly in the background in the leftmost column on page 1. Remove it using the same technique as in step 3.
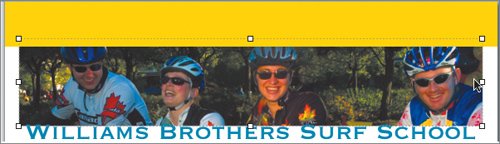
| 5. | Click the large surfer image to select it.
| 6. | Choose Insert > Choose. Navigate to Lesson 09 > TIFF > Cover.tiff and click Insert.
The new image replaces the placeholder. However, it is very small as Pages automatically sizes it down to fit within the column. If you like, you can choose View > Show Layout to see the edges of your columns.
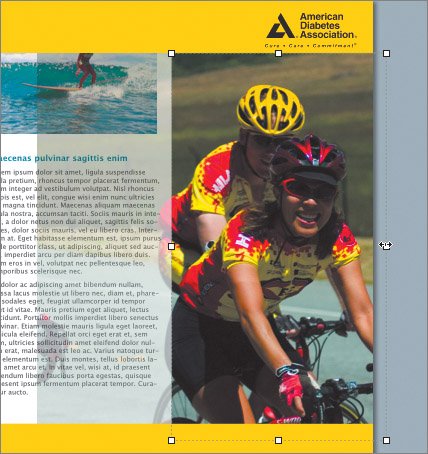
| 7. | Grab the corner of the picture and scale it to fit between the two yellow bars. Position the image to match the figure shown here.
Note The photo automatically goes beneath the yellow bars because the bars were added after the original photo in the template. Objects added later are in front of those added earlier. You can manually rearrange this stacking order using choices in the Arrange menu. 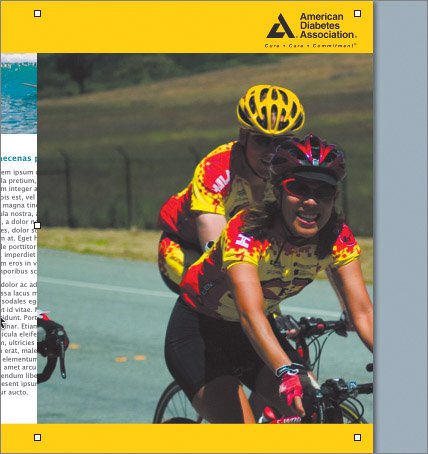 | | | 8. | Choose Format > Mask to apply a mask to the figure. Adjust the size of the mask so the photo fits on the rightmost panel of the brochure.
 | 9. | Press Return to apply the mask.
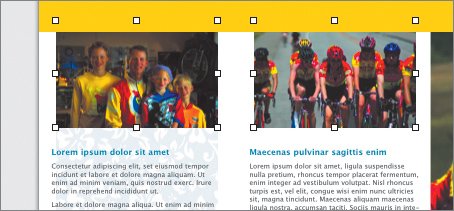
| 10. | Select the smaller image of the male surfer in the left panel and replace it with the image called Family.tiff from the Lesson 09 folder. Then select the smaller image of the female surfer and replace it with the image called Riders.tiff from the Lesson 09 folder.
| 11. | Hold down the Shift key and click the Family photo to select it in addition to the Riders photo. Choose Arrange > Align Objects > Bottom.
The bottom edges of the two photos are now aligned.
| 12. | Press the Down Arrow key several times to nudge the photos down the page. You can add the Shift key to nudge a greater distance. Position the photos to match the layout shown here.
 | | | 13. | In the Wrap Inspector, change Text Fit Extra Space to 15 pt.
The text moves closer to the image.
| 14. | Switch to page 2 and select the large photo of the surfer that spans all three columns.
| 15. | Choose Insert > Choose, navigate to Lesson 9 > TIFF > Start.tiff, and click Insert.
The new image is swapped in. The dotted line around the border of the image indicates that the image is masked. It needs its mask adjusted to improve the layout.
| 16. | Double-click the image to edit the mask.
| 17. | In the Metrics Inspector, set the image's angle to 3 degrees and its width to 11 inches. Adjust the mask and the image's position to closely match the following figure.
 | 18. | Select the small surfer photo on page 2 and press Delete to remove it from your layout.
| 19. | Choose File > Save to save your work so far.
|
|