| Dreamweaver can place images on your Web page that come from your local hard disk or that are already on your Web site. By default, Dreamweaver 8 now prompts you to add alternate text to the image, which is text that is read aloud by screen reader software used by the visually disabled. If you have existing images on your pages that don't have alternate text, it's easy to add. You can, of course, easily delete images from your page. To add an image to your page: | 1. | Click to place the insertion point in the document where you want the image to appear.
| | 2. | In the Common category of the Insert Bar, click the Image button ( Figure 8.1 ).  or Choose Insert > Image, or press Ctrl-Alt-I (Cmd-Opt-I). or Drag the icon of an image file from the Windows or Macintosh desktop into your document. If you choose this method, skip to Step 4. The Select Image Source dialog appears ( Figure 8.2 ). 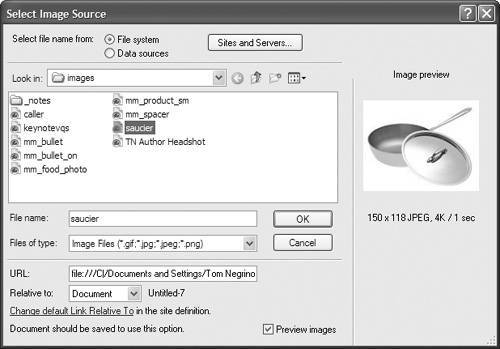 By default, the dialog will be set to the images folder of your local site folder. | | 3. | In the dialog, navigate to and select the file that you want to insert.
A preview of the image appears in the Select Image Source dialog, with information below the image including the image's size in pixels, its graphic format, its file size , and the estimated time for the file to download (based on the Connection Speed pop-up menu in the Status Bar category of Dreamweaver's Preferences).
| | 4. | Click OK (Choose). If you have not already saved the document, Dreamweaver displays an alert letting you know that it can't use a document-relative path , and that it will use an absolute file reference until you save the file ( Figure 8.3 ). 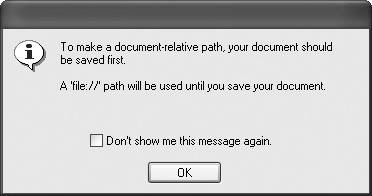 | | 5. | Click OK to dismiss the alert. The Image Tag Accessibility Attributes dialog appears ( Figure 8.4 ). This is the dialog you will use to add alternate text. 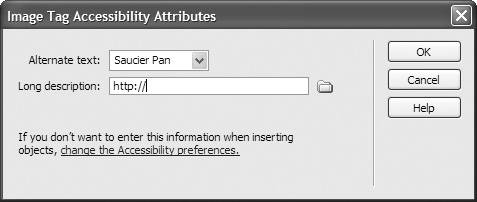 | | 6. | In the Alternate text text box, type the alternate text you want to use for the image.
| | 7. | (Optional) In the Long description text box, add a URL that leads to a page with a detailed description of the image.
| | 8. | Click OK. The image appears on your page ( Figure 8.5 ). 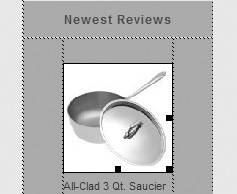 |  Tips Tips -
In some browsers, an image's alternate text appears when you hover the mouse pointer over the image on the page. -
The Image Tag Accessibility Attributes dialog only appears if the option for images has been set in the Accessibility category of the Preferences dialog ( Figure 8.6 ). Because using alternate text is one of the commonly accepted Web best practices, the option is turned on by default. If you don't want Dreamweaver to prompt you for alternate text every time you insert an image, clear the Images check box in Preferences. 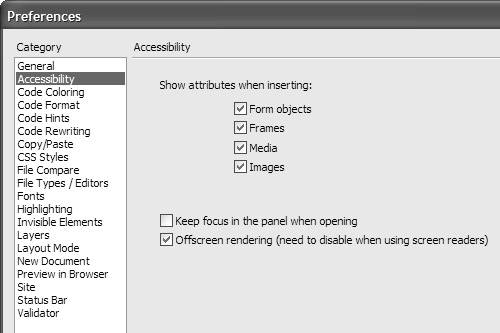 -
If you click Cancel in the Image Tag Accessibility Attributes dialog, the image appears on your page without alternate text. You can always add alternate text later using the Property Inspector.
| There are three main still (as opposed to moving) image formats used on the Web: JPEG, GIF, and PNG. If you are not already familiar with these formats, here's a quick rundown, in the order in which they were originally developed: -
GIF , which stands for Graphics Interchange Format, is a lower resolution graphics format with only eight bits of color information, which means that a GIF file can only contain up to 256 colors. GIFs are usually used for line drawings, flat cartoons, logos, and the like; in other words, images that don't need thousands or millions of colors (as would, for example, a photograph). There are two nice things about the GIF format. One is that it allows for transparency , which allows you to set one or more colors in the GIF file to be the same as the background color of the page. This allows for irregularly shaped objects to appear on your page and appear to be other than a rectangular image. The other useful feature of this format is the ability to add simple animation to images. A particular GIF file can contain multiple frames, and the file automatically steps through the frames to produce a rudimentary animation, like a flipbook. -
JPEG , which stands for Joint Photographic Experts Group, is a format that was developed specifically to handle photographic images. A JPEG file can use 24 bits of color information, which allows it to offer millions of colors. The JPEG format is "lossy," which means that it uses compression to reduce the file size. The look of the image depends on the amount of compression used to record it. High levels of compression will result in noticeable image degradation, because image information is actually being thrown away in order to reduce the file size. However, you can realize a significant reduction in file size at moderate levels of compression, with little or no visible effect, especially at the relatively low resolutions provided on Web pages. Unlike the GIF format, a JPEG file can contain neither transparency nor animation. -
PNG , or Portable Network Graphics, was created to replace the GIF format with an image format that didn't require a patent license to use (the owner of the GIF patent began enforcing the patent in 1995 and demanding royalty payments from software companies whose software created GIF files). PNG also improves upon GIF's 256-color limitation; a PNG file supports millions of colors and much better transparency options (but PNG does not offer animation). Macromedia Fireworks uses PNG as its native file format, and of course Dreamweaver fully supports the PNG format. Some very old Web browsers (for example, Internet Explorer 3) don't support PNG graphics, but there are so few of these browsers still in use that you generally shouldn't worry about it. |
To add alternate text to an existing image on your page: | 1. | Click on an image to select it.
| | 2. | In the Alt text box in the Property Inspector ( Figure 8.7 ), type the alternate text, then press Enter (Return).  Dreamweaver adds the alternate text to the image. | To delete an image: | 1. | Click on an image to select it.
| | 2. | Press Backspace (Delete).
The image disappears from the page.
| Tip
 |