| By now you know where to find the adjustments, filters, and other features in Photoshop that help you enhance your pictures with creative and artistic effects. In this lesson I'd just like to show you some variations on a theme, along with instructions on how to get to the individual creative effects. For this lesson, I'll use a picture I took of the Leslie Hotel in Miami's South Beach (Figure 4.157). Let's look at a few of the endless possibilities you can explore in Photoshop. For each of these effects, I went back to the original image and used the default settings for each adjustment or filter, except for Neon Glow, for which I had the color yellow selected. Figure 4.157.
Tech info: Canon EOS 1Ds Mark II, 17-40mm lens @ 17mm. Exposure: 1/125 sec. @ f/8. ISO 100. 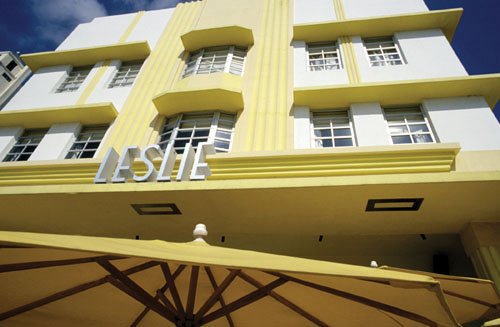
Invert (Image > Adjustments > Invert). The colors are inverted, as you'd see in a film negative (Figure 4.158). Figure 4.158. 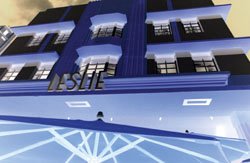 Invert with Fade (Image > Adjustments > Invert, and then Edit > Fade Invert and in the Fade dialog box that appears select the Difference mode). As always, fading a filter or effect can result in unusual, unique, and sometimes unexpected results (Figure 4.159). Figure 4.159. 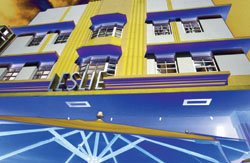 Posterize 3 (Image > Adjustments > Posterize, and in the Posterize dialog box that appears, enter 3 in the Levels field) (Figure 4.160). Pop artist Peter Max created images with a similar posterized effect. Figure 4.160. 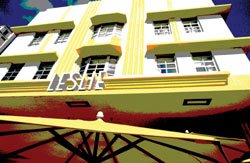 Posterize 4 (Image > Adjustments > Posterize, and in the Posterize dialog box that appears, enter 4 in the Levels field) (Figure 4.161). This is another Peter Maxtype posterized image. Figure 4.161. 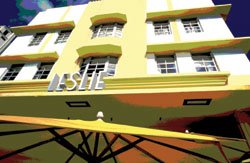 Poster Edges (Filter > Artistic > Poster Edges). This image is sort of cartoonish, but it's fun nonetheless (Figure 4.162). Figure 4.162. 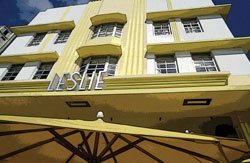 Glowing Edges (Filter > Stylize > Glowing Edges). Objects appear to be outlined with neon lights (Figure 4.163). Figure 4.163. 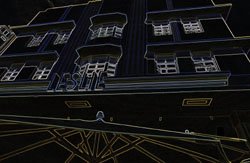 Neon Glow (Filter > Artistic > Neon Glow, with Yellow selected) (Figure 4.164). Remember to experiment with different colors for different effects. Figure 4.164. 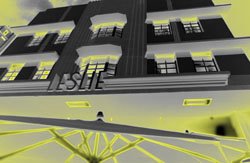 Craquelure (Filter > Texture > Craquelure). This option adds a creative texture to an image (Figure 4.165). Figure 4.165. 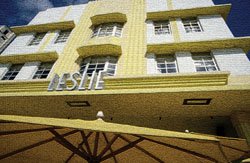 Hue set to 86 (Image > Adjustments > Hue/Saturation, and in the Hue/Saturation dialog box that appears, set Hue to 86) (Figure 4.166). You can change all the colors in a scene by changing the hue. Figure 4.166. 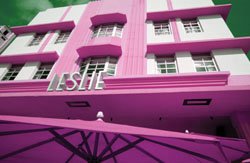 Hue set to +86 (Image > Adjustments > Hue/Saturation, and in the Hue/Saturation dialog box that appears, set Hue to +86) (Figure 4.167). Color-change possibilities are endless with hue adjustments. Figure 4.167. 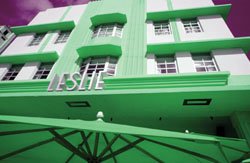
I end the lessons with the same inspiration I used to lead off this book: the idea of dreaming. Again, pleasant Photoshop dreams. |