Posterize an Image
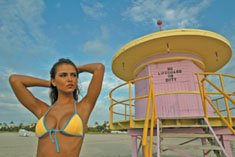
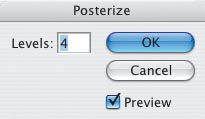
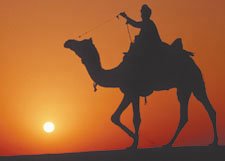
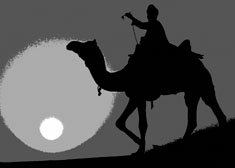
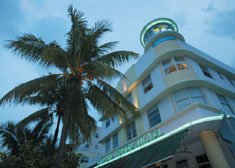
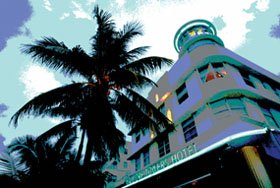
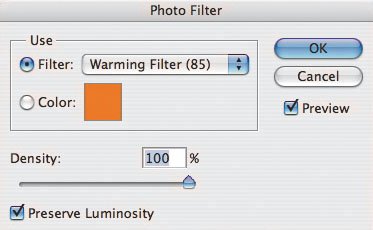
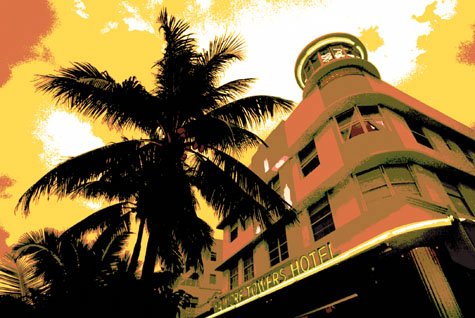
| Technically speaking, the Posterize adjustment in Photoshop is designed to analyze the pixel colors of a selected area of an image and reduce the number of colors, while maintaining the look of the original image. Visually, applying this adjustment makes photos look like wood block color artwork. The Posterize adjustment is easy and fun to use. I'll show you how this adjustment affects one of my pictures of a model on South Beach, Miami (Figure 3.126). Figure 3.126.Tech info: Canon EOS 1D Mark II, Canon 16-35mm lens @ 20mm. Exposure: 1/125 sec. @ f/11. ISO 100. First, I chose Image > Adjustments> Posterize to open this simple dialog box (Figure 3.127). You can change the effect by typing a different number in the Levels box; I selected 4. At first, you may be thrilled with the default setting, but I encourage you to play around with the different possibilities. You may be pleasantly surprised at what you'll come up with. Figure 3.127. Here you see the effect of level 4 applied to my full-color image (Figure 3.128). Figure 3.128. Next, I'll show you how the Posterize adjustment affected the sunset picture of a camel and rider that I worked with earlier in the chapter (Figure 3.129). I like the straight shot, but I thought you might like to see how the image looks when it's posterized. Here's the effect of level 4 on my color image (Figure 3.130). Cool! And here's the effect of level 4 on a black-and-white version of the same image (Figure 3.131). Figure 3.129. Figure 3.130. Figure 3.131. Even after you've chosen a setting that you're pleased with, experiment with Curves, Levels, Filters, and so on to see how you can further enhance a picture. Remember: In Photoshop, a picture is never finished. For example, here's a straight shot of a hotel in South Beach (Figure 3.132). I enhanced the image using Posterize, level 3 (Figure 3.133). After playing around with a few adjustments and filters, I decided to apply Warming Filter 85 (Image > Adjustments > Photo Filter > Warming Filter 85) with the Density setting at 100% (Figure 3.134). My image took on a totally new look (Figure 3.135). Figure 3.132.Tech info: Canon EOS 1D Mark II, Canon 16-35mm lens @ 24mm. Exposure: 1/60 sec. @ f/5.6. Figure 3.133. Figure 3.134. Figure 3.135. When you're applying the Posterize adjustment to an image, remember to keep it fun. In some cases, you (and your friends) may prefer the original color image. However, the Posterize adjustment can make a picture look more creative. Just ask Peter Max (www.petermax.com), the artist who gained fame in the 1960s with his colorful posterized pop art. As long as I'm talking about posterizing an image, I'll mention solarizing. Here's how the Solarize filter (Filter > Stylize > Solarize) affected the previous image (Figure 3.136). My message, again, is that an image is never finished in Photoshop! Figure 3.136.
|


EAN: 2147483647
Pages: 72