Filter Transformation
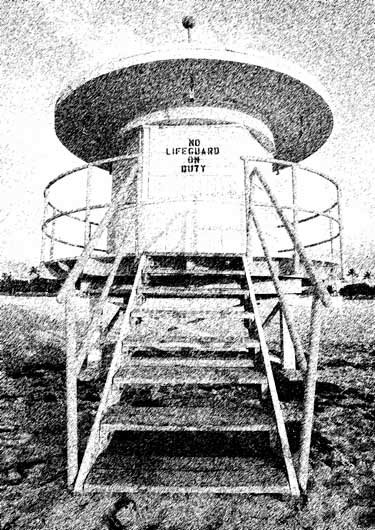
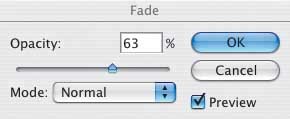
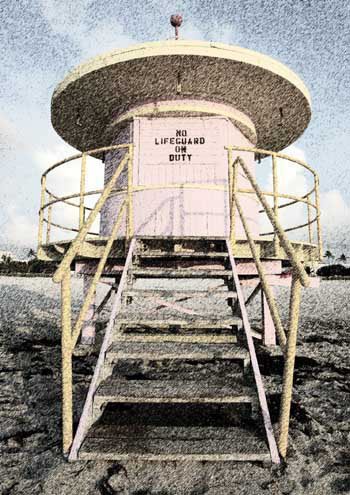
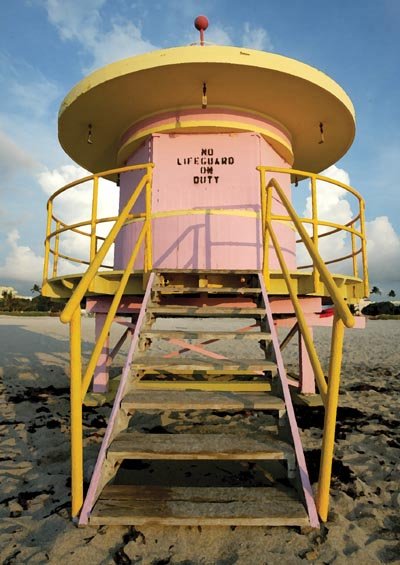
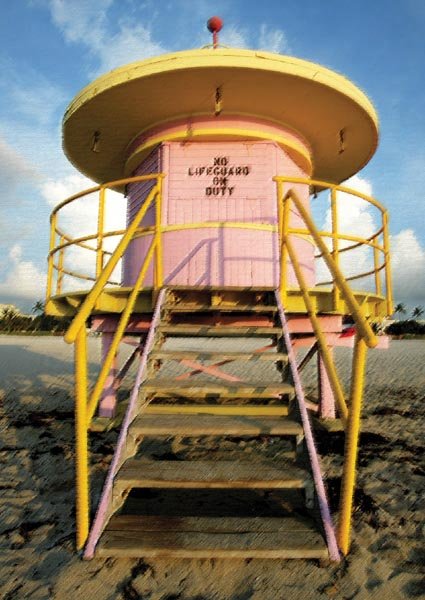
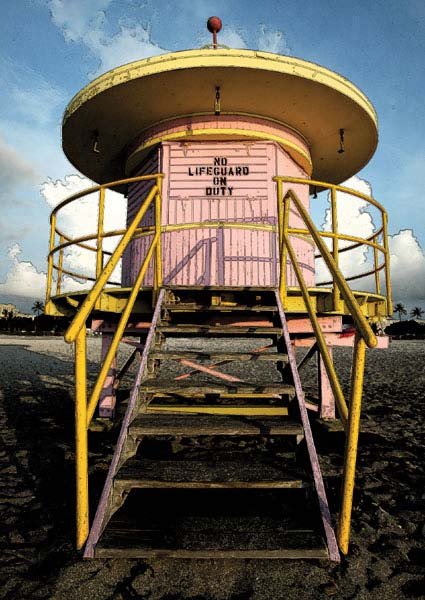
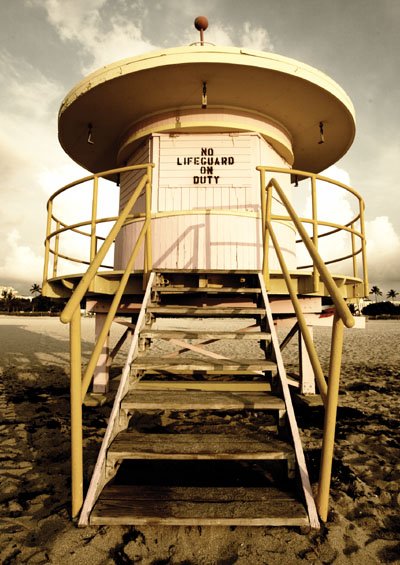
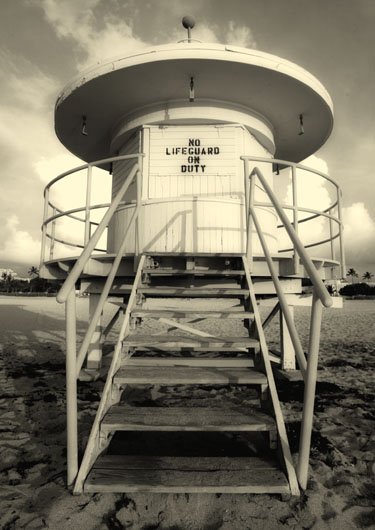
| Creating more artistic pictures using Photoshop's built-in filters, as well as Photoshop-compatible plug-in filters, is fun and easy to do. This lesson looks briefly at just a few of the millions (literally) of creative possibilities. In the next lesson, you'll see how to take more creative control over the filters. As an example, I'll use a picture I took of a lifeguard stand in Miami's South Beach (Figure 3.45). Figure 3.45.Tech info: Canon EOS 1D Mark II, Canon 16-35mm lens @ 16mm. Exposure: 1/125 sec. @ f/8. ISO 100. One of my favorite creative filters is the Graphic Pen filter (Filter > Sketch > Graphic Pen). You can access this as well as all of Photoshop's other filters through the Filter Gallery (Filter > Filter Gallery). When you select this filter, you get a dialog box that offers several creative choices (Figure 3.46). You can control the Stroke Length, Light/Dark Balance, and Stroke Direction; play around with these sliders for customized effects. After you're pleased with the image in the Preview window, click OK to apply the filter to the image. Figure 3.46.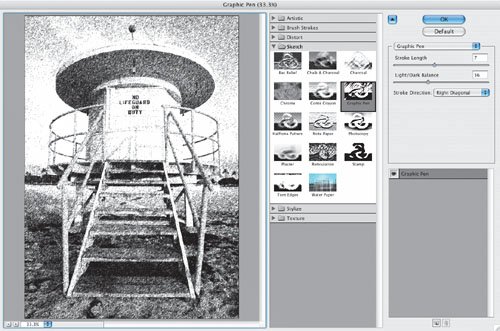 Tip If a few of the options in the Filter menu are grayed out and unavailable, you may first need to duplicate the background layer and add a layer mask to the duplicate layer. When I applied the Graphic Pen filter to my picture, it looked like a painter's sketch (Figure 3.47). But this wasn't the end of the creative processit was only the beginning. Figure 3.47. I softened the filter's intensity (opacity) by going to Edit > Fade and moving the slider to the left (Figure 3.48). Figure 3.48. That's more like it. I faded the filter so some of the color of my original photograph was still visible (Figure 3.49). Figure 3.49. One of the cool things I like to do with the Graphic Pen filter is to change the color of the "pen" I use. I clicked the Foreground Color box at the bottom of the Tool Bar to open the Color Picker dialog box. Then, I clicked a color in the Color Picker, and the foreground color changed to my selected color (a light blue, in this case) (Figure 3.50). Figure 3.50. Compare the effect of using the blue pen in this example to that of the black pen in the previous example (in which black was set as the foreground color) (Figure 3.51). Figure 3.51. Here are three more examples of Photoshop filters, all using the default settings:
Filters and plug-in filters open up a new world of creative options. Play around with the filters and their sliders, fading the filter and changing the foreground color (you can't do this with all filters). You'll be pleasantly surprised when you get an unexpected effect. Just don't overdo ittoo much of a good thing (applying the same filter to many photos) can get boring.
|


EAN: 2147483647
Pages: 72