Only the Shadows Know
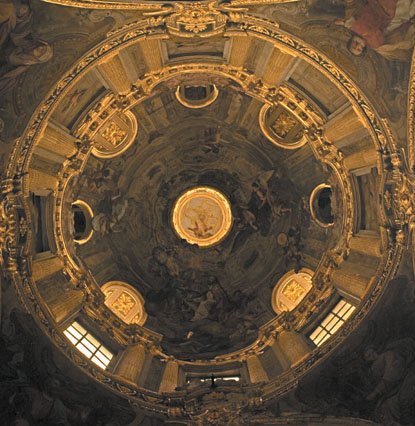
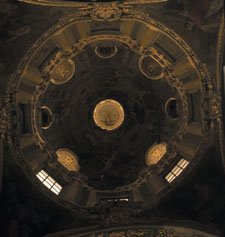
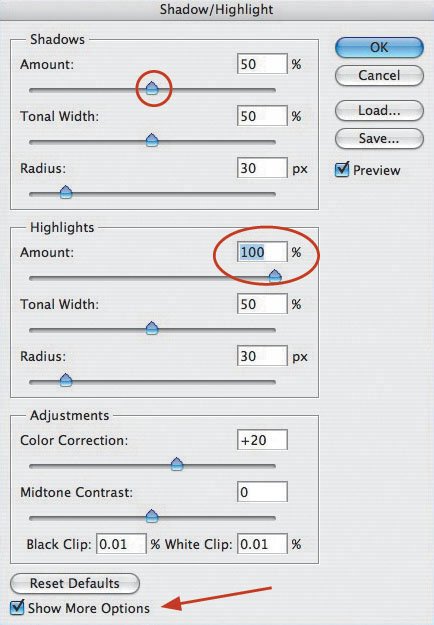
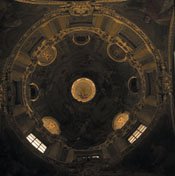
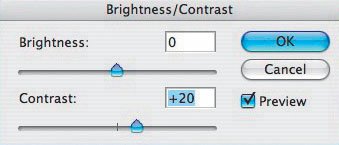
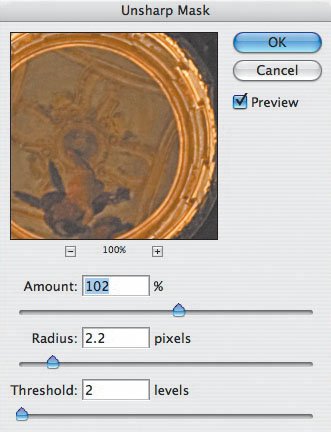
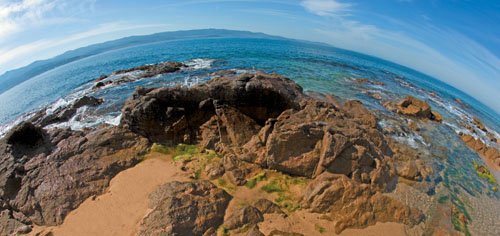
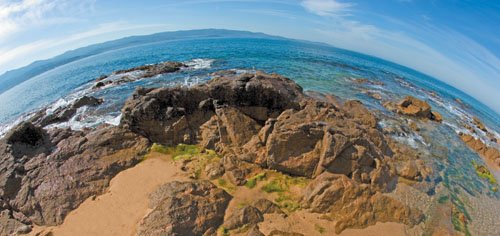
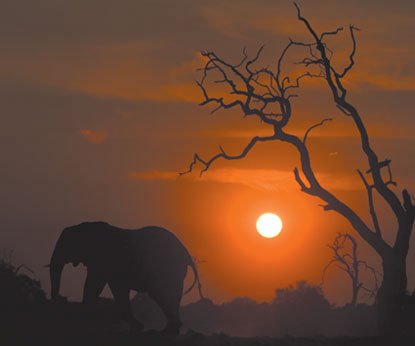
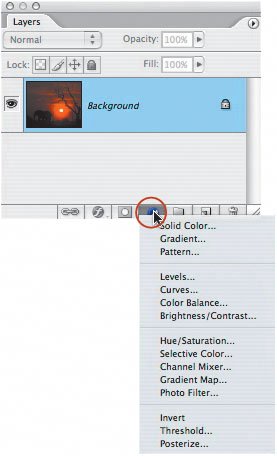
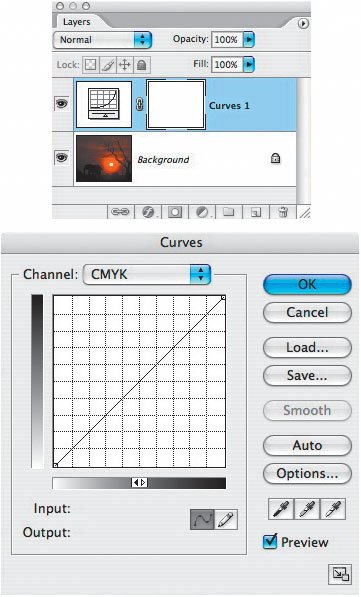
| Our eyes have the amazing ability to see a dynamic range of about eleven f-stops. That's why, in a high-contrast situation, such as viewing the magnificent ceiling of this cathedral, we can see details in the shadow areas without the highlight areas being washed out (Figure 2.51). Figure 2.51.Tech info: Canon EOS 1Ds Mark II, Canon 17-40mm lens @ 17mm. Exposure: 1/60 sec. @ f/4. ISO 200. However, images that are straight out of the cameraeven raw filesdon't reveal the same dynamic range that our eyes can see. When I opened the raw file of my picture in Photoshop, the scene looked like this: It had virtually no shadow detail and had overexposed highlights (the windows) (Figure 2.52). Figure 2.52. I knew the image would look like that, because I had exposed mostly for the highlights in order to preserve as much of the detail in the windows as possible. Sure, I could have underexposed the scene a bit more to preserve all the detail in the windows, but doing so would have resulted in a severely underexposed image, which, in turn, would have meant too much noise (grain) in the shadow areas. Shadow/Highlight to the rescue! Selecting Shadow/Highlight (Image > Adjustments > Shadow/Highlight) opens, that's right, the Shadow/Highlight dialog box. You'll need to click Show More Options at the bottom left in the window to see all the controls, as shown (Figure 2.53). Figure 2.53. To adjust the image, I moved the Shadows Amount slider to 50% (which opened up the shadows) and the Highlights Amount slider to 100% (which toned down the highlights). These aren't magic numbers; you should gradually move the sliders to find the results you like best. After making the Shadow/Highlight adjustment, my image looked like thisbetter, but still a bit flat (Figure 2.54). Figure 2.54. To boost the contrast, I went to Layer > New Adjustment Layer > Brightness/Contrast and moved the Contrast slider in a positive direction until I saw something that looked good (Figure 2.55). Figure 2.55. The picture still looked a little flat. So, I went to Filter > Sharpen > Unsharp Mask and increased the Amount to 102% (Figure 2.56). To see the successful result of this process, check out the opening picture in this lesson again. (In case you're wondering, I'm saving Photoshop's Smart Sharpen feature for my next book. It offers more control over sharpening, but for this example, Unsharp Mask is OK.) Figure 2.56. You can also use Shadow/Highlight on your outdoor pictures. Here's a before-and-after example of how I used this adjustment to open up the shadows in the beach scene on the next page (Figures 2.57 and 2.58). Figure 2.57.Tech info: Canon EOS 1Ds Mark II, 15mm lens. Exposure: 1/125 sec. @ f/16. ISO 100. Figure 2.58.Tech info: Canon EOS 1Ds Mark II, 15mm lens. Exposure: 1/125 sec. @ f/16. ISO 100. When you're looking at a scene that has strong shadows, keep Photoshop's Shadow/Highlight adjustment in mind, and expose the scene accordingly. Color negative film can capture about seven f-stops, and color slide film can capture about three f-stops. Digital imaging rules, because you can save so much in the highlight areas and rescue so much in the shadow areas, especially if you shoot using your camera's raw format. Note If you didn't get the title of this lesson, it's a play on the famous line "Only the Shadow knows" from the old-time (19301954) mystery radio show, "The Shadow."
|
EAN: 2147483647
Pages: 72