Administrating Contribute-Enabled Sites in Dreamweaver
| Again, because we're assuming the role of Wally the webmaster, our next step is to enable Contribute compatibility for our Dorknozzle website. When that's done, we'll want to set roles and delegate permissions for specific users (namely Ada, Cammy, and Tina) of the Dorknozzle site. To enable Contribute compatibility for the Dorknozzle site, follow these instructions:
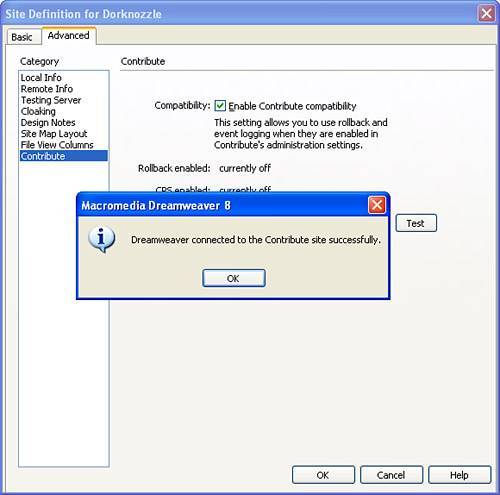
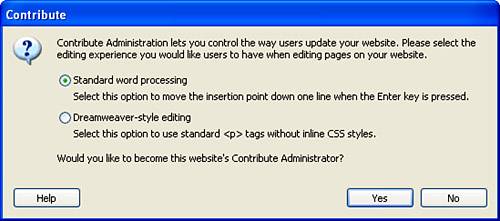
With the Site Root URL in place, we're technically finishedalthough we've yet to delegate permissions for Contribute users. Before we do that, let's review the location of our files and the architecture we're dealing with here. You can follow along by reviewing the diagram in Figure 13.3. Figure 13.3. The Contribute architecture varies depending on your role in the organization.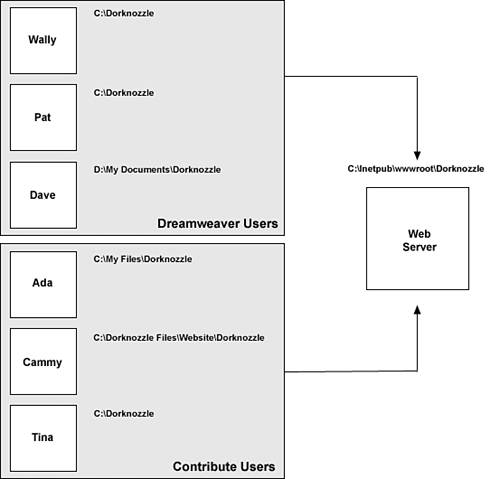 As you can see from Figure 13.3, the Local root folder for each Dreamweaver user differs depending on where they want their local files stored. Because the remote files are located on the web server, accessible on the network to all developers (Wally, Dave, and Pat), they'll all enter the same value in the Remote Folder text box in the Remote Info screen. Finally, all external users, including our three content contributors, will access the site by its domain name or Site Root URL. Before we delegate roles and permissions for our three Contribute users, let's review the Contribute administration integration in Dreamweaver. To launch the Contribute Site Administrator, click the Administer Site in Contribute button located just below the Site Root URL text box in the Contribute screen. Dreamweaver launches a dialog similar to the one in Figure 13.4, asking for two things. Figure 13.4. Contribute Administration allows you to determine what happens when users press Enter: choose between a line break and a paragraph break. It also allows you to set yourself as the site's administrator.
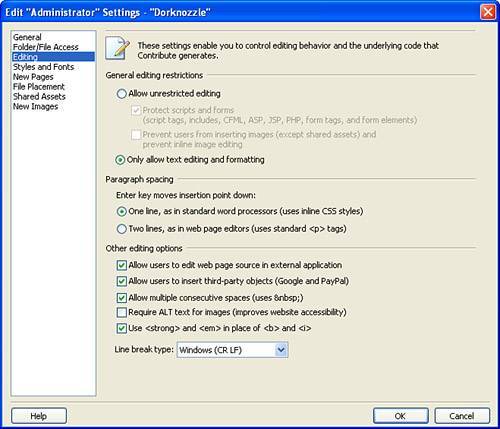
First and foremost, the dialog exposes two radio buttons allowing you to determine whether the Enter key, when pressed, renders a line break or a paragraph break in Contribute:
Let's assume that our content contributors are total novices, so we'll choose the Standard Word Processing option. Dreamweaver then asks if you want to become the website's Contribute Administrator. Because we do, click Yes. The Administer Website dialog appears, similar to Figure 13.5. Figure 13.5. The Administer Website dialog allows you to create roles, edit existing roles, send connection keys, and set an administrator password.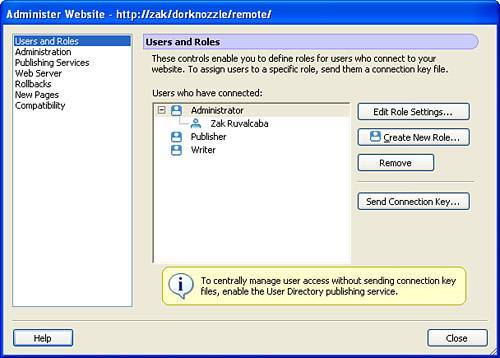 As you can see from Figure 13.5, the dialog is divided into the following categories:
To gain a firm understanding of each category, let's discuss each in more detail, beginning with creating new users and roles. Defining Users and RolesThe driving force behind the Site Administration dialog is the Users and Roles screen shown in Figure 13.5. Use this screen to create new Contribute roles, edit properties for existing roles, and add new users to a role by sending them a connection key file (discussed later in the chapter). Roles are divided into the following three categories:
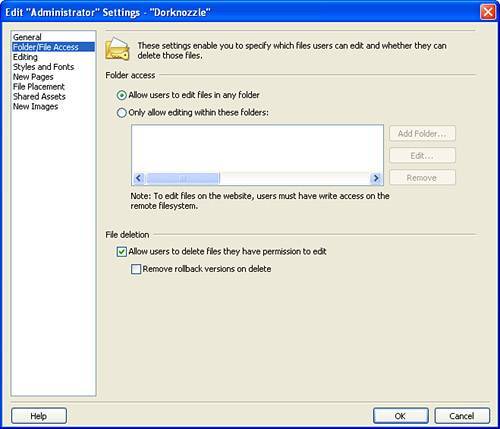
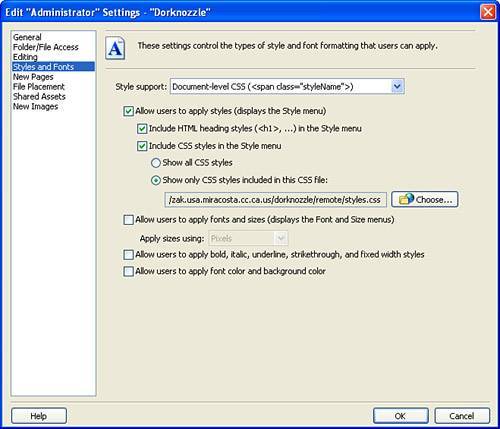
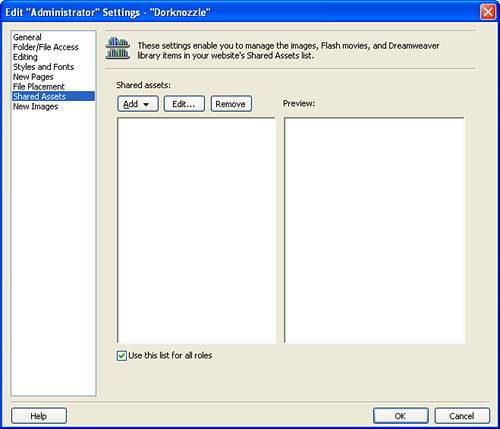
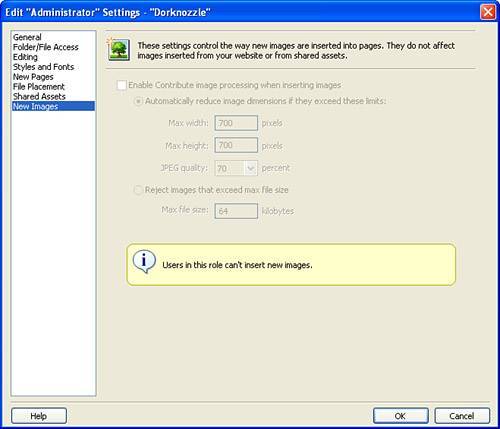
Other options in this screen include the ability to edit settings for an existing role, create a new role, remove existing roles, and send connection keys. Although we can live with the existing roles, let's edit the Publisher role such that they can't insert their own images into a web page. We'll assume that the company's design is set in stone and, as such, we do not want to allow anyone to make changes to it. To edit settings for the Publisher role, simply select the Publisher role from the list and click the Edit Role Settings button. The Edit Publisher Settings for Dorknozzle dialog appears, similar to Figure 13.6. Figure 13.6. Use the Edit Role Settings dialog to configure particular options for an existing role.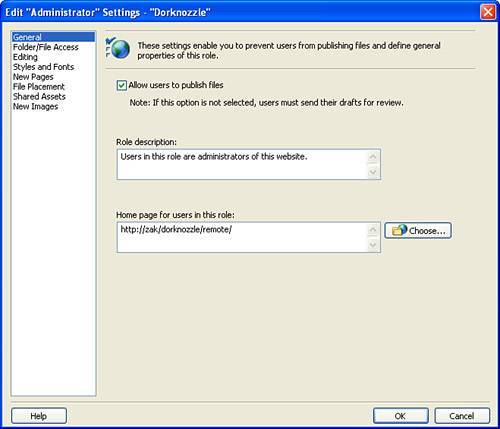 The Edit Role Settings dialog is divided into the following categories:
When you finish configuring options for the Publisher role, click OK. AdministrationYou can use options in the simple Administration screen (shown in Figure 13.14) as a way to set the default email and password for the administrator of the site. Figure 13.14. Use the Administration screen as a way to configure the default email and password of the site administrator.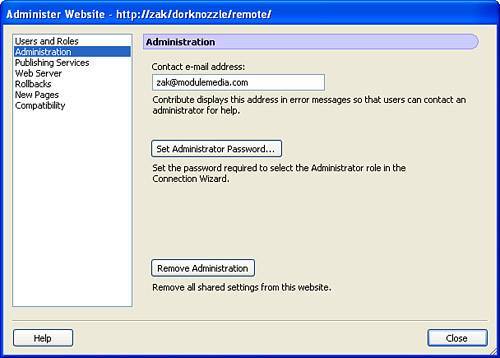 You can also remove administration for the site by clicking the Remove Administration button. Because we set ourselves as the site administrator when this screen first appeared, our email is carried over from Dreamweaver and added into the Contact Email Address text box in this screen. What we still want to do, however, is set an administrator password. To do that, follow these steps:
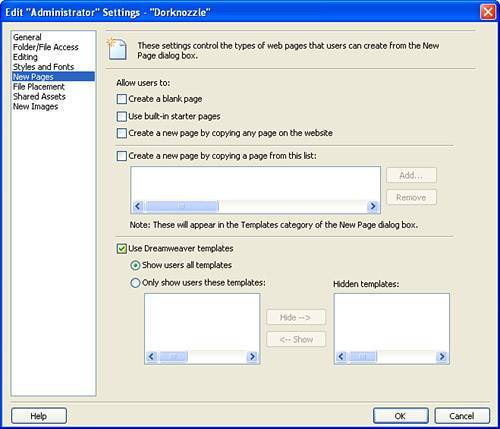
That's it, you've now password protected the administration screens for this site. Publishing ServicesOut of the box, Contribute relies on the Website Administrator to manually set folder permissions for the site on the server. Although this can easily be done using the operating system's file explorer, it becomes a hassle and generally inconvenient when setting permissions for hundreds of users. Fortunately, operating systems such as Windows set the default permission to allow everyone access to a particular folder when it's first created. This is the reason we are allowed to add users freely in the Contribute Administrator dialog. The downside to this freedom is that it doesn't prevent users from manually entering the folder on the server and moving, deleting, or adding new files. In the real world, allowing everyone access to the company's files on the web server would be unthinkable. Generally, the head of your IT department would lock down the folder to everyone in the organization except one or two people. In situations such as these, it wouldn't make a lot of sense for the IT administrator to manually set permissions to allow scores of potential users access to a website folder on the server; you'd be at your desk all day just configuring roles and adding users in Contribute, and then you would have to verbally communicate to the IT administrator the people that require access to the particular folder on the server. To solve this dilemma, Macromedia has introduced Publishing Services. Part of the Web Publishing System suite, Publishing Services is an administration tool that ties into your company's folder and security administration interface (LDAP or Active Directory). Publishing Services provides a centralized interface, accessible from the screen shown in Figure 13.15, where you can add users to a role and then assign permissions to them for the site folder. Figure 13.15. You can use Publishing Services as a centralized mechanism for setting folder permissions.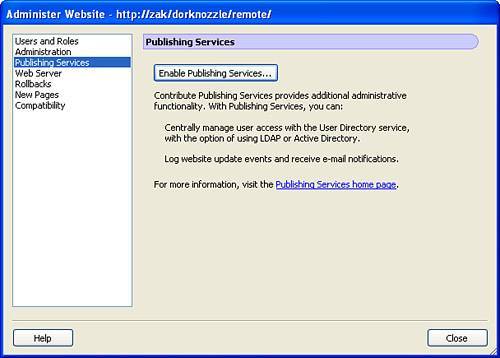 It's important to note that Publishing Services is a trial download separate from Contribute. If you'd like more information on Publishing Services, visit the following website: http://www.macromedia.com/software/webpublishingsystem/cps. In our examples, we'll keep it simple and just rely on the folder permissions that are already in place. NOTE You probably noticed the text label that appeared in the Contribute category in the Site Definition window for the Contribute Publishing Service. This text label would display the status of Contribute Publishing Service if there were one. Web ServerYou can use options in the Web Server screen (shown in Figure 13.16) to configure Contribute and Contribute users to work with your web server. Figure 13.16. Use options in this screen to configure Contribute and Contribute users to work with your web server.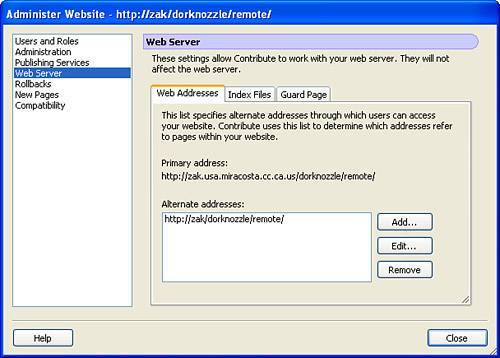 On the Web Addresses tab, options exist for setting alternate URLs that Contribute users could potentially access. Generally, you will see two values in this list: the URL listed by domain name and the URL listed by IP address. Although both values work for connecting to the web server, Contribute uses this list to allow or deny access to the web server if a user typed in what appears to be a valid address but is not listed. The Index Files tab allows you to work with options for setting default pages in the web server. For the most part, the web server uses a traditional list of index files. If your default file is not listed (maybe it's called mypage.htm), you must manually add it here. The Guard Page tab allows you to specify a guard page. Use the guard page as a way to prevent users from accessing the _mm folder (automatically added to the site when working with Contribute) directly from Dreamweaver or Contribute. By default, Contribute sets the guard page to the main page (the same file defined as the home page when working with site maps) in the directory. For our purposes, there shouldn't be anything we need to modify here. RollbacksRolling back web pages is the process of going back to a previous version of a web page after it has been published. For instance, assume that Cammy the Content Manager makes a few changes to a page in the website and then, using Contribute, publishes her finished work. By default, Contribute stores a copy of the previous version in a _baks folder within the _mm folder root. As an Administrator, you decide to review Cammy's work and happen to find glaring errors. Rather than bringing the site down to fix the mistakes, you can simply right-click the file in the Site Management window and choose the Rollback Page option. Dreamweaver, interfacing with Contribute, digs the old version out of the _baks folder and replaces the live version with the older, accurate version. You can enable the Rollbacks feature and the number of rollback steps in the screen shown in Figure 13.17. Figure 13.17. Enable rollbacks and the number of times rolling back is allowed here.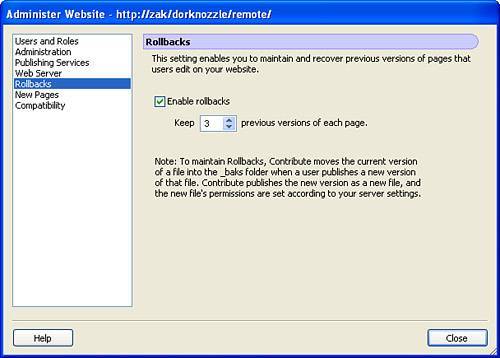 This is a feature I always implement in my sites. It's like a built-in SourceSafe of sorts. To enable this feature, simply click the check box. Keep the roll back steps at 3. CAUTION Be mindful of the number of rollback steps you set. Each rollback version consumes storage space on the server. The more rollbacks you enable, the greater the storage space consumed. If you're limited on server storage space, think about keeping this number as low as possible. NOTE You probably noticed the text label that appeared in the Contribute category in the Site Definition window for Rollbacks. This text label displays the status of rollbacks when it's enabled or disabled for the Contribute-enabled site. New PagesSimilar to the document-encoding screen in the Page Properties dialog in Dreamweaver, you can use the New Pages screen, shown in Figure 13.18, to set the document encoding that should be used for your web pages in Contribute. Figure 13.18. Set the document encoding type and the default extension of the page when a new page or template is created in Contribute.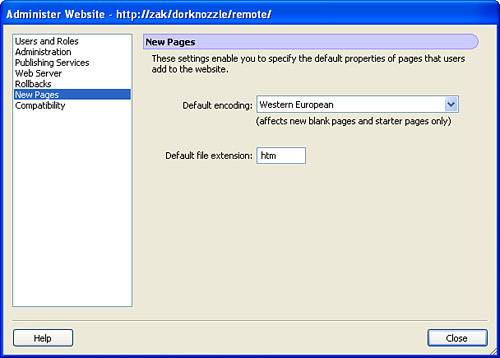 You can also set the default file extension to use when creating new pages from a blank page or template in a site. Again, we'll keep this screen as it is. CompatibilityThe Compatibility screen, shown in Figure 13.19, lets you provide editing and publishing access to older versions of Contribute. Figure 13.19. Set a method of Contribute interoperability here. You can have newer versions and older versions of Contribute work together or not.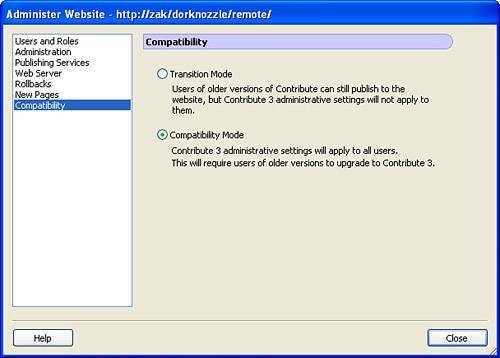 Selecting the Transition Mode option allows you to share features between previous and current releases of Contribute. Be aware, however, that only shared features are interoperable. Choose the Compatibility Mode option when you want to isolate all features exposed by newer versions of Contribute from older versions. Users who use an older version of Contribute will be required to install the most current version. Because we know everyone that will be using the same version of Contribute, keep the Compatibility Mode radio button selected. |
EAN: 2147483647
Pages: 237