Working with Frames and Framesets
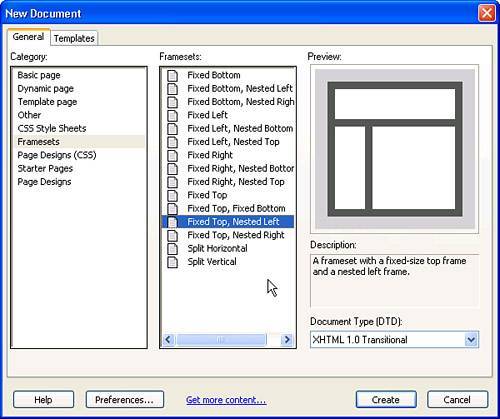
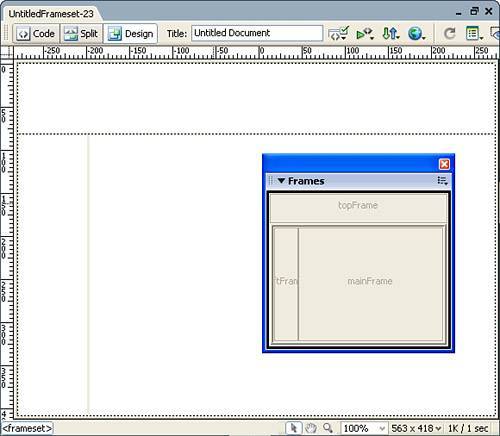
| Now that you have an idea about how frame-based websites work, and you're aware of the advantages and disadvantages of them, let's begin working with them in Dreamweaver. As you have done for the rest of the chapters in this book, you can work with the examples in this chapter by downloading the files from www.dreamweaverunleashed.com. You'll want to save the files for Chapter 8 in an easy-to-find location. I'll place mine in C:\Dorknozzle\Chapter08. Dreamweaver makes working with framed websites a snap. Initially, everything begins with the Frames panel. Available by choosing Window, Frame, the Frames panel, allows you to easily select and work with frames and framesets. As you might have noticed, the Frames panel looks fairly useless. It's not until you actually create a new frameset document that the panel comes alive. Let's do that now. Creating a New Website Using Prebuilt FramesetsThe quickest and easiest way to create a new framed website is to use one of the prebuilt framesets available from the New Document dialog. To create a new frameset using this method, follow these instructions:
NOTE After you click Create in the New Document dialog, by default, Dreamweaver displays accessibility options as they relate to frames and framesets. If you don't find yourself working with Accessibility features at this point, this dialog can be turned off by navigating to the Preferences window (available from the Edit menu), choosing the Accessibility category, and disabling the Frames check box. Although this is certainly not the only way of creating framed websites, it is by far the simplest. The next section explores alternative methods of creating framesets. Alternate Methods of Creating FramesetsAlthough using one of Dreamweaver's prebuilt frameset files is certainly easy enough, it's hard to ignore the other methods for generating framesets in a web page. One method involves options from the Insert menu. To see this method in action, follow these steps:
The second method for generating a frameset document involves the Modify menu. To use this method, follow these steps:
This design is similar to the previous options covered thus far. Finally, you can create the same frameset structure by choosing an option from the Layout, Frames submenu in the Insert bar. As you can see from Figure 8.6, most of the prebuilt frameset options are available in this list. Figure 8.6. Use the Layout, Frames submenu in the Insert bar to pick from a list of prebuilt frameset files.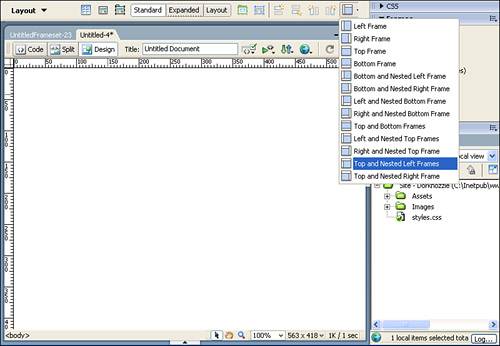 Whichever method you choose produces similar results. Although deleting a frame from a frameset isn't as intuitive as simply clicking a button or choosing an option from a menu, it's still fairly simple: To delete a frame from a frameset, click and drag the frame border of the unwanted frame off the page. The frame is removed from the frameset. TIP If you can't see the frame borders, enable them by selecting the Frame Borders option from the Visual Aids menu in the Document bar. To prepare for the rest of the examples in this chapter, close all Document window instances except for the first one you created using the New Document window method. |
EAN: 2147483647
Pages: 237