Creating the New User Registration Page Using ASP, ColdFusion, or PHP
| Like most web applications, a traditional web store requires a page that allows visitors to register as new users and, ultimately based on certain permissions, to navigate the site, view items, and purchase items from the site based on those permissions or credentials. Our Dorknozzle employee store will function similarly. NOTE Most Intranet-based web applications won't allow employees within the organization to register as new users. For the most part, employees within an organization are automatically added by an administrator when the employee comes to work on the first day. To demonstrate adding, modifying, and deleting data however, we'll assume that our Dorknozzle application requires users to register before they can use the employee store web application. A quick overview of the Dorknozzle database reveals that, in order to create a new employee, you need to collect three major pieces of information. Initially we need to collect all the employee's personal information and store that in the Employees table. Second, we'd probably want to collect credit card information and store that in the CreditCards table. Finally, you must assign the new employee a department to work in. Remember that the Departments table is directly related to the Employees table. Because this is the case, a value must be entered for the DepartmentID field in the Employees table if we are to maintain referential integrity. Realistically, we don't want an employee to assign themselves a department. For this reason, we'll simply assign the new user a default DepartmentID of 2 that represents Administration. Later, we'll allow the administrator to go in (by way of an admin page) and assign a department for a specific user. NOTE Because of limitations on the length of this chapter, we won't demonstrate adding data to both the Employees and CreditCards tables. We'll keep it as simple as possible and demonstrate inserting data into only the Employees table. With the knowledge you learn in this chapter, adding the functionality to add data to the CreditCards table will be a snap. Before we begin constructing the new user registration web page, let's review the structure of the tables with which we'll interact in this chapter. Recall that the tables that make up employees' information are the Employees, CreditCards, and Departments tables. On further inspection of those tables, you'll notice that the following fields are necessary for new employees to be created in the Employees table:
The following information (which we won't get into in this chapter) must be collected in order to associate a credit card with a particular employee:
And finally, the Departments table, which represents a specific department in which employees can work, resembles the following:
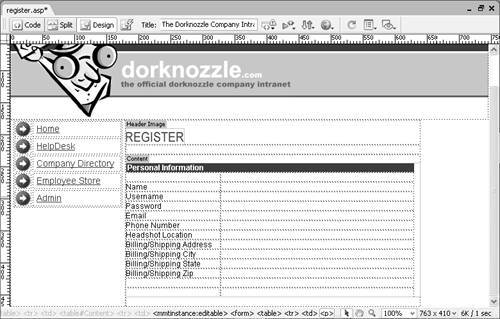
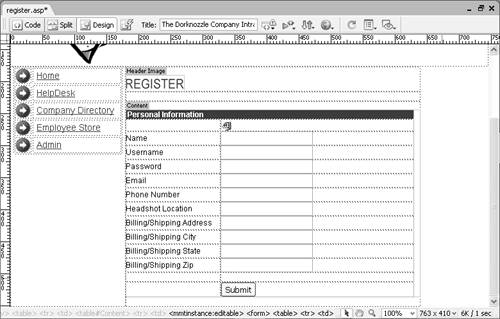
Now that you've reviewed the structure of the tables we'll cover in this chapter, let's begin creating the New User Registration form to accommodate the data collection. NOTE Remember, most of the steps we'll perform in the next few sections can be performed using any server model. When nuances appear across technologies, I will point them out. The only server model that warrants its own section is ASP.NET. From the middle of this chapter and moving forward, I'll cover all of the same examples presented in the first half of the chapter using ASP.NET. Creating the New User Registration FormMost applications, if not all, simulate the fields within a database with HTML form objects. Because form objects allow the user to interact with the web application, they are the perfect channel for collecting information and subsequently inserting that information into the database. Before you can begin creating the New User Registration form however, you must first create a table to serve as the primary means for structuring the form objects in a cohesive and usable fashion. Begin creating the table by following these steps:
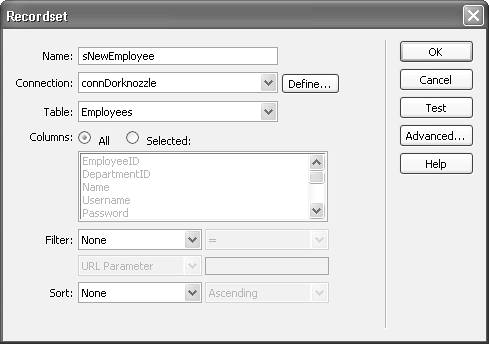
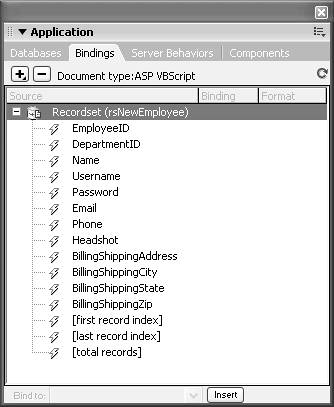
Save the page as register.asp, register.cfm, or register.php (depending on the server model you're using) and run it within the browser. (We'll cover the ASP.NET version of this page later in the chapter.) The result will look similar to Figure 26.3. Figure 26.3. The New User Registration page allows the employee to register for the Dorknozzle employee store.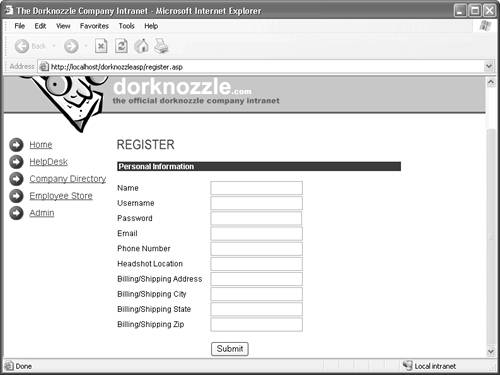 Creating the RecordsetNow that you have the New User Registration form created, you are ready to add the "insert" functionality. Before you can begin adding any server behaviors, however, you'll need to create a new recordset that represents the Employees table. To create the recordset, follow these steps:
Validating the FormNow that you have the recordset created, you are ready to begin inserting the data into the database. But before you begin, you'll want to add functionality that guarantees the data going into the database is valid. Because the database tables explicitly define data types for each field, you'll want to make sure that the data the user enters is the same as what is going to be accepted by the database table; otherwise, errors will occur. The Validate Form behavior can be used to trap any errors on the client before a request is sent to the server-side application. To insert the behavior, follow these steps:
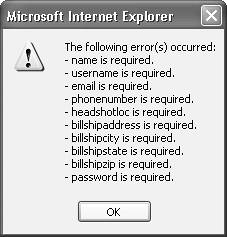
Save your work and test the results in the browser by pressing F12. Typing incorrect data (specifically in the Email text box) or forgetting to type data in all the fields results in an error message similar to the one shown in Figure 26.7. Figure 26.7. An error message is displayed if data is missing or is inconsistent.
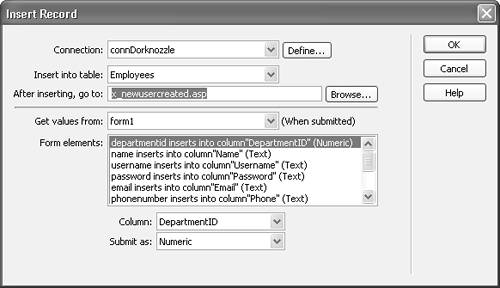
Inserting a New User into the Employees TableNow that you can verify that the data being sent to the database is in fact legitimate, you can now build the functionality for adding the data to the Employees table. To facilitate this process, Dreamweaver provides an Insert Record server behavior that allows for quick and intuitive insertions into the database table of your choice. To insert a new employee into the Employees table, follow these steps:
Save your work and test the result in the browser by pressing F12. Enter values into the text fields and click Submit. If everything functions smoothly, the page refreshes itself. Remember that the refreshing of the page happens because we didn't identify a page to redirect to after the data from the form is inserted into the database. We'll do that in the next section. To verify that the data was in fact inserted into the Employees table, open your respective database and look in the Employees table. A new user should be created similar to Figure 26.9. Figure 26.9. The values from the form should go directly into the Employees table.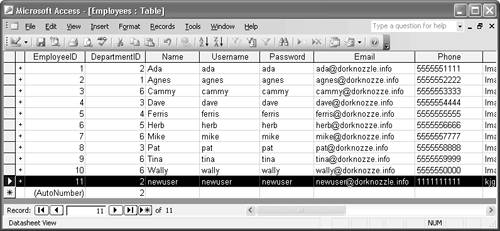 NOTE One of the most common problems I have found when working in Dreamweaver is that of inserting records into the database. Generally this problem is isolated to the ASP server model using Access. This is one of the areas where errors in the browser occur quite often. In most cases, this issue isn't a problem with Dreamweaver, but rather, it has more to do with the fact that Write permissions have to be enabled for the database. If you receive HTTP 500 errors, connection errors, and so on, refer to the companion website at www.dreamweaverunleashed.com for troubleshooting tips. Creating the Redirection PageThe final step we'll want to perform before we can call the New User Registration page complete is to add the functionality that will redirect the user to a thank-you page of some sort after they've registered. You can create this functionality by following these steps:
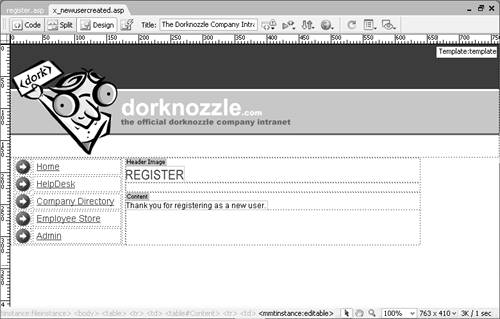
That's it! This time, after a new user completes registration on the site, they are redirected to this page. |


EAN: 2147483647
Pages: 237