Creating Notes and Handouts
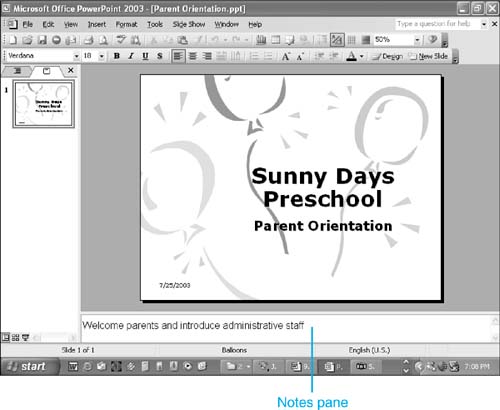
| In addition to slides and outlines, you can print notes and handouts. You create notes in the Notes pane, which is visible in Normal view. Figure 10.1 shows the Notes pane in which you can create detailed speaker's notes about your presentation. Figure 10.1. Add notes for yourself or your audience in the Notes pane. NOTE Notes are not the same as comments. A comment appears in a yellow box inside a slide and provides commentary about its content. You use comments most often during the review process to get feedback from others, and you usually delete them later. Notes are designed to be kept with a presentation as a reference for the speaker or audience members . You can use notes to remind yourself of what you're going to present, to create an entire script for your presentation, or to record information you print out for audience members. Printing handouts is similar to printing slides except that with handouts you can print up to nine slides on a page. This can greatly reduce the number of pages and amount of printer toner required to print your presentation. When you print handouts, you see only the slides, not the accompanying notes. |
 For details about the use of comments,
 EAN: 2147483647
Pages: 261