| Perhaps the most important control you have as a photographer is selecting the composition and framing of your photos. And while you try to do your best when shooting pictures, you may want to cut out parts of an image that are distracting or reshape the frame to highlight some aspect of the photo. Since it's all too easy to shoot from a little too far away, tightly cropping a photograph is a way to increase the impact and sophistication of many shots. | | 1. | Double-click the photo that looks like this in the Company Press album:
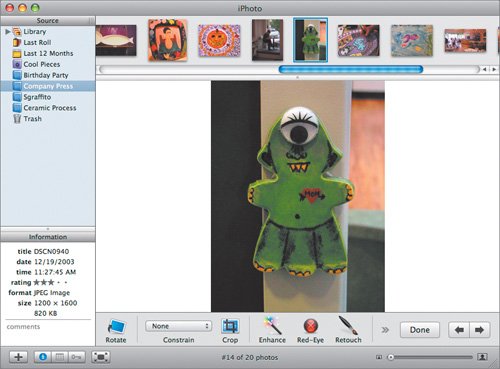
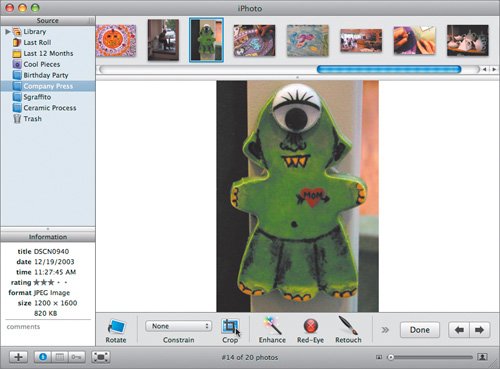
 Double-clicking opens up the shot in the Edit window, which will look like this:
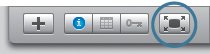
 You may want to work in full-screen mode. Click the Enter Full Screen button at the bottom left to use your whole screen to evaluate and edit photos. You may want to work in full-screen mode. Click the Enter Full Screen button at the bottom left to use your whole screen to evaluate and edit photos.
 That turns your screen into this:
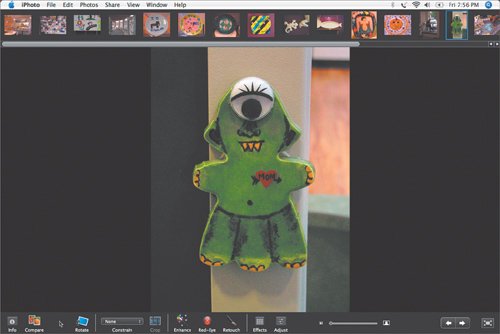 Note If you don't see your thumbnails above or your toolbar below, move your cursor over the top or bottom edge of the screen to make them reappear. Or change the default by choosing View > Show Thumbnails or View > Show Toolbar. Running along the top of the window are the other photos in this album. From this window, you can select an individual shot and edit it in a number of powerful ways (many of which the following lesson will cover). For now, you're going to work in regular edit mode. Click the Exit Full Screen button in the lower-right corner. When you've left Full Screen mode, double-click any photo in your main window to return to the regular editing mode.
 | | | 2. | Click anywhere in the image and drag a rectangle across it.
When you let go, the rectangle remains visible. If you didn't get the area you were looking for, you can drag each side of the rectangle in or out to refine your frame.
 | | | 3. | Once you have the photograph set up with the frame and shape you want, click the Crop button.
 This disposes of the edges you don't want and redraws the image in your window.
 |
Cropping to Fit a Frame Sometimes you crop not only to cut out bad stuff, but also to guarantee your photograph will fit in a picture frame (or in a CD case or on a TV set). In these cases, you want to force the shape of your cropping to match the length and width ratio of your frameknown as the aspect ratio. The following technique gives you prints whose proportions fit perfectly in a picture frame or a CD jewel case. It's worth noting that cropping a photo in an album, like changing a name or date, affects the original photo in the library. Tip If you don't want to alter your original photo, make a copy of it first and then crop the copy. Select the image and then choose Photos > Duplicate to place a copy in your library.
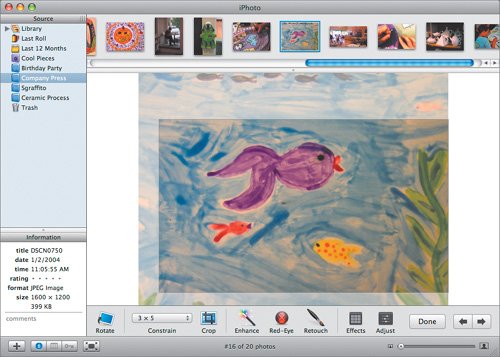
1. | Find and click this photo from the photos along the top bar of the window:
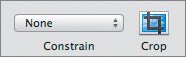
 | | | 2. | Next to the Crop button is the Constrain pop-up menu. Click the menu and choose 3 x 5.
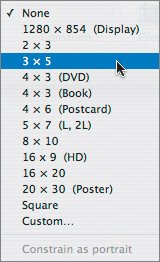 This preselects a cropping frame with the ratio of 3:5effectively allowing your image to fit into a 3-by-5-inch frame. By clicking within the cropping frame and dragging to a new position, you can move this 3:5 rectangle around over your photo prior to cropping. Remember that you can also drag the edges of your rectangle if you want to resize it.
  Tip Even if you centered your subject when you shot your photograph, cropping gives you another chance to offset your subject and create an aesthetically pleasing composition (using the rule of thirds). This is another reason you might want a digital camera with more resolution. Then you can make nice enlargements after cropping off pixels. | | | 3. | Click the Crop button when you have positioned the frame in a way that pleases you aesthetically.
 Tip Don't forget that you can always undo a bad crop, as well as virtually anything else you accidentally apply to a photo. To undo, press the keyboard shortcut Command-Z or choose Edit > Undo. |
|