| iWeb helps build Web sites in much the same way that iDVD facilitates the creation and burning of DVDs. Whereas the other iLife applications are primarily concerned with creating media, iWeb and iDVD are for organizing and distributing that media. You'll explore iWeb in the rest of this lesson, but many of the ideas are also fundamental to iDVD, which you'll explore in Lesson 14. 1. | Launch iWeb.
 iWeb opens with your podcast pages from Lesson 12. iWeb opens with your podcast pages from Lesson 12.
| | | 2. | Click the plus (+) button at the bottom of the window to create a new page.
 Again, iWeb asks you to select a template and page type.
Note It's easier to see photos on a dark background, but it's easier to read text against a white background.  | | | 3. | Choose Black as your template and Welcome as your new page type.
Note When you create a page in iWeb, you can't change the template style of that page if you change your mind. Every new page you create, however, will always give you the full range of template options. For Web site consistency, it's recommended to keep styles the same from page to page. A Welcome page with placeholder text and photo opens for you. The page, currently named Welcome, is added to the bottom of your site organizer.
 | 4. | Move the Welcome page above the podcast pages in the site organizer on the left.
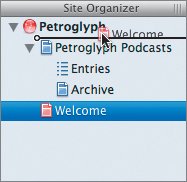 | | | 5. | Double-click the word Welcome and rename the page.
Since it's the home page for the Web site, call it Home.
| 6. | And while you're at it, click Petroglyph Podcasts and shorten the name to just Podcasts.
You'll see your name changes, as well as your organizational changes, reflected in the page on the right. In the navigation bar at the top of the page, Home is before Podcasts, as it should be.
 Now it's time to customize. Now it's time to customize.
| 7. | In the Home page, double-click the text box that contains Welcome to My Site and change the text to Welcome to Petroglyph.
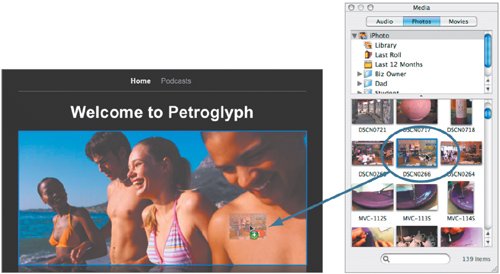
 | 8. | Open the Media Browser by clicking the Media button at the bottom of the window; then click the Photos button.
Note Although it is easy to export media from iMovie, iPhoto, and GarageBand directly into a page in iWeb via the Share option, you can also pull content into iWeb on an as-needed basis. For the most part, it doesn't matter which way you go. But for podcasts in GarageBand, audio files are optimized for the Web when you "push" to iWeb rather than "pull" from iWeb. | | | 9. | Drag a wideshot photo of the store over the placeholder picture.
You can also drag media in right from the Finder.
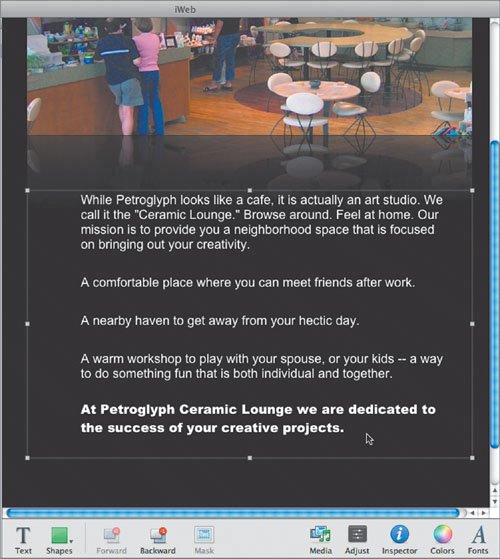
 | | | 10. | Change the Lorem Ipsum text to the following, and make the last sentence boldface:
While Petroglyph looks like a cafe, it is actually an art studio. We call it the "Ceramic Lounge." Browse around. Feel at home. Our mission is to provide you a neighborhood space that is focused on bringing out your creativity.
A comfortable place where you can meet friends after work.
A nearby haven to get away from your hectic day.
A warm workshop to play with your spouse, or your kids--a way to do something fun that is both individual and together.
At Petroglyph Ceramic Lounge we are dedicated to the success of your creative projects.
 | 11. | Use the Fonts button at the bottom of the window to adjust the size of your textor change the font if you want something different.
Font panel 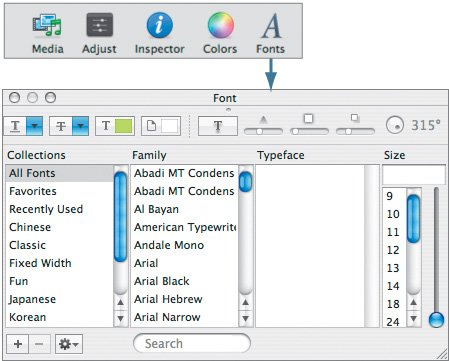 | | | 12. | Click the Inspector button to open the Page Inspector; then click the T button at the top of the Inspector to find the text alignment controls. Choose align left for Jennifer's home page.
Text Inspector 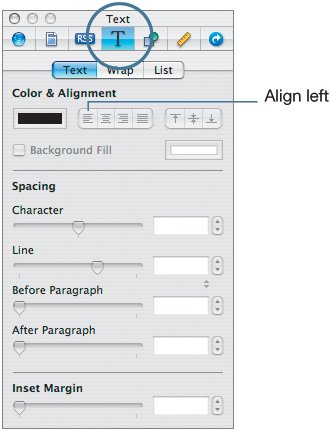 The Page Inspector can get you under the hood of your Web page, though not so far that you get your hands dirty on any HTML code, It allows you to control and customize the look and functionality of your pages. Since Jennifer's Web page is simple, primarily using the template defaults, we actually don't need the Inspector much here.
|
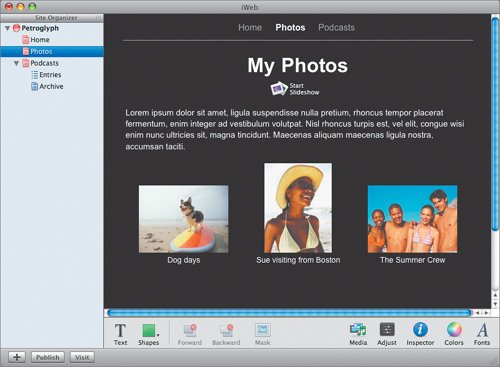
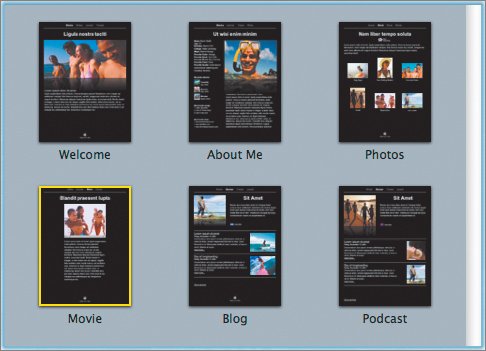
Now that you've made an opening page, it's time to explore adding two more pages to your site: a page for a photo gallery and a page for a movie. You already have a page for your podcasts. Adding a Photo Gallery Page You're going to put the stills we pulled off Jennifer's video clip into a photo gallery. You'll need a new page for that. | | 1. | In iWeb, click the plus button (or choose File > New Page) to create a new page.
For a consistent and professional look, stick with the Black template.
 | 2. | Click the Photos page, and click Choose.
Your new page opens automatically, and its name, Photos, appears in the site organizer.
 You don't know these people, so it's time to replace their photos. You don't know these people, so it's time to replace their photos.
| | | 3. | Click the Media button to open the Media Browser; then click Photos, and find the Petroglyph Stills folder.
| 4. | Drag the folder over the placeholder pictures.
A blue line outlines the box as you drag.
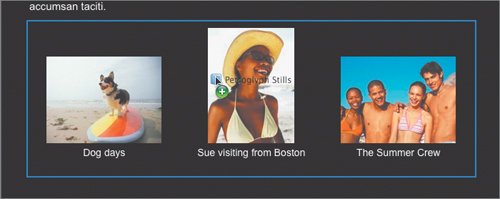 The pictures are automatically removed from the folder and laid out in a gallery. The name of each photo becomes its caption. You can change the captions by double-clicking them. You can also rearrange the photos or add new photos. The pictures are automatically removed from the folder and laid out in a gallery. The name of each photo becomes its caption. You can change the captions by double-clicking them. You can also rearrange the photos or add new photos.
 | 5. | Go ahead and customize the text blocks.
|
Now you're ready to add a page for the time-lapse video. Adding a Movie Page Adding a Web page for your movies is pretty similar to adding a page for your photos. You probably know where this is going now. 1. | Click the plus button to open the template chooser.
| 2. | Sticking with Black, select the Movie page, and click Choose.
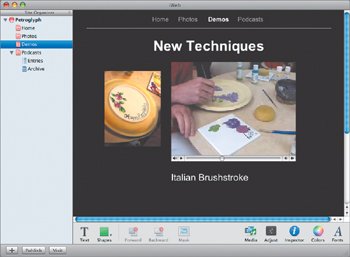
 The movie page opens, and the page is listedas Moviein the site organizer and on the navigation bar at the top of the Web pages. You're going to put up the Italian Brushstroke Technique time-lapse video with music.
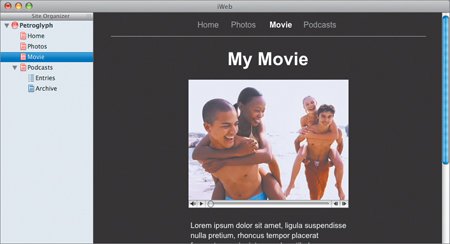 | 3. | Double-click the word Movie in the site organizer. Change the name to Demos. It's more descriptive for Jennifer's purposes.
| | | 4. | Locate Finished_Timelapse_music06.mov alias in the Lesson 13 folder.
| 5. | Drag the movie file over the placeholder photo.
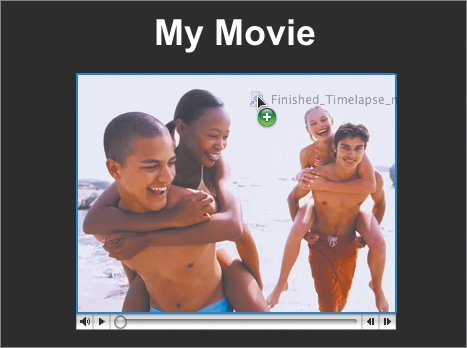  Because Jennifer's movie starts with a fade up from black, there is only a QuickTime progress bar at the bottom.
| 6. | Drag a photo in to keep your movie company, and adjust the text boxes.
 Tip To preview how your site will work (in other words, to check the hyperlinks that connect the pages), click the Inspector button to open the Page Inspector and then click the Hyperlink button at the top right of the Inspector. At the bottom of this pane is a checkbox labeled "Make all hyperlinks inactive," which is a good thing to have checked while you're workingbut when you want to experience the site, uncheck it and browse around. | | | 7. | When you're ready to upload the site to your .Mac account, click Publish.
 |
|