-
Start a new Flash movie. Create a movie clip that has a ball graphic inside it. See the movie 07bouncingball.fla for an example.
-
You can name the instance of the movie clip, myClip, but our code will not depend on the name of the clip.
-
Attach the following code to the movie clip:
onClipEvent(enterFrame) { this._x += 5; } This code acts once per frame. It pushes the movie clip over by one pixel each frame. The result is a clip that moves slowly across the screen until it reaches the other side. It actually continues even past there.
-
To alter the code so that it bounces off the right wall, we'll need to make a few changes. The horizontal speed of the movie clip will be stored in a variable named speedX . Change the movie clip script to this:
onClipEvent(load) { speedX = 5; } onClipEvent(enterFrame) { this._x += speedX; } If you run the movie now, it behaves exactly as it did before. The variable speedX is set to 5, and that value is used to increment the horizontal position of the movie clip.
-
Now it is time to make the clip bounce off the right wall. To do this, we will test to see whether the clip's horizontal position is at, or past, the right wall. If so, speedX is reversed so that the ball moves back the way it came.
onClipEvent(load) { speedX = 5; } onClipEvent(enterFrame) { this._x += speedX; if (this._x >= 550) { speedX = -speedX; } } Now the ball bounces off the right side of the screen and comes back toward the left wall.
-
To make sure that it bounces off the left wall, we'll want to test for the horizontal location of the ball being less than 0 and reverse its direction in that case too.
onClipEvent(load) { speedX = 5; } onClipEvent(enterFrame) { this._x += speedX; if (this._x >= 550) { speedX = -speedX; } else if (this._x <= 0) { speedX = -speedX; } } -
Now let's make the ball move in a vertical direction as well. There is nothing new in this next alteration of code. It is just the same things we have been doing, but applied to both the horizontal and vertical directions.
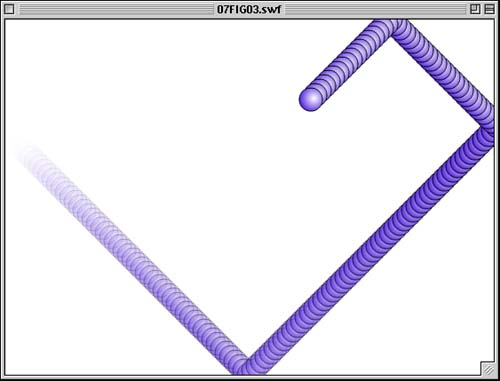
onClipEvent(load) { speedX = 5; speedY = 5; } onClipEvent(enterFrame) { this._x += speedX; this._y += speedY; if (this._x >= 550) { speedX = -speedX; } else if (this._x <= 0) { speedX = -speedX; } if (this._y >= 400) { speedY = -speedY; } else if (this._y <= 0) { speedY = -speedY; } } When you run the movie now, the ball bounces off all four walls. It keeps going and going. It is a good example of an animation easily done with ActionScript but next to impossible with frame-by-frame manually created animation.
Figure 7.3 illustrates this example.