How to Reach the Author
It gives me great pleasure to make the information I ve gathered over the past 12 years available to you. I truly hope that Photoshop CS Savvy meets your needs and answers your questions. When I wrote Photoshop 7 Savvy , I was amazed at the incredible feedback for the book I received from all over the world. I appreciate your comments and would like to hear from you. You can reach me through the publisher at www.sybex.com.
Stephen Romaniello
Tucson, Arizona
December, 2003
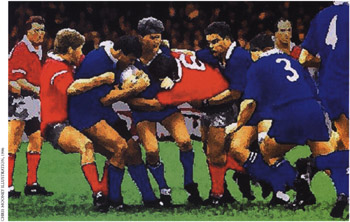
Figure C1: A photograph altered to look like a painting using Photoshop s brushes and filters [Chapter 1]
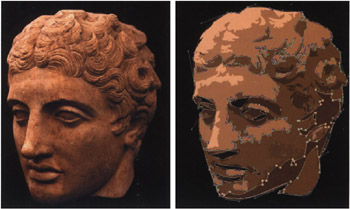
Figure C2: A raster image composed of pixels (left) and a vector version of the same image (right), composed of shapes constructed from Bezier curves [Chapter 3]
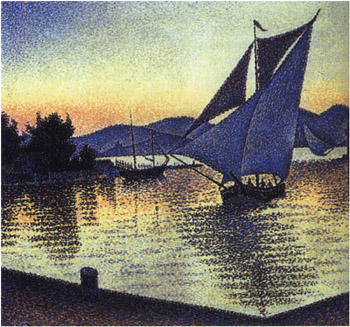
Figure C3: Paul Signac, The Port at Sunset [Chapter 1]
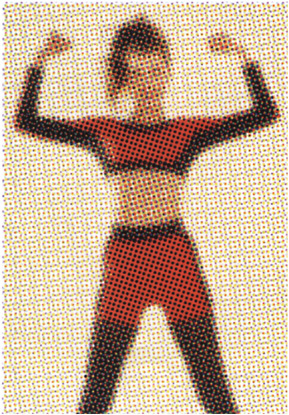
Figure C4: Detail of a four-color process image. The Pointillist movement influenced the development of the four- color process. [Chapter 1]
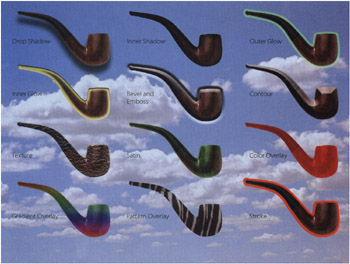
Figure C5: Layer Styles applied to the pipe [Chapter 7]
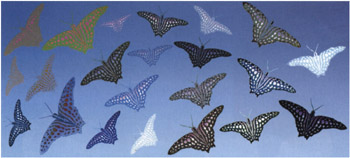
Figure C6: Examples of blending modes applied to an image [Chapter 7]
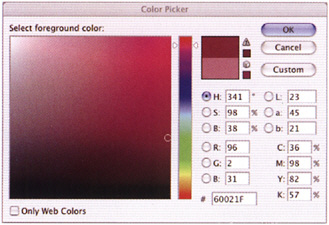
Figure C7: The Color Picker [Chapter 10]
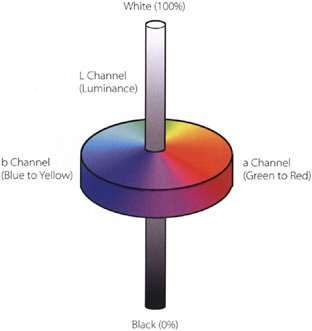
Figure C8: The CIE Lab color model [Chapter 10]
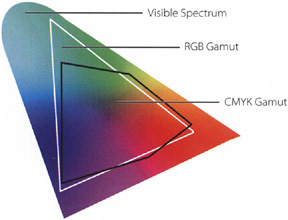
Figure C9: A schematic comparison of the gamut of visible, RGB, and CMYK colors [Chapter 10]
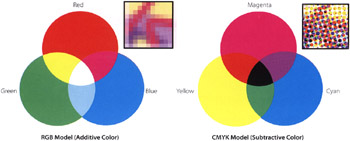
Figure C10: The RGB (left) and CMYK (right) color models [Chapter 10]
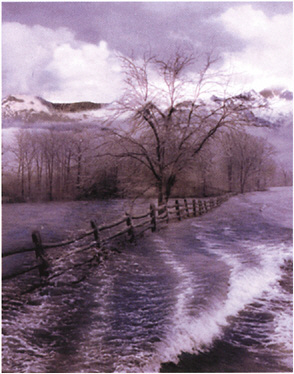
Figure C11a: The original image from which a snapshot has been taken [Chapter 11]
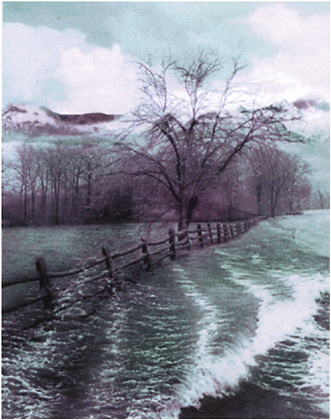
Figure C11b: The image after a Hue/Saturation adjustment
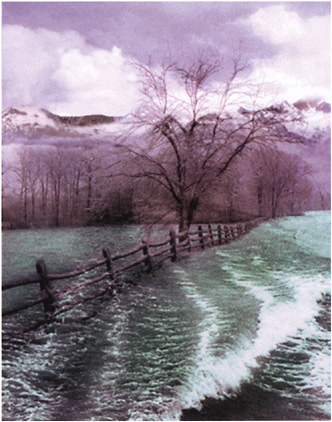
Figure C11c: Portions of the image have been painted back to the original with the snapshot
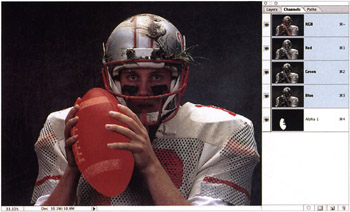
Figure C12: An alpha channel can be displayed on the image as a mask by activating its visibility icon in the Channels palette. [Chapter 12]
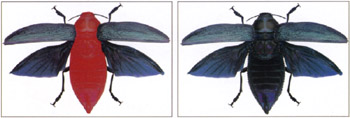
Figure C13: Painting on the alpha channel (left) alters the selection when the channel is loaded. [Chapter 12]
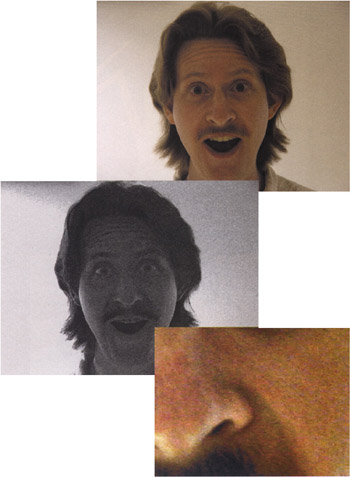
Figure C14a: An image shot with a low-end digital camera in poor light [Chapter 14]
Figure C14b The blue channel is full of noise
Figure C14c A close-up of the noise on the image
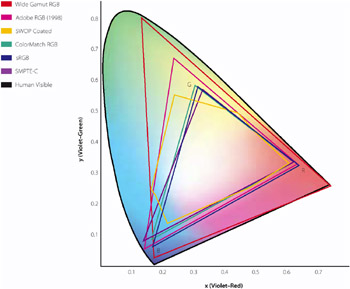
Figure C15: The color gamuts of various working spaces [Chapter 15]
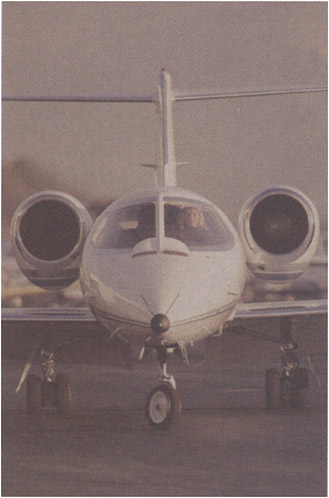
Figure C16: This Learjet airplane needs more contrast. [Chapter 16]
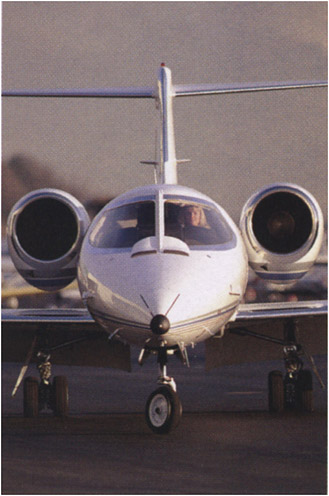
Figure C17: After Levels adjustment, the Learjet s contrast is significantly improved. [Chapter 16]
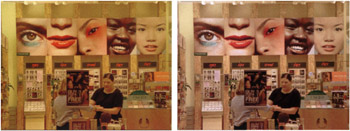
Figure C18: The results of applying a Cooling Filter 80 to an image with a yellow color cast [Chapter 16]
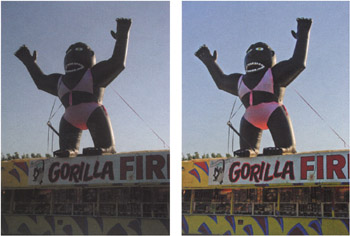
Figure C19: The Shadow/Highlight command applied to a backlit image produces more detail in the shadow areas. [Chapter 16]
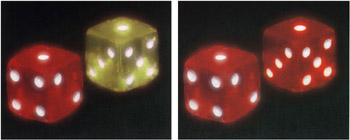
Figure C20: The color match workaround applies hue and saturation modifications to the yellow die, resulting in a perfect match. [Chapter 17]
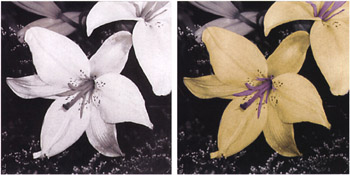
Figure C21: A grayscale image can be colorized by first changing its mode to RGB and then applying hue, saturation, and lightness adjustments. [Chapter 17]
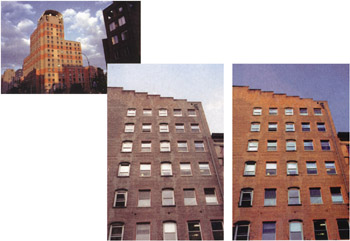
Figure C22: The new Match Color command enables you to sample color from one document, layer, or selection and to apply that color to another document, layer, or selection.[Chapter 17]
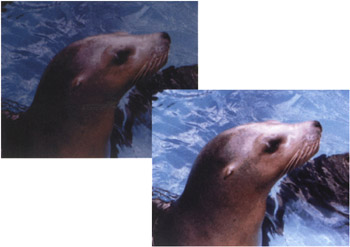
Figure C23: Before and after applying the Equalize command [Chapter 17]
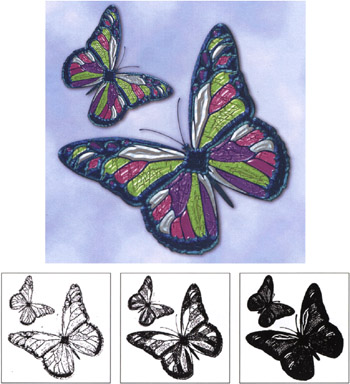
Figure C24: The original image (top) remapped to threshold levels of 85, 128, and 200 (bottom, left to right) [Chapter 17]
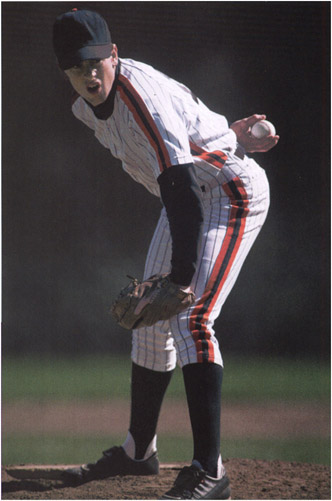
Figure C25: The original image [Chapter 17]

Figure C26: The posterization workaround lets you control the number of colors in your posterized image. [Chapter 17]
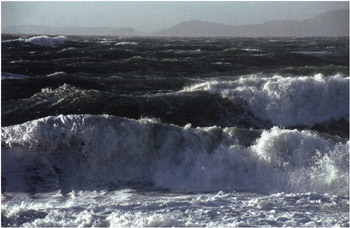
Figure C27a: The original image [Chapter 17]
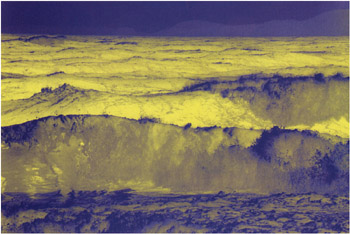
Figure C27b: The image with the gradient map applied [Chapter 17]
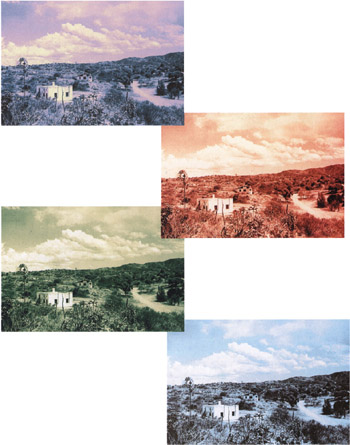
Figure C28: These four images illustrate how Duotones can affect the mood of a photograph. [Chapter 18]
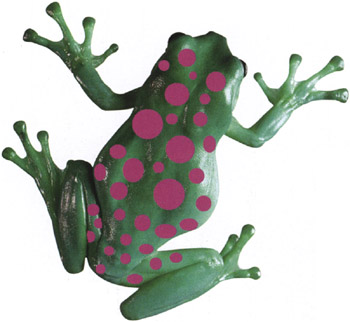
Figure C29a: The spot color applied over a knockout [Chapter 18]
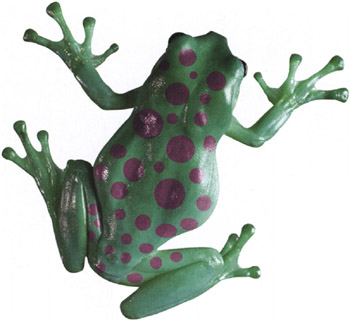
Figure C29b: The spot color has been applied directly over the image.
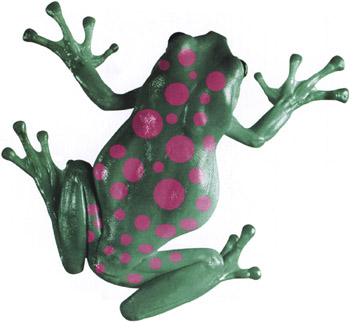
Figure C29c: The spot color with tonal variations applied over a knockout
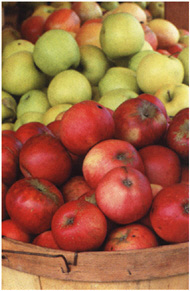
Figure C30a: The original image [Chapter 20]
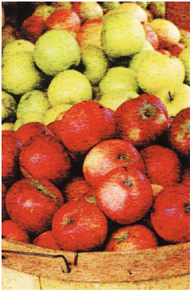
Figure C30b: Mezzotint, Grainy Dots
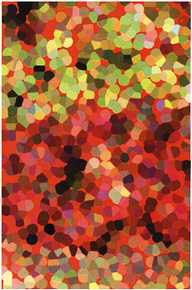
Figure C30c: Pointillize
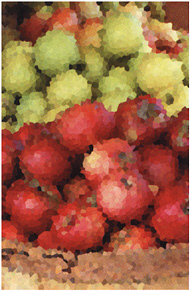
Figure C30d: Crystallize
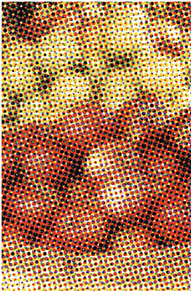
Figure C30e: Color Halftone
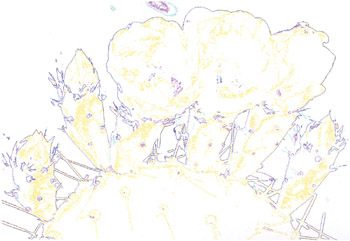
Figure C31a: The effect of the Trace Contour [Chapter 20]
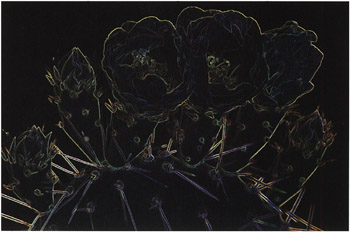
Figure C31b: Glowing Edges
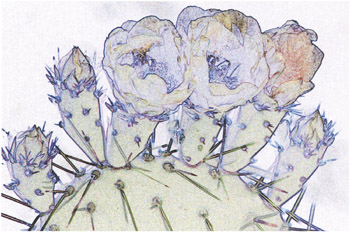
Figure C31c: Find Edges
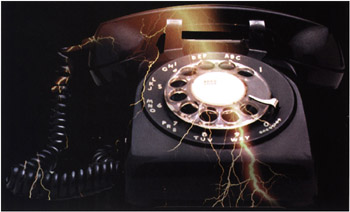
Figure C32: The final Electric Telephone image with the lightning clipped and modeled with the layer mask [Chapter 22]
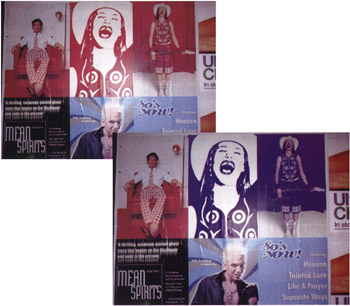
Figure C33: On the top is the original N.Y. poster image; on the bottom is the image after its colors have been edited using the Replace Color command [Chapter 17]
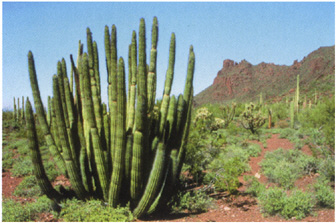
Figure C34a: The original image [Chapter 20]
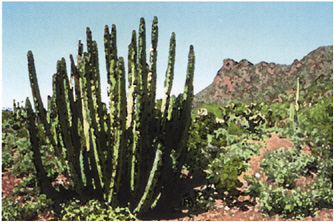
Figure C34b: The Artistic ’ Watercolor effect
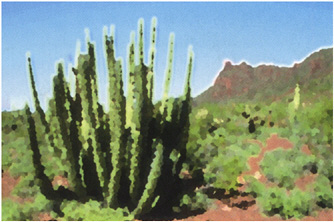
Figure C34c: The Artistic ’ Palette Knife effect
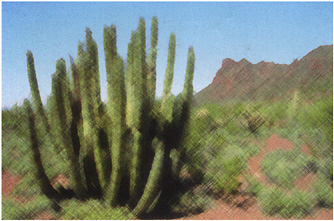
Figure C34d: The Sketch ’ Crosshatch effect
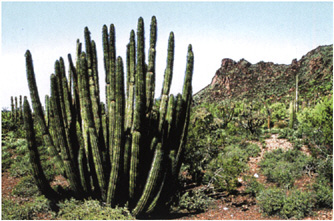
Figure C34e: The Sketch ’ Ink outlines effect
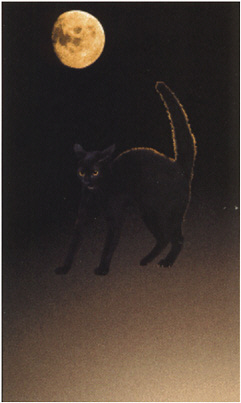
Figure C35: The shadowless cat [Chapter 22]
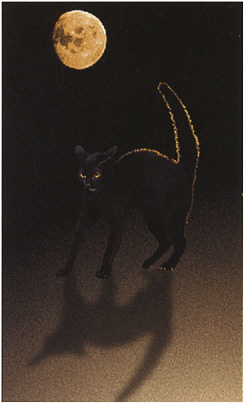
Figure C36: The cat with the cast shadow set to 40% opacity [Chapter 22]
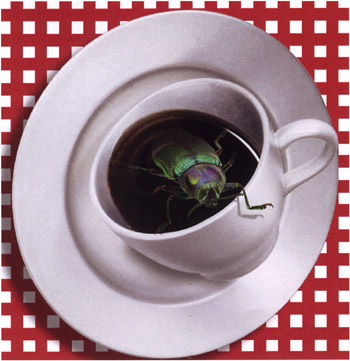
Figure C37: The completed Uninvited Guest image [Chapter 22]
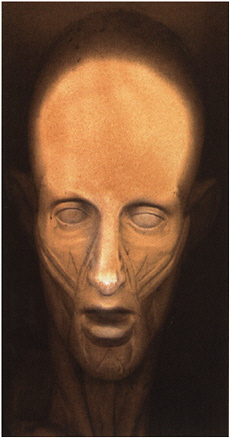
Figure C38a: The original image [Chapter 20]

Figure C38b: Light source from below
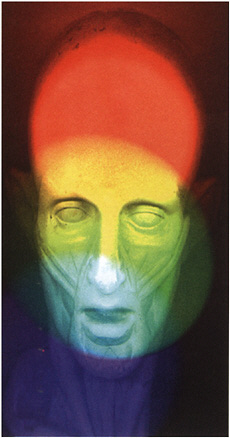
Figure C38c: RGB lights
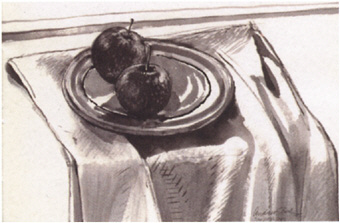
Figure C39a: The original Apples image [Chapter 24]
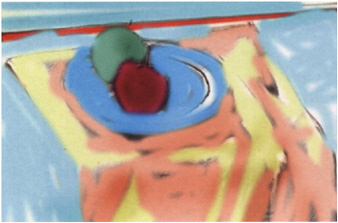
Figure C39b: The broadly painted source

Figure C39c: Subtract mode at 50% opacity
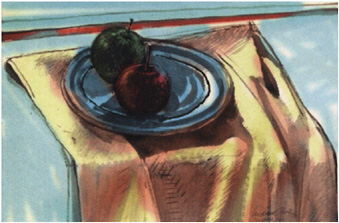
Figure C39d: Multiply mode at 50% opacity
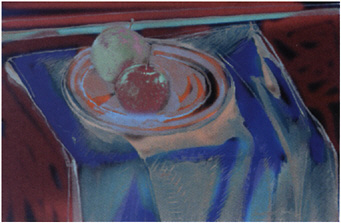
Figure C39e: Exclusion mode at 100% opacity
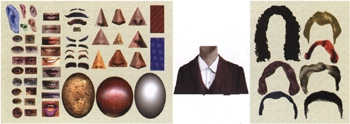
Figure C40: The beginning pieces for the Fred Photato Head project [Hands On 1]

Figure C41: The completed Fred Photato Head [Hands On 1]
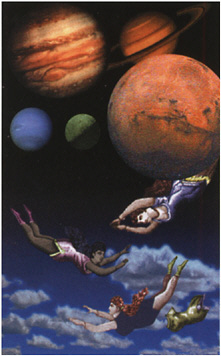
Figure C42: The beginning Flying Women file showing the content of the poster [Hands On 2]
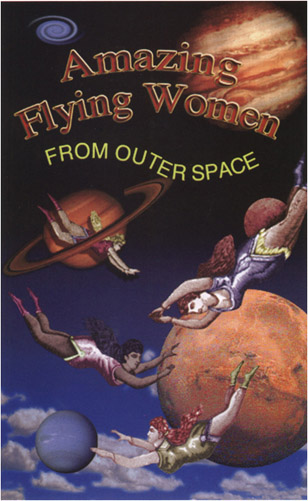
Figure C43: The completed Flying Women poster [Hands On 2]
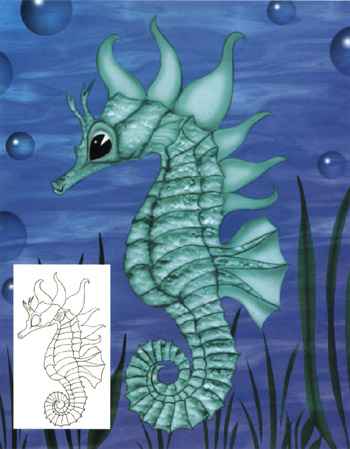
Figure C44: The original seahorse starts with a piece of line art. [Hands On 3]
Figure C45 Our line-art character will develop a bit more personality after a Photoshop paint job. [Hands On 3]
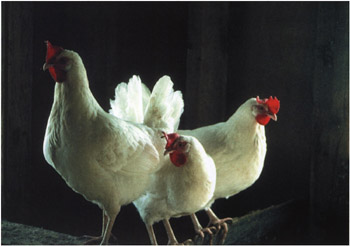
Figure C46: The original chickens, standing around [Hands On 4]
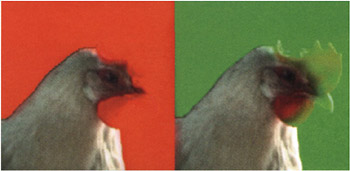
Figure C47: If an area is predominantly red, it helps to change the color of the mask. [Hands On 4]
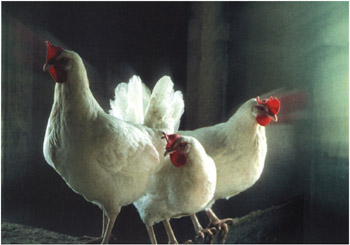
Figure C48: The chickens in motion [Hands On 4]
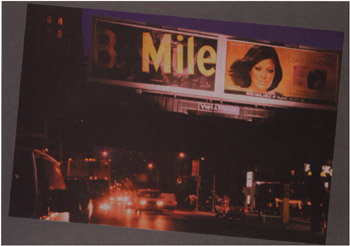
Figure C49: The beginning Big City Night image is in need of cropping, rotating, and color correction. [Hands On 5]
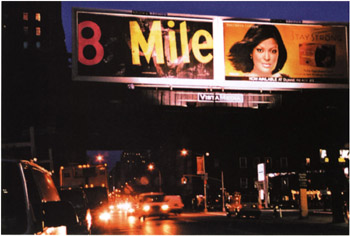
Figure C50: The completed Big City Night image shows remarkable improvement. [Hands On 5]
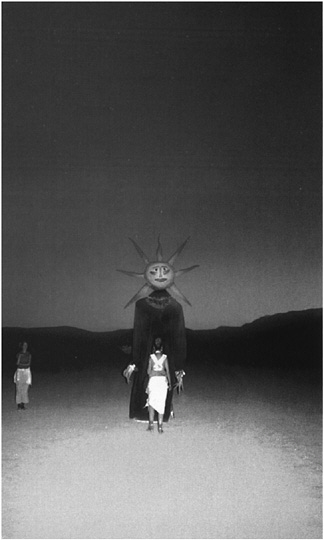
Figure C51: The beginning Sun God image [Hands On 6]
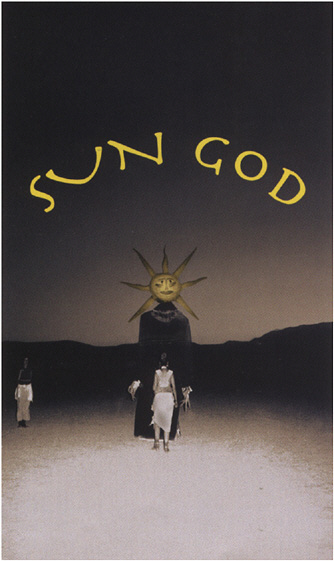
Figure C52: The completed Sun God image is a Tritone with a spot color graphic and type. [Hands On 6]
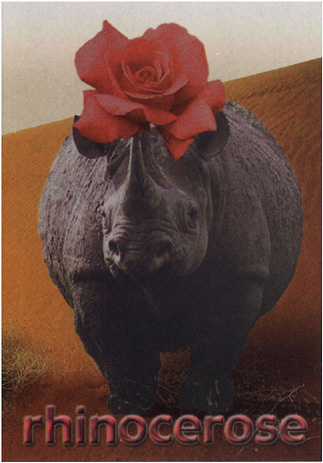
Figure C53: The original image lacks rich colors and appears flat. [Chapter 24]
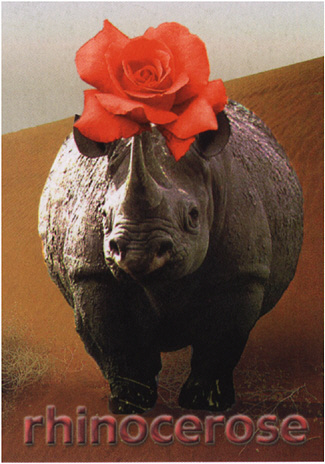
Figure C54: Stacking layers with similar content and applying a blending mode and opacity and fill adjustments can greatly enhance an image s contrast and color. [Chapter 24]
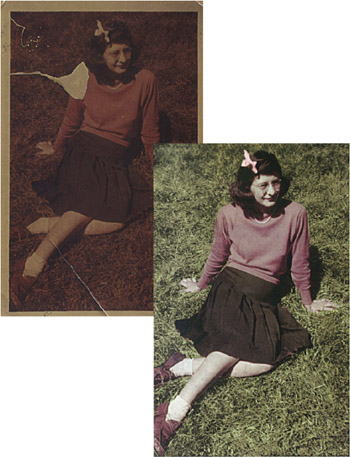
Figure C55: The beginning image needs restoration. [Hands On 7]
Figure C56 The completed image after restoration [Hands On 7]
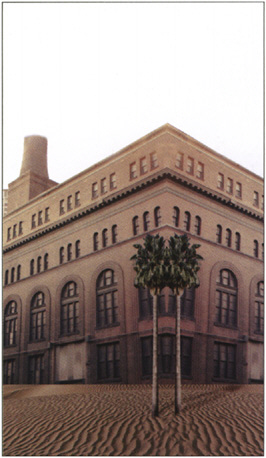
Figure C57: The beginning Flamingo Hotel image with its Layers palette [Hands On 8]
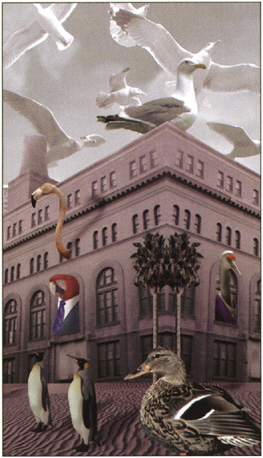
Figure C58: The finished Flamingo Hotel showing all of its guests [Hands On 8]
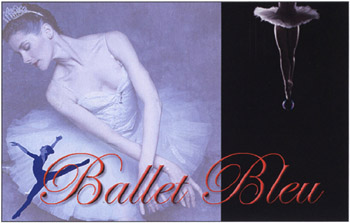
Figure C59: The finished Ballet Bleu homepage [Hands On 9]
Photoshop CS Savvy
ISBN: 078214280X
EAN: 2147483647
EAN: 2147483647
Year: 2004
Pages: 355
Pages: 355