Hands On 7: Restoring a Color Photograph
The restoration of color photographs presents a unique set of problems. In addition to the usual dust and scratch repairs and contrast adjustments, the color emulsions can change with time, producing severe color casts. The best way to remove these color casts and restore natural color varies with each situation, but in general some specific tools are commonly used to make these adjustments. Usually, Levels, Curves, Color Balance, and the arsenal of color correction features covered in Chapter 16 work in combination with Adjustment layers and layer masks. In addition, you can use the new Replace Color tool and Match Color features to make the image look as though it were taken yesterday . In this Hands On exercise, you will restore a color photograph by employing some of these techniques. The before and after versions of the image can be seen in the color section (see Figures C55 and C56).
Cropping the Image
The scanned photograph you re going to work on is shown in Figure H7.1. As you can see, it has several problem areas. You will use a variety of commands, tools, and filters to restore this image to its former glory .
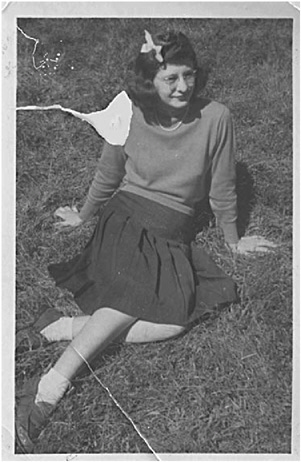
Figure H7.1: The scanned photograph before restoration
-
Open the file violetta.psd in the HO7 folder on the Photoshop CS Savvy CD.
-
Choose the Crop tool
 . Click and drag from the top-left corner inside the yellow border to the bottom right.
 -
Click the Commit (check mark) icon

 in the Options bar to commit the crop or the Cancel icon to cancel it.
EAN: 2147483647
Pages: 355