Using a Pattern Fill Layer to Build Up the Water
To add more of a motion effect to the water, you can utilize the Scale option in a Pattern Fill layer:
-
With the Plantlife layer still targeted , choose Layer ’ New Fill Layer ’ Pattern.
-
In the resulting dialog box, name the pattern Water , set the blending mode to Soft Light and the Opacity to 75, and click OK (see Figure H3.19).
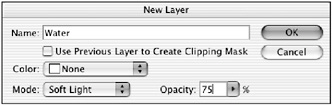
Figure H3.19: Use the New Layer dialog box to set the water s blending mode and opacity. -
In the Pattern Fill dialog box, choose the water pattern you used previously ( water.psd ). By using a Pattern Fill layer, you can scale the pattern to a different size ”use the slider to scale it up to around 155% (see Figure H3.20).
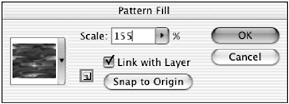
Figure H3.20: Use the Pattern Fill dialog box to scale the pattern to a different size. -
Save your work.
The Pattern Fill layer enables the water pattern to not only blend with the water below it, but to give the impression of water flowing over the plants (see Figure H3.21).
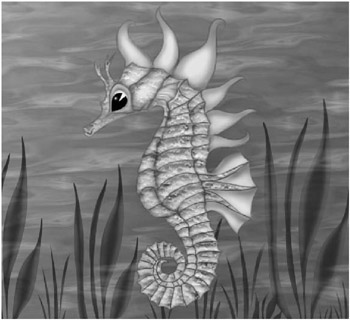
Figure H3.21: A Pattern Fill layer intensifies the water effect.
Creating and Cloning the Bubbles
To complete the background environment, you ll use the Gradient tool in a selected area to form a few bubbles in the water:
-
Target the Extras layer.
-
Select the Elliptical marquee tool
 (press Shift-M until it appears in the Tool palette). Drag a small circular selection in the upper-left corner of the image. Press the Shift key as you drag to constrain the marquee into a perfect circle.
 -
Set the foreground color to black. Zoom in on the marquee with the Navigator or the Zoom tool.
-
Select the Gradient tool
 from the Tool palette (press the G key). In the Options bar, click the Gradient Picker and choose Foreground To Transparent from the gradient list (Figure H3.22). Click the Radial Gradient icon in the Options bar and, select the Reverse check box.
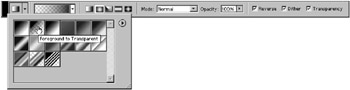
Figure H3.22: Choosing the Foreground To Transparent option -
Click in the lower-right portion of the selection just a short way from the edge, and move up toward the upper left until you ve gone a bit past the outer edge of the selection marquee (see Figure H3.23) and release. This will produce a radial gradient with its center at the starting point. Deselect (
 /Ctrl-D).
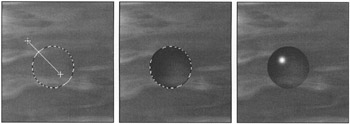
Figure H3.23: The bubble creation procedure adds the finishing touches to the project. -
Activate the Brush tool (press the B key). Set the foreground color to white (press your X key or click the tiny arrows at the upper-right of the color swatches in the Tool palette). Choose a 5-pixel Soft brush and paint a specular highlight in the upper-left portion, similar to the highlight you painted in the eye earlier.
-
Repeat steps 2 through 6 to create another bubble of a different size than the first.
-
Zoom out. Activate the Clone Stamp tool
 (press S on the keyboard).
 -
Option/Alt-click on a bubble you wish to reproduce.
-
Choose another location and clone in the new bubble.
-
Repeat steps 9 and 10 until you have as many bubbles as you wish.
-
Save your work.
Viewing the History Log
At this point, you ve performed quite a few steps to produce the seahorse image. By default, the last 20 steps appear in the current History palette. If you close the file, its History will be lost. When you reopen the image, a new History will begin.
At the beginning of this exercise, you set the preferences to save a detailed record of the history as a text file for future reference. You can open and view the History log in TextEdit (Mac) or Notepad (Win) or any other text editor or word processor that reads text ( .txt ) documents. The log has recorded the editing operation performed in each History state and its date and time. Figure H3.24 shows a portion of the history in the History log.
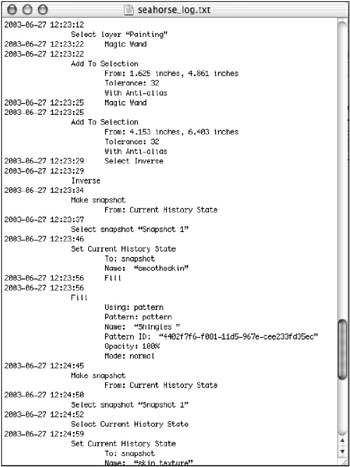
Figure H3.24: A portion of the History log as a text document generated with Photoshop s new History Log preference
| Note | Be sure to turn off the History log feature in the General Preferences to avoid the continuation of the recording of data in the current text file. If you plan on working on additional images, you can turn it on again when you open them. |
EAN: 2147483647
Pages: 355