About Display Options and Smoothness
|
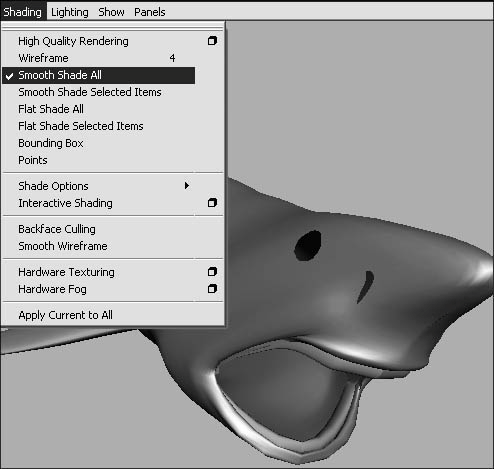
| By using Maya's display options, you can change the way objects are viewed within the pane. You can view your scene in wireframe, smooth-shaded, flat-shaded, bounding-box, or points mode, and you can change your display options to match your current needs. Bounding-box and points mode, for example, can be used to speed interaction when tumbling around a complex scene. Wireframe mode is handy for selecting components (because you can see the components through the object), and smooth and flat shading can provide a more complete surface view (which makes it easier to model a surface). Each of the display options is useful for specific situations, so switching between them can improve workflow. Included among the display options are hardware texturing and lighting options, which provide quick feedback when adding texture or lighting to a scene. Most of these settings have associated keyboard shortcuts. You can display NURBS and Subdiv objects in one of three smoothness levels: rough, medium, or fine. (However, the display smoothness levels do not apply to polygonal objects.) Objects are displayed rough by default, but you can change the setting using the shortcuts described below. Choosing a setting of rough can ease component selection because fewer surface lines are shown. A fine setting comes closest to matching the final surfacewhich means this is the setting to use when you need to focus on fine details. To change the display options from the Shading menu:
Shading and smoothness shortcuts
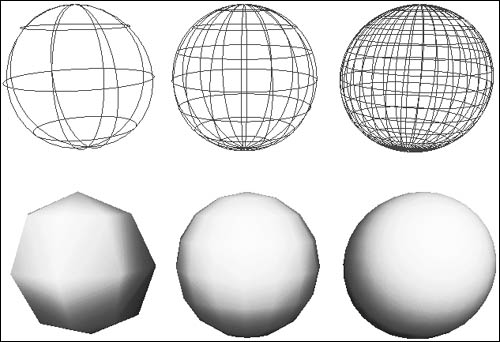
Figure 2.53. Rough smoothness (left) shows the object in low resolution. Medium smoothness (middle) shows the object with some additional resolution but not enough to obstruct the view of the object. Fine smoothness (right) provides the closest representation of the surface's shape.
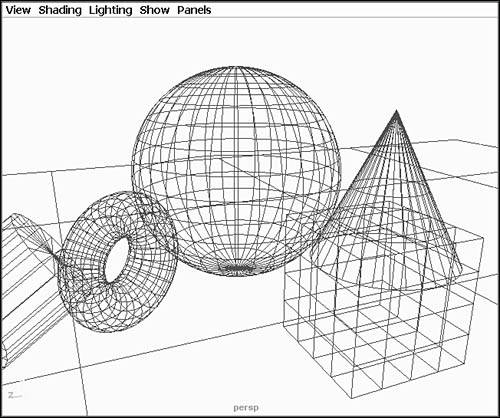
Figure 2.54. Wireframe mode allows you to see through objects and view their geometry on the front and back of the surface.
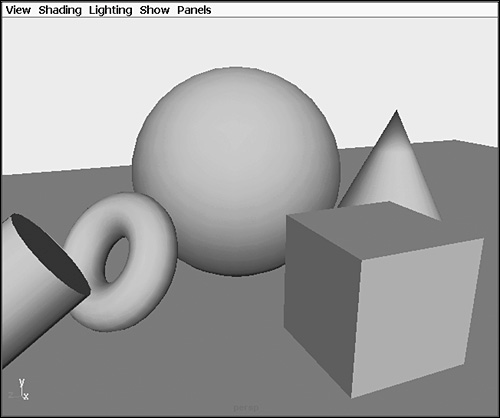
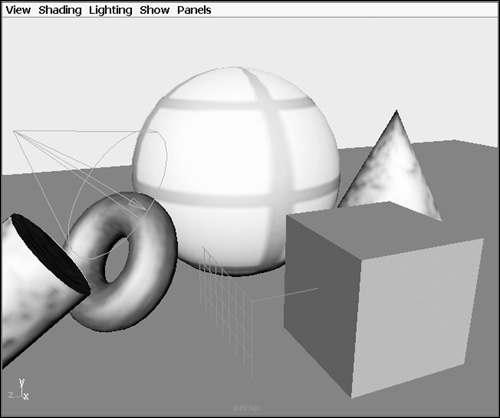
Figure 2.55. Shaded mode presents the surface in gray by default to show its final skin.
Figure 2.56. Hardware Texturing shows the surface textures within the pane.
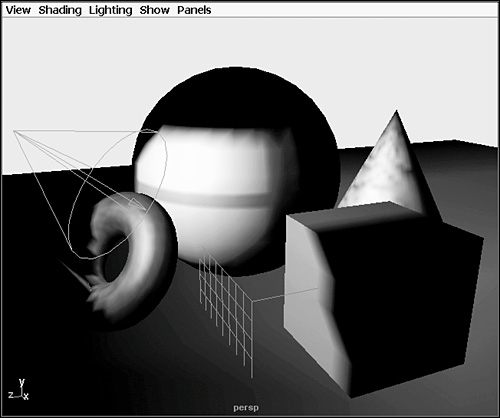
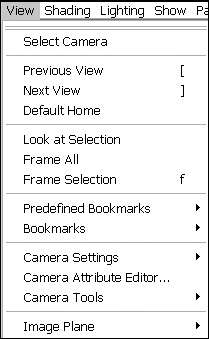
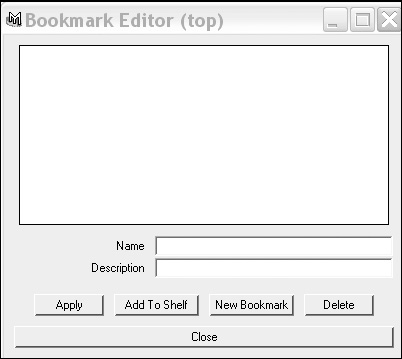
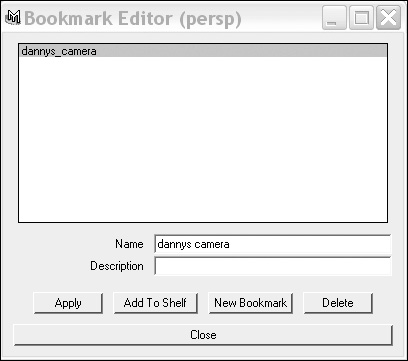
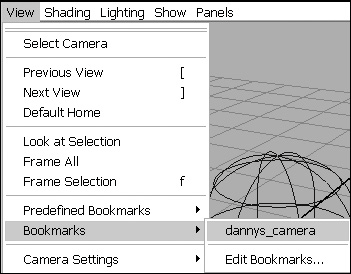
Figure 2.57. Hardware Lighting shows the scene's lighting scenario interactively within the pane by generalizing the effects that the lights would have on the scenesomewhat of a very rough version of the final render. The Hardware Lighting option can save large amounts of rendering time because you can see the results as soon as you change a light's position. Using the View menuThe View menu lets you control what the camera is focused on inside a view pane (Figure 2.58). You can bookmark your current pane's viewpoint to later return to that camera angle. This option is most useful on the Persp view to return to a pre-defined or user-defined viewpoint. Figure 2.58. The View menu is used to alter, save, and restore camera viewpoints. To bookmark the current pane viewpoint:
To access a bookmarked pane viewpoint:
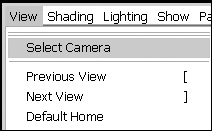
The View menu is also used to select the camera you are currently looking through, as well as to frame selected objects into view. To select the camera you are currently looking through:
|
|
- ERP Systems Impact on Organizations
- Enterprise Application Integration: New Solutions for a Solved Problem or a Challenging Research Field?
- Data Mining for Business Process Reengineering
- Healthcare Information: From Administrative to Practice Databases
- Development of Interactive Web Sites to Enhance Police/Community Relations