| iCards aren't part of your .Mac e-mail account, but they work closely with it. Your .Mac account comes with hundreds of highquality electronic greeting cards that you can send to anyone via e-mail. There are a number of categories to choose from (just like going into your own Hallmark store), including seasonal, birthdays, romance, and get well. If you're feeling extra-creative, you can send a custom iCardone that contains your own picturesrather than using one of the prefab pictures. To Send an iCard 1. | Go to www.mac.com and log in to your .Mac account.
The main .Mac page opens.
| 2. | In the toolbar at the top of the page, click the iCards link (Figure 2.95).
Figure 2.95. Click the iCards link in the toolbar to be taken to the main iCards page. 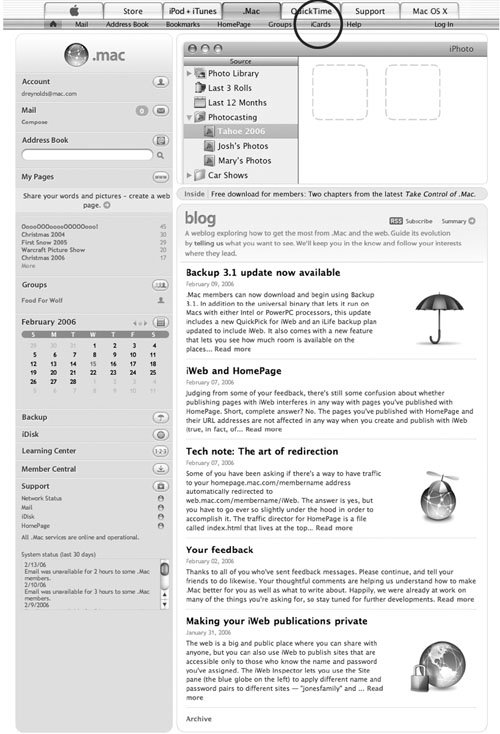
The iCards page opens.
| 3. | Click the card you want to send to select it. You can choose from a large number of categories on the left, and then you can browse through the various cards in a category.
The Compose/Edit page opens (Figure 2.96).
Figure 2.96. On the Compose/Edit page, you can create your own custom iCard. 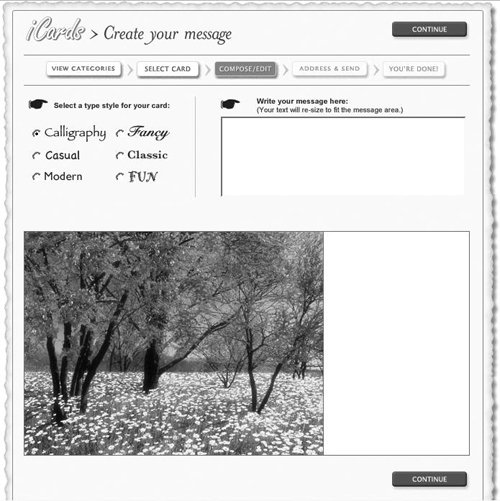
| | | 4. | Click the radio button next to the font you want to use.
| 5. | In the message text field, type your message (Figure 2.97). The message will appear in boring plain text, but the font you picked will appear in the copy the recipient sees.
Figure 2.97. Type the message you want to send in the text box. 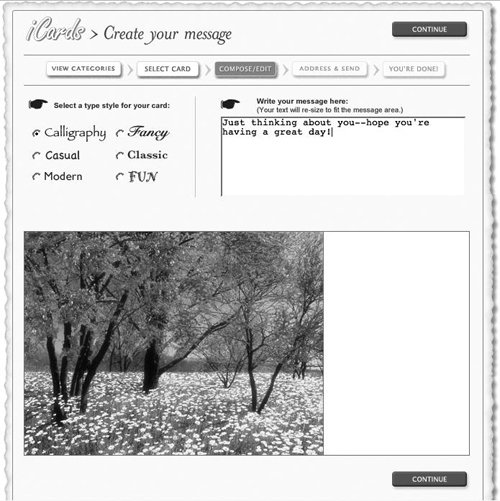
| 6. | Click the Continue button in the lower right corner of the page.
The Address & Send page opens with the name and e-mail address associated with your .Mac account already entered in the appropriate fields (Figure 2.98).
Figure 2.98. Enter your name and address information on the Address & Send page if it hasn't been automatically filled in correctly. 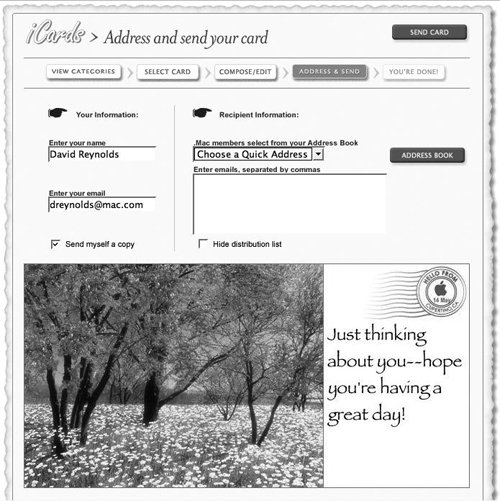
| 7. | In the "Enter your name" field, type your name if the information that's already entered is incorrect.
| 8. | In the "Enter your email" field, type your e-mail address if the information that's already entered is incorrect.
| | | 9. | Do one or more of the following:
- From the ".Mac members select from your Address Book" pop-up menu, choose the e-mail addresses to which you want to send the card from your Quick Addresses list.
- In the "Enter emails, separated by commas" text box, type the e-mail addresses to which you want to send the card (Figure 2.99). If you want to send the card to more than one e-mail address, separate multiple addresses by commas.
Figure 2.99. Type the e-mail addresses to which you want to send the card in the "Enter emails, separated by commas" field. 
- Click the Address Book button to select e-mail addresses from your .Mac Address Book. Check the boxes next to the addresses you want to use, and then click Return to Card (Figure 2.100).
Figure 2.100. Check the boxes for the addresses from your Address Book to which you want to send the iCard. 
| | | 10. | In the upper right corner of the page, click the Send Card button (Figure 2.101).
Figure 2.101. Click the Send Card button to send the iCard. 
The card is sent to the e-mail addresses you've specified, and you're given a hearty congratulations on a job well done (Figure 2.102).
Figure 2.102. Nice workyou've sent an iCard! 
|
 Tips Tips
To view all of the card styles before making your selection, click Browse All Cards at the bottom of the iCards Categories list on the main iCards page. To have a copy of the iCard sent to you as well, check the "Send myself a copy" box before sending the card. If you want the people to whom you're sending the card to be unable to see who else received it, check the "Hide distribution list" box.
To Send a Custom iCard 1. | Go to www.mac.com and log in to your .Mac account.
The main .Mac page opens.
| 2. | In the toolbar at the top of the page, click the iCards link.
The iCards page opens.
| 3. | In the iCards Categories list on the right, click Create Your Own (Figure 2.103).
Figure 2.103. The Create Your Own link is your key to making a custom iCard. 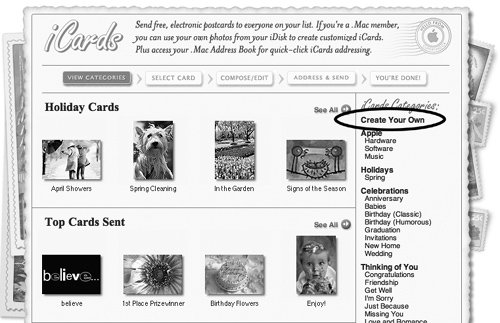
The "Select an image" page opens. The column on the left shows the contents of your iDisk's Pictures folder.
| 4. | From the left column, click the name of an image to select it.
A preview of the image opens on the right (Figure 2.104).
Figure 2.104. When you select an image from your iDisk for an iCard, a preview appears on the right. 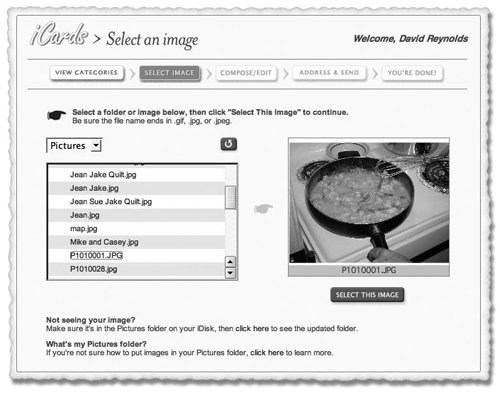
| 5. | Click the Select This Image button. The Compose/Edit page opens (Figure 2.105).
Figure 2.105. On the Compose/Edit page you can add custom text to your custom card. 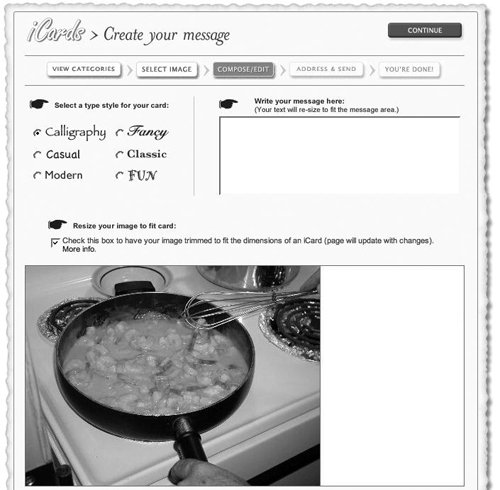
| 6. | Click the radio button next to the font you want to use.
| 7. | In the message text box, type your message.
| 8. | Check the "Resize your image to fit card" box to trim the image to proper size.
| 9. | Click the Continue button.
The Address & Send page opens with the name and e-mail address associated with your .Mac account already entered in the appropriate fields.
| 10. | In the "Enter your name" field, type your name if the information that's already entered is incorrect.
| 11. | In the "Enter your email" field, type your e-mail address if the information that's already entered is incorrect.
| | | 12. | Do one or more of the following:
- From the ".Mac members select from your Address Book" pop-up menu, choose an e-mail address.
- In the "Enter emails, separated by commas" field, type an e-mail address.
- Click the Address Book button to select an e-mail address from your .Mac Address Book. Check the boxes next to the addresses you want to use, and then click Return to Card.
| 13. | Click the Send Card button.
The card is sent to the e-mail addresses you've specified.
|
Contributing to the Members Portfolio Your .Mac account lets you show off your digital photography by contributing to the .Mac Members Portfolio. Here's how you can submit your art for consideration: 1. | Save your pictures as JPEG images, and make sure the filenames end with either the .jpg or .jpeg file extension.
| 2. | Make sure that filenames contain only uppercase letters, lowercase letters, numbers, and the underscore character. Other characters won't work.
| 3. | Make sure the pictures are larger than 312 by 416 pixels.
| 4. | Move the pictures you're submitting to the Pictures folder on your iDisk.
| 5. | Log in to your .Mac account, click the iCards link, and then click the Members Portfolio link. Follow the onscreen instructions to submit your artwork, which will then be judged by .Mac officialsnot every image gets selected.
|
|
|