| When you're using QTSS Publisher to create playlists, you have a few options as to how you can announce the streams. To send the playlist to another broadcast server 1. | Open the QTSS Publisher application, and select the playlist you want to stream.
| 2. | Navigate to the Broadcast Server section, and click the "Relay broadcast through a different server" radio button (Figure 12.38).
Figure 12.38. Send a playlist to another streaming server using options in the Broadcast Server section. 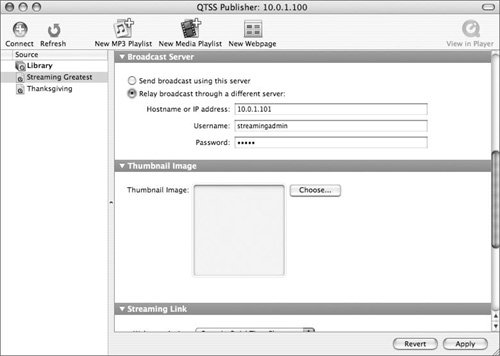
| 3. | Fill in the IP address, username, and password of the QTSS or DSS server where you want to send the playlist. Then click Apply.
|
Creating code for Web pages Another option is to use QTSS Publisher to create code that you can insert into Web pages you want others to visit. This code can be copied and pasted into the middle of other HTML (Web page) code. To obtain the code 1. | Open the QTSS Publisher application, select the playlist you want to include in a Web page, and navigate to the Streaming Link section.
| 2. | From the Webpage Action pop-up menu, select what behavior you want your HTML code to perform (Figure 12.39).
Figure 12.39. View the HTML code when selecting a playlist for Web-page streaming. 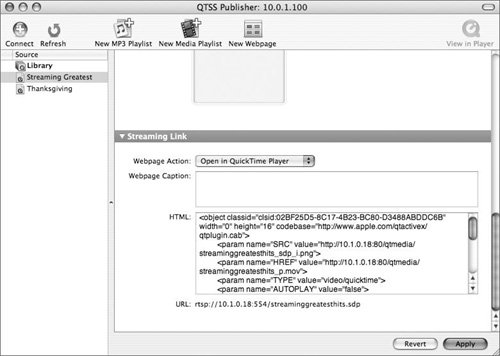
The first option will launch the QuickTime Player to stream the playlist, while the other two options will stream the playlist from within the Web page (either after clicking or automatically after the page loads).
| 3. | Click inside the HTML window containing the code, select all the code, and copy it).
| 4. | Switch to your HTML application and paste the code where you want it.
|
 Tip Tip
To add an image to your playlist 1. | Launch the QTSS Publisher tool from /Applications/Server, and authenticate as the QuickTime Streaming Server administrator.
| 2. | Select the playlist you want and navigate to the Thumbnail Image section (Figure 12.40).
Figure 12.40. The Thumbnail Image section allows you to add a custom image. 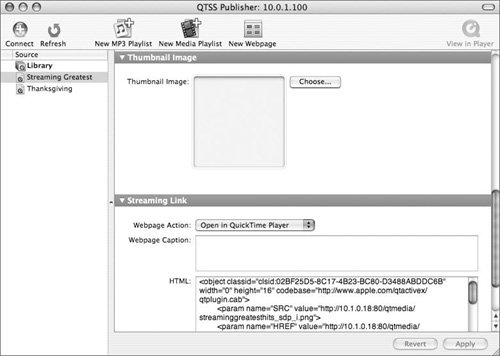
| 3. | Click Choose and navigate to where the image exists on your server.
| 4. | Select the image and click Open to place it inside the Thumbnail Image window (Figure 12.41).
Figure 12.41. Select an image for the Web page to show while the stream is playing. 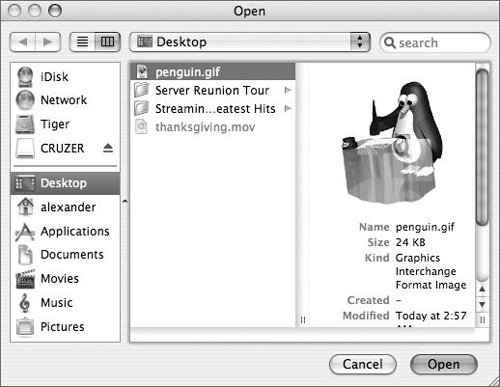
| 5. | Optionally, you can navigate to the Streaming Link section of the playlist and add a caption in the Webpage Caption field (Figure 12.42).
Figure 12.42. Set the caption and custom image. 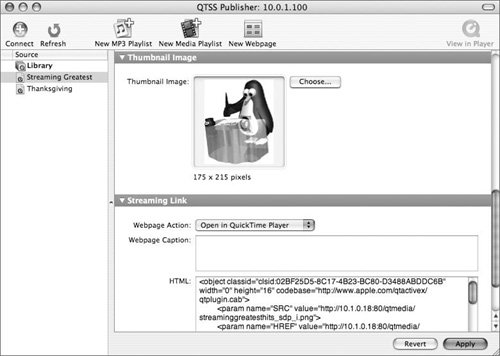
| 6. | Click Apply to save the changes.
You have now added an image to your playlist.
|
Making use of the image Once an image is added, you need to choose how it will be used. You have three options, each of which generates different HTML code for use in a Web page: Open in QuickTime Player allows the image to be embedded so that when you're viewing the stream from a QuickTime Player, the image will appear (Figure 12.43). Figure 12.43. The Open in QuickTime Player option allows the image to be embedded. 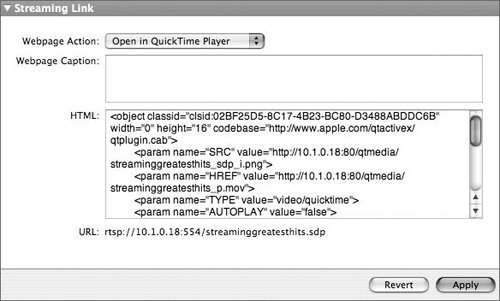
Embed in Web page places the image in a Web page and plays the stream when the user clicks the image (Figure 12.44). Figure 12.44. "Embed in Web page" places the image in a Web page and plays the stream when the user clicks the image. 
Auto-play in Web page permits the stream to automatically begin playing when the user enters the Web page (Figure 12.45). Figure 12.45. Applying the Auto-play function automatically starts the stream when a user enters the Web page with the link to the stream. 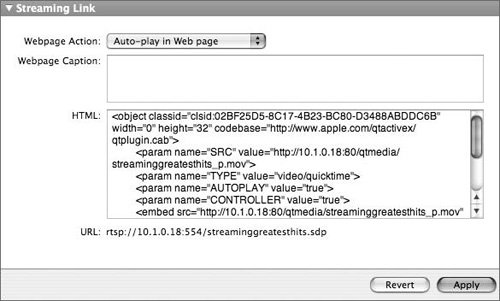
Remember, each option has different HTML code associate with it. If necessary, you need to copy that code and paste it into the HTML code of your Web page(s). Tips
QTSS Publisher Web pages QTSS Publisher also lets you create preformatted Web pages. These pages include all the code necessary for a Web page to be built so that users can connect and view information about the playlist. To create a preformatted Web page 1. | Enable your Web site, and start the Web service (see Chapter 9, "Web Technologies," for instruction on starting your Web service).
| 2. | Launch the QTSS Publisher tool from /Applications/Server, and authenticate as the QuickTime Streaming Server administrator.
| 3. | Be sure the playlist you want to create a Web page for is broadcasting (see the "Creating weighted random AAC playlists" task earlier in this chapter).
| 4. | Click New Webpage in the Toolbar.
| 5. | In the dialog that appears, enter the name of the Web page and the URL name (one is suggested for you), and click Create (Figure 12.46).
Figure 12.46. Enter the name and URL for the Web page. 
| 6. | Select the Web page you just created from the Source list on the left.
| 7. | Drag a playlist from the Source list to the Web page you just created, also located in the source list, and click Apply (Figure 12.47).
Figure 12.47. Drag a playlist for the source to the Web page section. 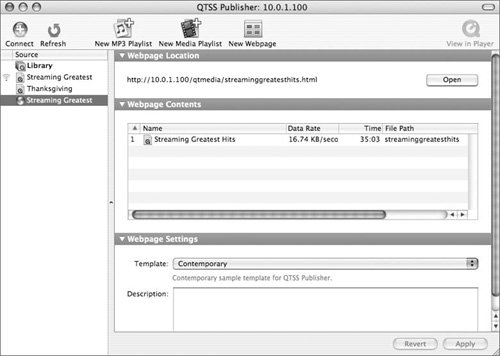
| 8. | In the Webpage Settings section, select a Template (Modern is a good choice) and enter a description in the Description area.
| 9. | Click Apply and then click Open.
Your default Web browser opens and connects to the page you just created (Figure 12.48).
Figure 12.48. The Web page appears with the album art, text, and stream controls. 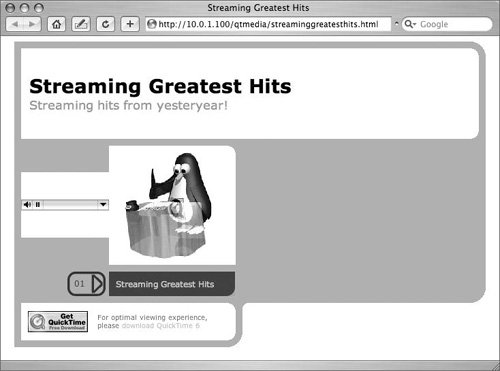
|
Tip
MP3 playlist links MP3 playlists can also be embedded in Web pages and, more important, streamed to iTunes. The setup is similar to that for AAC (.m4a) files and video files; however, there are no options for images in QTSS Publisher. You must edit the Web pages directly to insert album art or other images. To create an MP3 Web page 1. | Launch the QTSS Publisher tool from /Applications/Server, and authenticate as the QuickTime Streaming Server administrator.
| 2. | Make sure the MP3 playlist is broadcasting (see "Creating weighted random AAC playlists" for similar steps).
| 3. | Click New Webpage in the Toolbar.
| 4. | In the dialog that appears, enter the name of the Web page and the URL name (one is suggested for you), and click Create (Figure 12.49).
Figure 12.49. Enter the name and URL for the Web page. 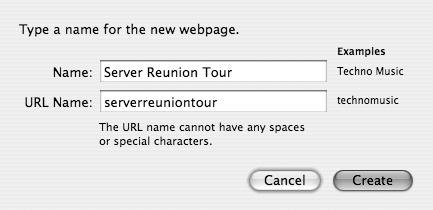
| 5. | Select the Web page you just created from the Source list on the left.
| 6. | Drag an MP3 playlist from the Source list to the Web page you just created, also located in the source list, and click Apply (Figure 12.50).
Figure 12.50. Drag the MP3 playlist you want onto the Web page. 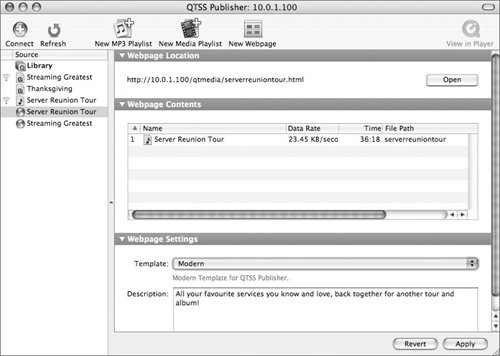
| 7. | In the Webpage Location section of your Web page, click Open.
Your default Web browser opens and connects to the page you just created (Figure 12.51).
Figure 12.51. The Web page appears in a browser with all related text. 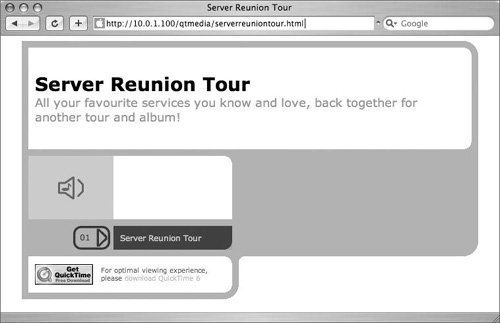
| | | 8. | Click the link in the Web page to download the appropriate file (Figure 12.52), which iTunes opens automatically (Figure 12.53).
Figure 12.52. A file is downloaded to your computer. 
Figure 12.53. iTunes opens up and the MP3 stream begins. 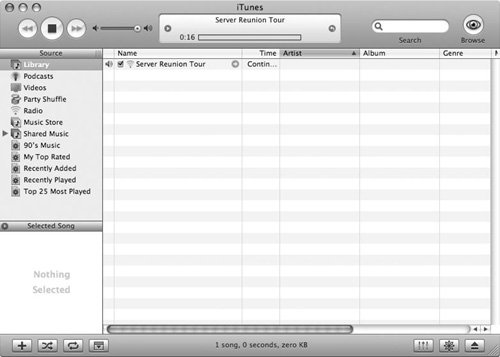
|
Tip To open iTunes directly, choose Advanced > Open Stream, type in the link to your stream, and click OK (Figure 12.54). The URL for direct access to the stream is available in the Streaming Link section of the MP3 playlist. Also provided is HTML code you can embed in a Web page (Figure 12.55). Figure 12.54. Manually enter a stream URL into the iTunes Open Stream dialog. 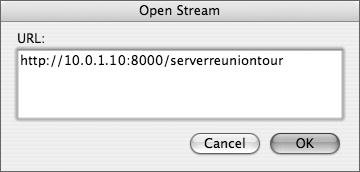 Figure 12.55. The Streaming Link section of an MP3 playlist shows the direct URL for the stream. 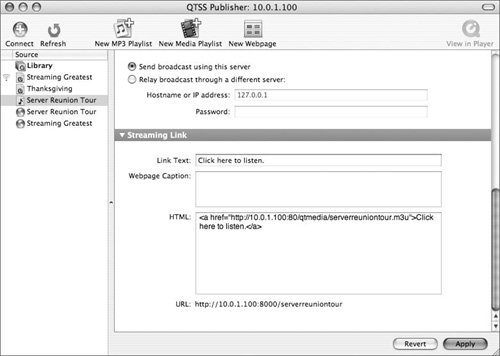
|