You can control client access to your NetBoot server by enabling the NetBoot filter. The NetBoot filter can be configured to allow or deny specific client computers based on their Ethernet address. This is useful when you have computers that should never be NetBooted, such as other servers; or computers that you always want NetBooted, such as lab computers.
1. | Choose /Applications/Server/Server Admin (Figure 11.61).
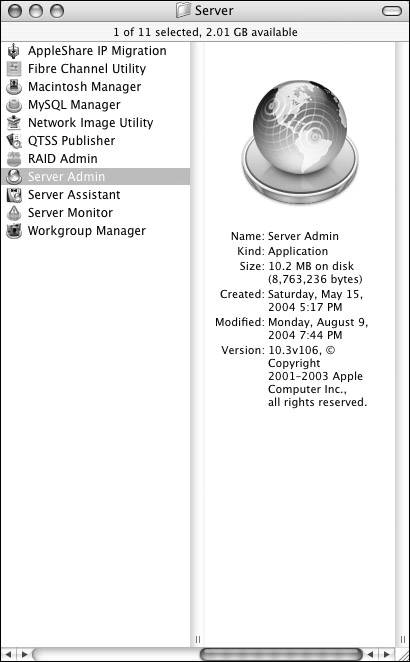
The Server Admin utility opens.
|
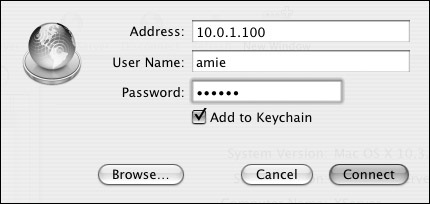
2. | Connect and authenticate to the server you intend to configure (Figure 11.62).
|
3. | Select NetBoot from the service list, click the Settings button, and then click the Filters tab (Figure 11.63).

|
4. | Select the "Enable NetBoot filtering" check box (Figure 11.64).

|
5. | Choose the appropriate radio button to create the allow or deny filter list (Figure 11.65).

|
6. | Do one of the following:
Click the Add button (Figure 11.66). A dialog sheet appears, allowing you to manually add a client's Ethernet address. 
Enter a client's host name, and then click the Spyglass button. The Server Admin utility queries the client for its Ethernet address. Click the Add button to add this address to your list (Figure 11.67). 
|
7. | Click the Save button.
|
 Tips
Tips