add timeline effects
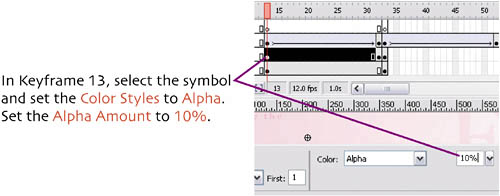
   Press Move the Playhead back to Keyframe 13, and select the symbol that the effect created. (The original text box has been broken up into pieces; that's why we copied it into all of the other keyframes before we started adding the effects.)  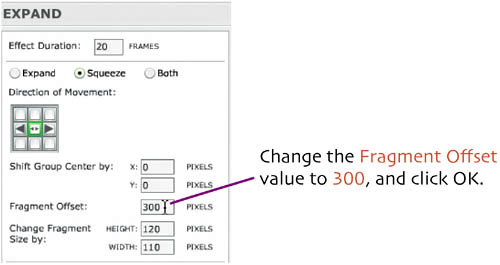 With our animation set to our liking, we're going to add a motion tween of alpha transparency.   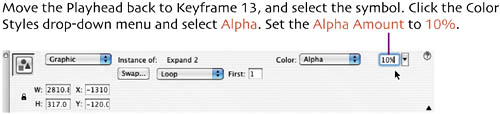 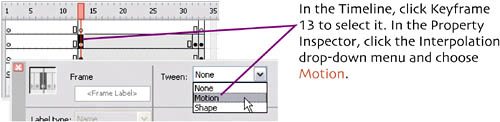 Press That completes the zoom-in of the text. Now let's do a reverse, and zoom the text out.  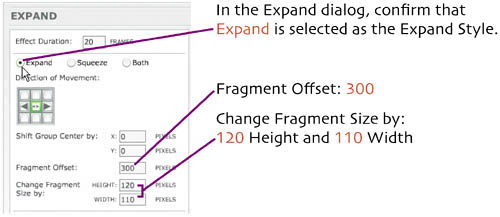 Enter these settings: Click OK.
  Move the Playhead to Keyframe 1, and press You should see the text fade and zoom in and then fade and zoom out. If not, review the steps above. With the animation of the word LOVE complete, we need to repeat the process to create a zoom for our next word: MOMENT. 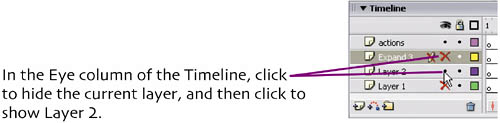  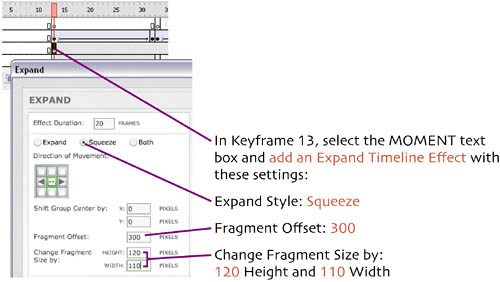
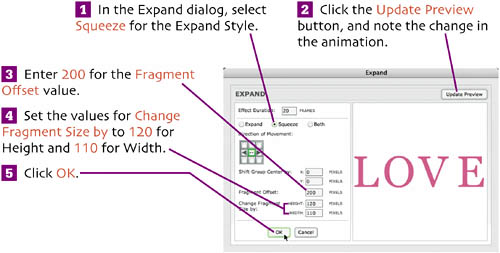
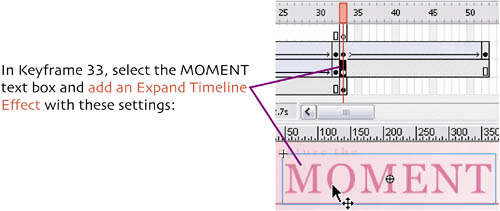
Expand Style: Expand Fragment Offset: 300 Change Fragment Size by: 120 Height and 110 Width
 That completes our second segment of animation. Now we just need to add a zoom in segment for our final word: MEMORIES. 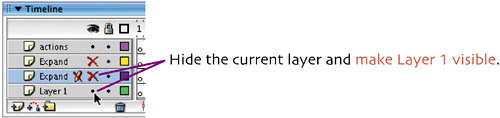 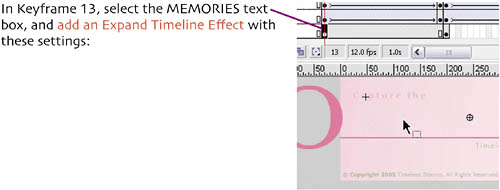 Expand Style: Squeeze Fragment Offset: 300 Change Fragment Size by: 120 Height and 110 Width
  |

EAN: 2147483647
Pages: 113