Clarifying the Text
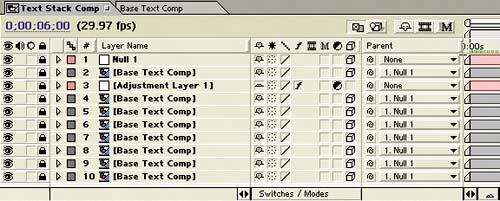
| If you preview the animation at this point, you'll notice that the text is much too difficult to read because the letters appear to merge into one another. You'll make the viewer focus on the topmost text layer and increase its readability by fading in all the text layers behind it and changing their color. This technique will also add more impact when the topmost text layer lands in place:
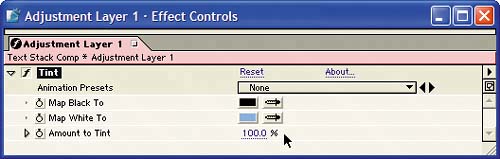
The Adjustment layer works just like a Photoshop Adjustment layer, so all layers below the Adjustment layer in the Timeline are affected by its settings. In your project, all the Base Text Layers except the top one should display the blue color that you set in the Adjustment layer. Composition at time 3;00  |
EAN: 2147483647
Pages: 236
- Chapter I e-Search: A Conceptual Framework of Online Consumer Behavior
- Chapter VIII Personalization Systems and Their Deployment as Web Site Interface Design Decisions
- Chapter IX Extrinsic Plus Intrinsic Human Factors Influencing the Web Usage
- Chapter XI User Satisfaction with Web Portals: An Empirical Study
- Chapter XVIII Web Systems Design, Litigation, and Online Consumer Behavior