Security Groups
| Groups are "buckets" of permissions that have people assigned to them. After a person is assigned to a Group, that person assumes the use permissions defined by the Group. Groups are simply collections of permissions in the security model. Creating GroupsAfter all the templates are defined and proper selections made, it is time to define the Groups. Perform the following steps to define Groups:
NOTE The Groups are named the same as the default templates. You need to define the names of your Groups to be the same as your newly defined templates. As you either add or modify a Group, pay close attention to the sections on the Group page: Users, Categories, Global Permissions, and Digital Dashboard Link. Each of these sections is distinguished by blue letters and a blue line across the page (see Figure 8.7). Figure 8.7. The Group page has defined sections.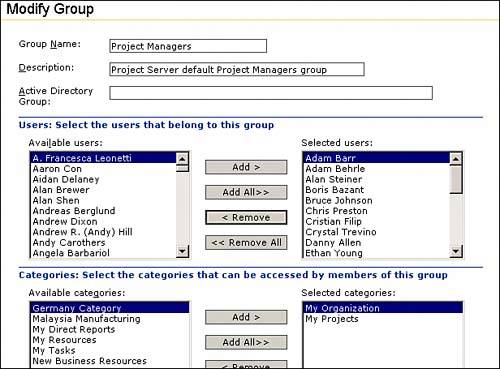 In the User section you assign the appropriate people to the correct Group, which is the last step in the security model process. After a user is assigned to a Group, the permissions define what a user can do in the system and what general views a user can see in PWA. The data that populates the view is defined by Categories. The Category section shows you the Category or Categories assigned to this Group. Categories are discussed in more detail in the "Creating Categories" section later in this chapter. The Digital Dashboard Link is a place to identify a URL, which is a digital dashboard or any other portal your organization wants to use. If one is selected, it shows up on the home page of each person assigned to this Group. In designing the security model, only the global permissions are considered now. Setting Global Permissions for Members of This GroupWith the Group page open and looking at the Global Permissions section, use the pull-down menu to select the proper template (see Figure 8.8). Assign permissions by selecting the Set Permissions with Template button. Having the same Group name and security template name reduces the confusion of what global permissions to set for each Group. Do the same for each Group until all defined Groups have their permissions set by a similarly named security template. Figure 8.8. Select the proper template by choosing from the Set Permissions with Template drop-down menu.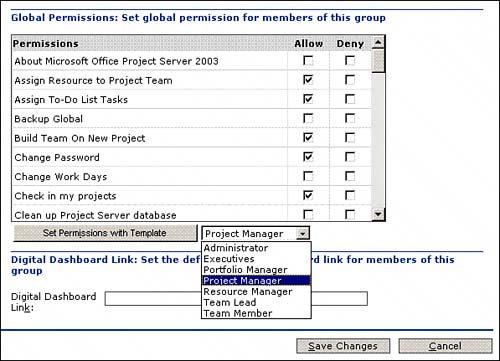 |
EAN: 2147483647
Pages: 227