| Visual Studio .NET is available in Professional, Enterprise Developer, and Enterprise Architect Editions. This book uses the Visual Studio .NET Professional Edition for all its program examples. I made this choice because the Professional Edition is the least expensive version, yet it embodies most of the feature set you need to understand and use Visual Basic .NET. However, all the programs in this book function identically, regardless of edition of Visual Studio .NET you install. Visual Studio .NET Professional Edition comes on five CDs or one DVD. The installation discussed here assumes an installation using five CDs. This section provides a series of steps you need to follow to ensure that Visual Studio .NET is installed properly. If you have already installed Visual Studio .NET and everything is working properly, you can skip this section and go directly to the section titled "Running Your First Program," later in this chapter. If you have not installed Visual Studio .NET or are experiencing some problems, you might want to read this section. I have written the installation process as compactly as possible, as it is my experience that most readers will already have the software installed. In all other sections of the book, I make every effort possible to explain what I am doing and why. In this section, I simply want you to be able to install the software and move on to the good stuff: learning Visual Basic .NET. Sometimes there is beauty in terseness, and I think this is one of those times. With that caveat in mind, let's press on. To install Visual Studio .NET, follow these steps: -
Close down all currently open applications. Insert into your CD-ROM drive the Visual Studio .NET CD labeled Disk 1 of 5. The setup routine should start automatically. If it does not, you can use the Run option from the Windows menu and simply double-click setup.exe on Disk 1 to start the setup procedure. You should see something similar to what is shown in Figure 1.1. Figure 1.1. The Visual Studio .NET Setup screen. 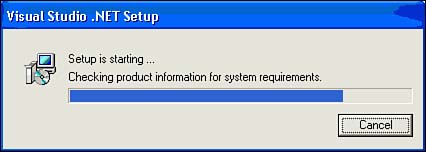 -
The setup program determines whether your machine requires any Windows components to be updated (see Figure 1.2). If it does, you must install different versions of those Windows components by clicking Windows Component Update. Figure 1.2. The component update screen. 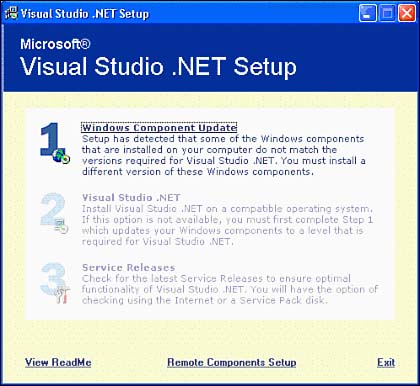 -
Because you will host Web projects, you should select the Install Components option in the screen shown in Figure 1.3. Figure 1.3. The Web Project Requirements screen. 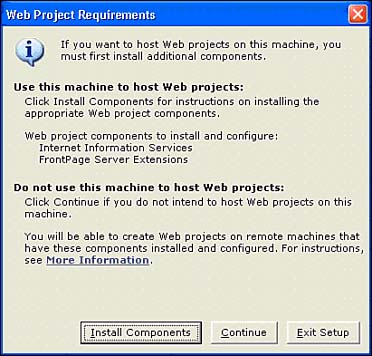 -
Replace Disk 1 with the CD that is labeled Disk 5 of 5 (see Figure 1.4). This is the Windows Component Update CD. Figure 1.4. The Insert Disk screen. 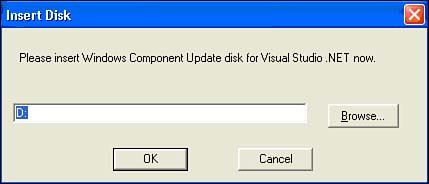 -
If you insert the wrong CD, you get the message shown in Figure 1.5. To correct this error, simply replace the current CD with Disk 5 and then click OK. Figure 1.5. The incorrect disk error message.  -
When the correct CD is inserted, the setup program continues. Your screen should display a progress meter similar to that shown in Figure 1.6. Figure 1.6. The installation progress meter.  -
Read the End User License Agreement, and then select the I Accept the Agreement radio button and click Continue (see Figure 1.7). Figure 1.7. The End User License Agreement screen. 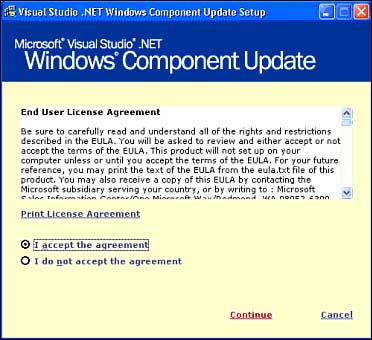 -
The next screen displays all the Windows components that are required for Visual Studio .NET. Click Install Now to install the required components. Your screen should look similar to the one shown in Figure 1.8. Figure 1.8. Installing Windows components. 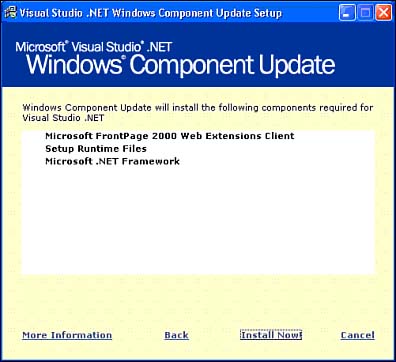 -
It might take several minutes to complete the component update process. You should see the update progress on the installation progress bar for each component, as shown in Figure 1.9. Figure 1.9. The component Install Progress bar. 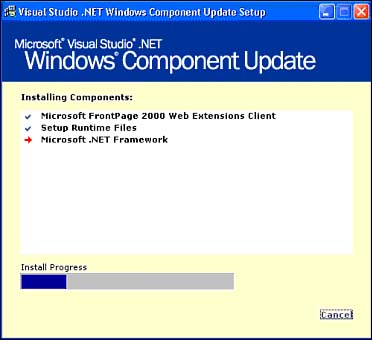 -
After all the Windows components are installed, you see a Congratulations dialog box (see Figure 1.10). At this point, click Done to complete the component update process. Figure 1.10. The completed component installation. 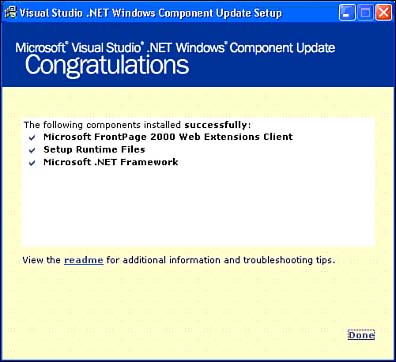 -
Now you are ready to install Visual Studio .NET. The screen shown in Figure 1.11 appears. Click Visual Studio .NET to install Visual Studio .NET. Figure 1.11. Installing Visual Studio .NET. 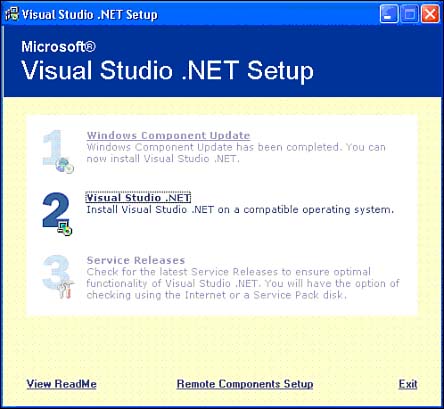 -
You are prompted for a disk change. Replace Disk 5 with Disk 1, and then click OK. The screen that appears should look similar to Figure 1.4. -
The setup program continues loading installation components. Once again, you should see the progress bar, similar to the one shown in Figure 1.6. -
Read the End User License Agreement, and then select the I Accept the Agreement radio button. (Of course, I am assuming that you do accept the terms stated in the agreement. If you do not, you should terminate the installation process.) Type your name in the Your Name text box. Enter the product key, which is printed on your CD case, in the Product Key boxes. Click the Continue button to proceed to the next section. See Figure 1.12. Figure 1.12. Entering license agreement information. 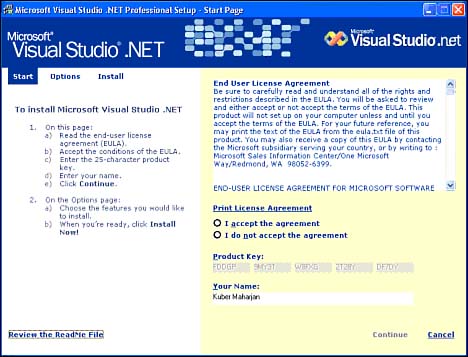 -
On the Options page, select the components you want to install (see Figure 1.13). If you are unsure which components to install, simply click Restore Defaults. Then click the Install Now button. Figure 1.13. Selecting Visual Studio .NET Professional Edition items to install. 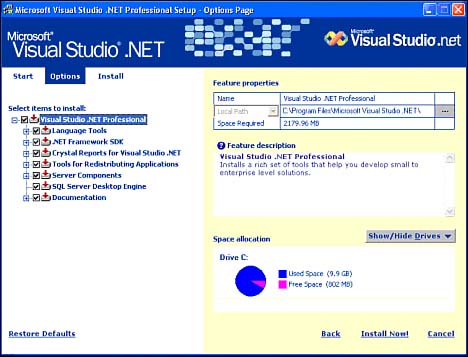 -
It might take several minutes to complete this part of the installation process. The progress bar should give you an estimate of how long it is going to take to complete the installation. This might be a good time to take a walk and grab a cup of coffee. Figure 1.14 shows the starting screen for the installation. Figure 1.14. The Visual Studio .NET installation screen. 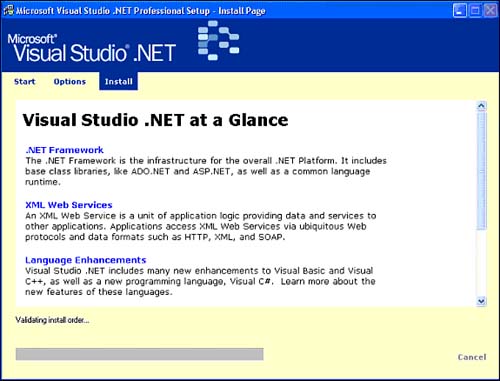 If you have any applications open, you get the message shown in Figure 1.15. You should not get that message if all applications are closed. If you need to close any Windows applications, do so now and then click Retry. Figure 1.15. An error message about an open application. 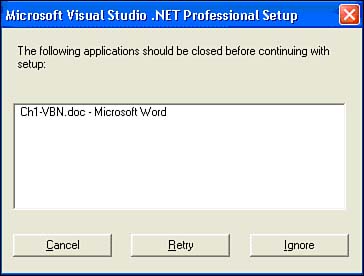 -
Near the bottom of the setup screen, the program displays the estimated time remaining for completion of the installation of Visual Studio .NET (see Figure 1.16). Figure 1.16. The time remaining for the installation. 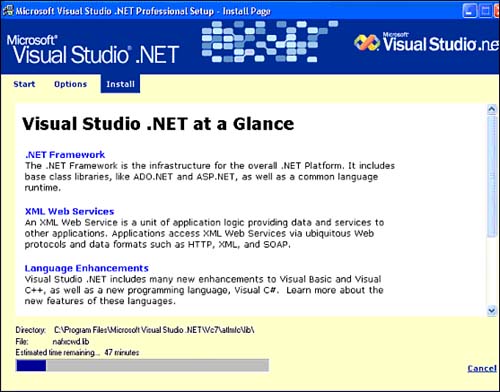 This part of the installation process should take about an hour to complete. The exact time it takes depends on your hardware configuration. In all cases, it takes a while, but don't run off. -
The setup program prompts you to change CD-ROMs along the way, as shown in Figure 1.17. When you are prompted to do so, insert Disks 2, 3, and 4, clicking OK when needed. Figure 1.17. A screen that prompts for a disk change. 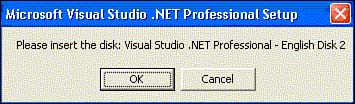 -
When the installation is complete, click the Done button (see Figure 1.18). Figure 1.18. The Setup Is Complete screen. 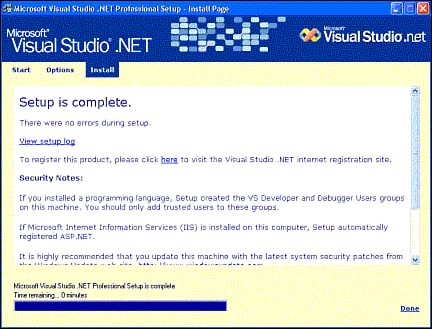 -
At this point you need to check for the services releases. Click Service Releases, as shown in Figure 1.19. Figure 1.19. Installing service releases.  -
Microsoft strongly recommends that you update your machine with the latest system security patches from the Windows Update Web site, www.windowsupdate.com. Make sure that your computer is connected to the Internet, and then click Check for Service Releases on the Internet (see Figure 1.20). This Web site will then check for new service releases and update your computer if necessary. Figure 1.20. The Service Releases screen. 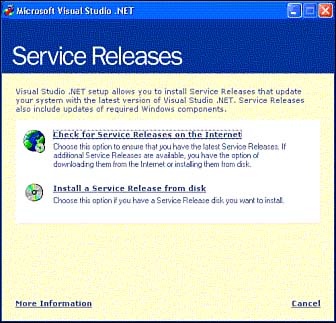 -
At the time this book is being written, there are no service releases available, as shown in Figure 1.21. Click OK if there are no service releases available when you install Visual Studio .NET. If there are service releases available, install them by following the onscreen instructions. Figure 1.21. The No Service Releases Available screen. 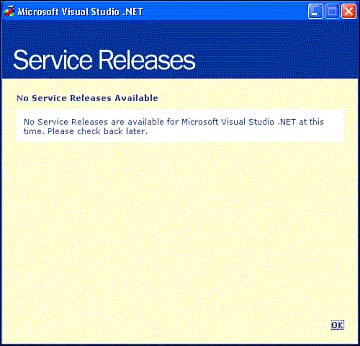 -
Check whether any service packs are available for the .NET Framework from http://msdn.microsoft.com/netframework/downloads/sp1/default.asp. Click Download Now to download and install any service pack that is available. Create an appropriate directory to which to download the file. I recommend that you create a download directory such as C:\Downloads\Microsoft to download any files from Microsoft. Figure 1.22 shows the starting dialog box for the service pack download. Figure 1.22. The Microsoft .NET Framework Service Pack screen. 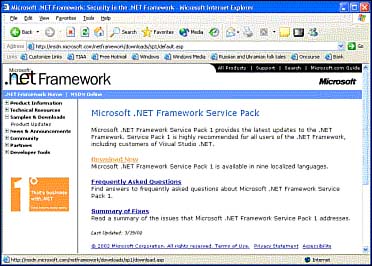 -
Select the appropriate language from Download Now, and then choose Save This Program to Disk (Save) and save the file to the C:\Downloads\Microsoft directory as MSNFrameWorkSP1.exe (renaming the file if necessary). After the download is complete, double-click the MSNFrameWorkSP1.exe file to launch the Service Pack 1 setup. Follow the onscreen instructions to complete the installation of the service pack. The Service Pack Download screen is shown in Figure 1.23. Figure 1.23. The Microsoft .NET Framework Service Pack 1 Download screen. 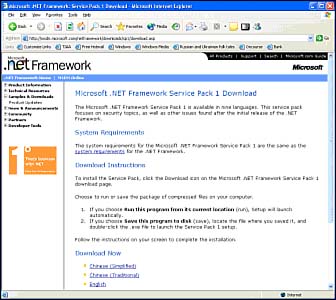 -
If you have chosen to install the SQL Server Desktop Engine setup files, exit the service pack setup and launch Setup.exe from the ..\Setup\MSDE\ subfolder under the main Visual Studio .NET installation folder on your local hard drive. The installation option for installing the Microsoft Development Environment (MSDE) is shown in Figure 1.24. Figure 1.24. The setup screen for the MSDE. 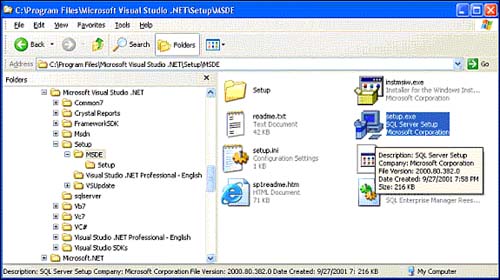 The configuration takes approximately two minutes to complete, as shown in Figure 1.25. Figure 1.25. The progress bar for installing MSDE. 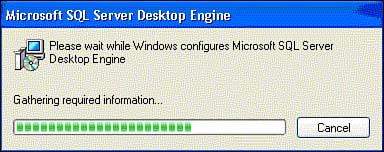 You are done installing Visual Studio .NET and all its components! |