The Many Toolbars
| Visual Studio includes more than 30 toolbars; there are three alone just for working with XML. If there is a set of commands that you use often, then there is a good chance there is a matching toolbar to group those commands. In the event that the standard toolbars that ship with Visual Studio don't meet your needs, you can create custom ones that do. A large percentage of the toolbars are highly specialized. For example, if you are working with the Class Designer, you would, of course, use the Class Designer toolbar to manage class groups or change screen magnification. Or if you are building a SQL Query, you would use the Query Designer toolbar. We will not cover each of these toolbars for this reason. Instead, we will stick to our quick tour and cover the common ground here and save the sidetracks for future chapters. The Standard ToolbarThe Standard toolbar will be present at all times during your IDE sessions (unless, of course, you customize things or turn it off). It provides quick access to all the commands you'll use over and over. The standard commands are on the top left: Create New Project, Add New Item, Open, and Save. These are followed by Cut, Copy, Paste, and Undo. Figure 2.9 shows the Standard toolbar undocked from the IDE. Figure 2.9. The Standard toolbar in Visual Studio 2005.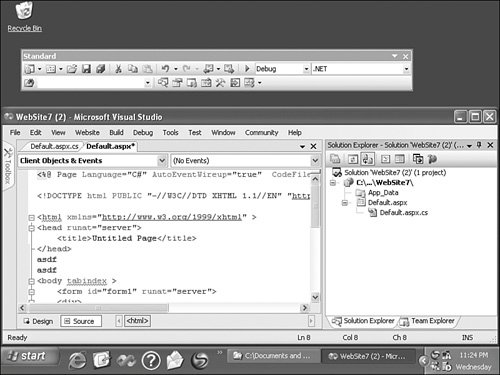 Tip We suggest you learn the keyboard equivalents for such standard commands as Cut, Copy, Past, Undo, and the like. You can then remove these toolbar icons from the toolbar to save precious screen real estate for commands that have you reaching for the mouse anyway (and have harder-to-remember shortcut keys). Additional items worth mentioning include the two navigation commands on the toolbar (document-like icons with a blue arrow pointing left on one and right on the other). These buttons allow you to move backward and forward through your code and your solution. They keep track of special lines in your code or windows you have visited and provide one-click access up and down this line. The button next to the navigation commands with the green arrow is often called the Run or Play button. This will initiate a build of your project and launch you into debug mode. Moving to the right (downward in the graphic), you see options for initiating a search within your code. This capability can be handy for quickly finding the place you left off or are looking for. To the right of this are icons for quick access to displaying one of the many windows of Visual Studio. Just like the View menu, these icons give you quick access to the Solution Explorer, Properties window, Object Browser, Toolbox, and so on. You even have an icon for Other Windows, which gives access to even more windows. Finally, we recommend you do some of your own exploration into the many toolbars within Visual Studio. Often their usefulness presents itself only at the right moment. For instance, if you are editing a Windows form, having the Layout toolbar available to tweak the position of controls relative to one another can be a very valuable time-saver. Knowing these toolbars are available will increase the likelihood that you'll benefit from their value. |
EAN: 2147483647
Pages: 195