Upgrading a Single Member Server
| < Day Day Up > |
| The direct upgrade approach from Windows NT 4.0 to Windows Server 2003 is the most straightforward approach to migration. The upgrade takes all settings on a single server and upgrades them to Windows Server 2003. If a Windows NT 4.0 Server handles WINS, DNS, and DHCP, the process upgrades all WINS, DNS, and DHCP components , as well as the base operating system. This type of migration is very tempting, and it can be extremely effective, as long as all prerequisites (mentioned later) are satisfied. Often, upgrading a single server can be a project. The standalone member servers in an environment are often the workhorses of the network, loaded with a myriad of different applications and critical tools. Performing an upgrade on these servers would be simple if they were used only for file or print duties and if their hardware systems were all up-to-date. Because this is not always the case, it is important to detail the specifics of each server that is marked for migration. Verifying Hardware CompatibilityTesting the hardware compatibility of any server that will be directly upgraded to Windows Server 2003 is critical. During the installation process is not the most ideal time to be notified of problems with compatibility between older system components and the drivers required for Windows Server 2003. Verify the hardware in a server for Windows Server 2003 on the manufacturer's Web site, or on Microsoft's Hardware Compatibility List (HCL). Microsoft offers minimum hardware levels that Windows Server 2003 will run on, but it is highly recommended to install the OS on systems of a much higher caliber, as these recommendations do not take into account any application loads, domain controller duties, and so forth. The following is a list of Microsoft's recommended hardware levels for Windows Server 2003:
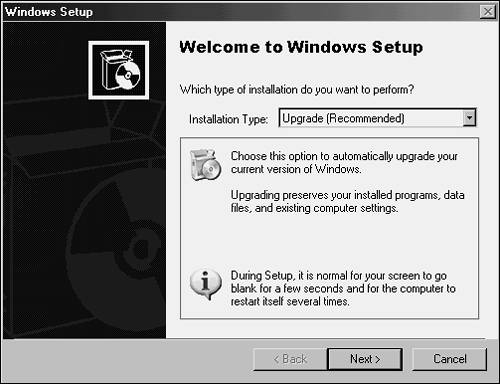
It cannot be stressed enough that it is almost always recommended to exceed these levels to provide a robust computing environment. NOTE One of the most important features that mission-critical servers can have is redundancy. Putting the operating system on a mirrored array of disks, for example, is a simple yet effective way of increasing redundancy in an environment. Verifying Application ReadinessNothing ruins a migration process like a mission-critical application that will not work in the new environment. List all applications on a server that will be required in the new environment. Applications that will not be used or whose functionality is replaced in Windows Server 2003 can be retired and removed from consideration. Applications that have been verified for Windows Server 2003 can be designated as "safe" for upgrade. Delegate any other applications that might not be compatible but are necessary to another server, or force the upgrade to wait on that specific server. In addition to the applications, the version of the operating system that will be upgraded is an important consideration in the process. A Windows NT 4.0 Server install can be upgraded to either Windows Server 2003 Standard Server or Windows Windows Server 2003 Enterprise. A Windows NT 4.0 Enterprise Edition install can be upgraded only to Windows Server 2003 Enterprise, however. Backing Up and Creating a Recovery ProcessIt is critical that a migration does not cause more harm to an environment than good. A good backup system put in place is essential for quick recovery in the event of upgrade failure. Often, especially with the in-place upgrade scenario, a full system backup is the only way to recover, and you should detail fallback steps in the event of problems. Standalone Server Upgrade StepsAfter all considerations regarding applications and hardware compatibility have been thoroughly validated , the process of upgrading a standalone server can be accomplished. The following steps detail the process involved with this type of upgrade process:
NOTE Many previously enabled components, such as IIS, are turned off by default in Windows Server 2003. Ensure that one of the post-upgrade tasks performed is an audit of all services, so that those disabled can be reenabled. |
| < Day Day Up > |
EAN: 2147483647
Pages: 393