Working with Keying Filters
|
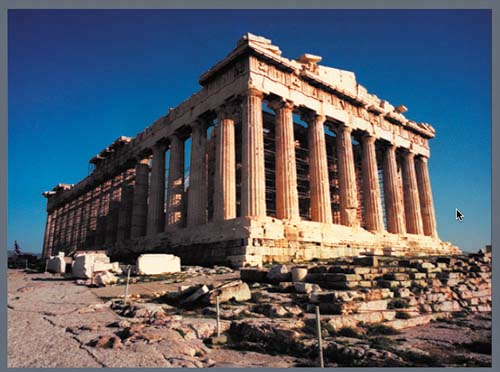
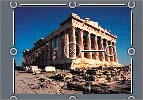
| In the previous exercises, you worked with filters to add color and stylize objects in the Canvas. Other filters are used for more practical purposes. The Keying filters are used to change an image area that is of uniform color or brightness into a transparent alpha channel based on the same shape as the selected area. For example, the TV weathercaster stands in front of a large green or blue screen to do a weather report. The green or blue background can be removed using Keying filters and replaced with the image of a computerized map. Motion includes five Keying filters: Blue Green Screen, Color Key, Lumakey, Primatte RT, and Spill Suppressor. Your goal in the next series of exercises is to add moving clouds to a still image with a solid blue sky. To accomplish this, you'll use the Primatte RT filter to remove the blue sky from the image and then add clouds to the background from the Motion Library Content folder. Opening the Clouds ProjectFirst, you'll need to open the Greece Clouds start project located in the Lesson_05 folder in the File Browser. The project already contains two layers. The first layer contains a photograph of the Parthenon. The second layer is an empty background layer where you'll add the moving clouds.
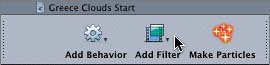
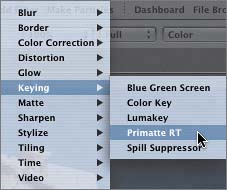
Applying the Primatte RT FilterThe Library tab in the Utility window is a great place to look for filters when you're not sure exactly what you want to use. Not only can you browse through the filter categories, but you can also see the filters in the Preview area, which helps you choose the right one. The Primatte RT filter is a high-quality Keying filter that renders the blue or green areas of an image transparent, allowing the background images to show through. If you already know what filter you want to apply, you can choose it from the Add Filter pop-up menu in the Canvas. The Add Filter pop-up menu applies filters to selected objects or layers.
Let's use the Add Filter pop-up menu to apply the Primatte RT filter to the Greece image in the Canvas.
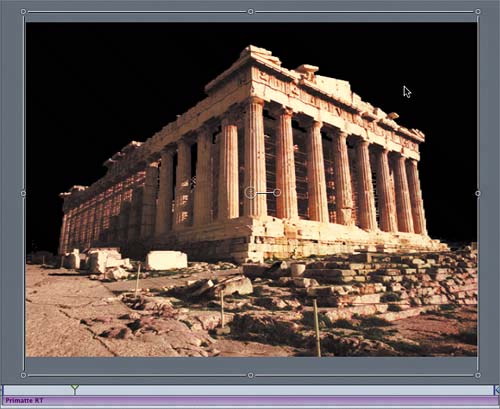
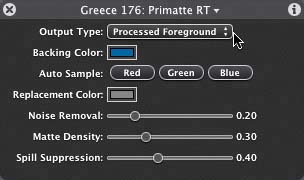
Evaluating the Primatte RT Filter in the DashboardBefore you add a background image to the project, let's look at the Primatte RT Dashboard to see what just happened.
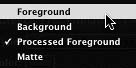
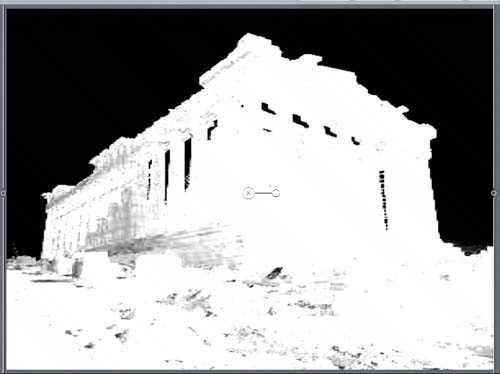
The top portion of the Primatte RT Dashboard includes a pop-up menu for changing the type of output in the Canvas and a color well to show you the color that the filter rendered transparent. Let's look at the Output Type pop-up in the Primatte RT Dashboard to see the various elements that make the finished view: Foreground, Background, Processed Foreground, and Matte.
Let's add a background to see how the Parthenon looks with clouds behind it. |
|
EAN: 2147483647
Pages: 283