| Still images work best for this effect. You can pause your clip multiple times, if necessary, and apply this same effect to multiple stills. For this example, we are going to use the very last frame of the sample clip, spaceship.avi. To this snapshot, or "freeze frame," we will apply numerous effects to give it a convincing watercolor painting look. Find the Right Frame or "Still" and Save It as a Snapshot  Move the CTI to the last visible frame of the spaceship.avi clip on Video 1, 00;00;06;24. Move the CTI to the last visible frame of the spaceship.avi clip on Video 1, 00;00;06;24.
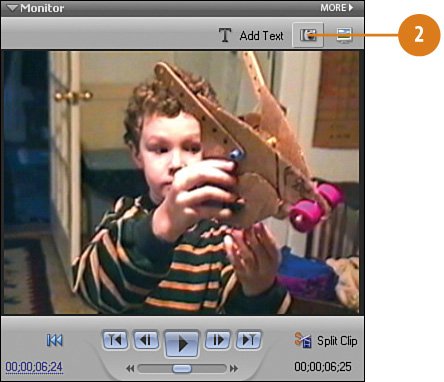
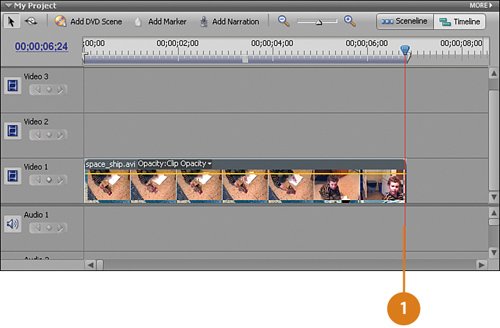 Timesaver You can optionally jump right to the end of the clip by pressing the Page Down (PgDn) key on your keyboard, and then pressing the right arrow key.  Click the Freeze Frame button on the Monitor panel. Click the Freeze Frame button on the Monitor panel.
 From the Freeze Frame dialog box, click the Insert in Movie button. From the Freeze Frame dialog box, click the Insert in Movie button.
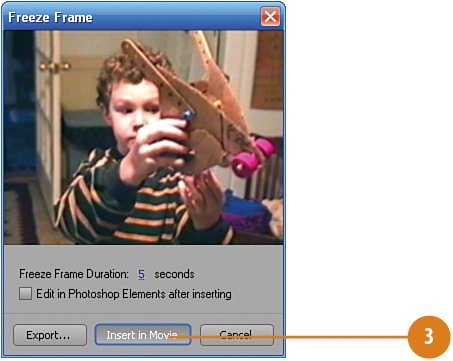
Note A new clip, watercolor_FF.bmp, should now be in place on the Timeline, directly beside and to the right of the spaceship.avi clip on the Video 1 track. Did You Know? You may have to "clean up" after creating a Freeze Frame. Due to the way Premiere Elements captures the freeze frame image and inserts it into the Timeline, a single frame can end up being orphaned immediately to the right of the clip you took the freeze frame image from. This only occurs when the freeze frame image is from the very last usable frame in a clip. You most likely won't even notice that it's there, but you will probably notice it when you click the Play button on the Monitor panel to view the project. Therefore, you may want to zoom in (using the Zoom In button on the Timeline, or the plus "+" key on your keyboard), select this single-frame clip, and delete it.
|
|